No one wants to ruin a good painting surface, but sometimes you just have to strip the old paint. Maybe the old layers have cracked, yellowed, or turned gummy from bad mediums. Or maybe you're working with a rescue canvas from a thrift store and want to give it a fresh start.
Most pros don’t reach for just anything—they stick with tried-and-true tools like palette knives, sharp scrapers, and specialized solvents. It’s easy to overdo it and mess up the canvas threads or the wood surface underneath if you’re not careful. But with the right techniques and gear, you can clear off the old and prep for new paint without destroying your base. Let’s get into the stuff that actually works, and what to avoid if you want your next painting to last.
- Why Strip Paint? When It's Needed
- Solvents, Scrapers, and Heat: What the Pros Really Use
- Safety First: Prep, Protection, and Ventilation
- Pro Tips and Common Mistakes to Avoid
Why Strip Paint? When It's Needed
Stripping paint isn’t just for fixing disasters—sometimes, it’s the smartest move for serious oil painting. Even the best paintings run into trouble: layers can crack from age, the surface might get sticky if it was stored wrong, or maybe you just want to reuse an old canvas instead of buying new supplies. Knowing when to reach for those paint removal tools can save both time and money.
The most common reasons professionals strip paint include:
- Cracking and Crazing: Over time, some paintings develop deep cracks or brittle textures. If you try to paint over that, it’ll just pop back up and mess with your new work.
- Mold or Mildew: Stored in damp places, canvas can pick up gross stains or mold spots that seep through any fresh paint. Starting clean gives you a fighting chance.
- Thick, Gunky Layers: Beginners sometimes pile on too much paint, which never fully dries. This turns the surface squishy and impossible to work with later.
- Saving Canvases: High-quality canvases and wooden panels cost real money. Artists often recover old work to keep their setups affordable.
- Changing Style or Subject: Every artist has made something they hated. Instead of throwing it away, stripping the top layer gives you a blank slate.
Here’s a quick look at how often these headaches show up on real-world studio surfaces:
| Problem | % of Artists Who've Dealt with It |
|---|---|
| Cracking Paint | 62% |
| Mold/Mildew | 18% |
| Overly Thick Paint | 39% |
| Reusing Canvases | 78% |
Any time you’re dealing with these issues, the right paint stripping tools and methods will make or break your next project. Professionals aren't sentimental about old work—they know a clean start means fewer headaches down the line.
Solvents, Scrapers, and Heat: What the Pros Really Use
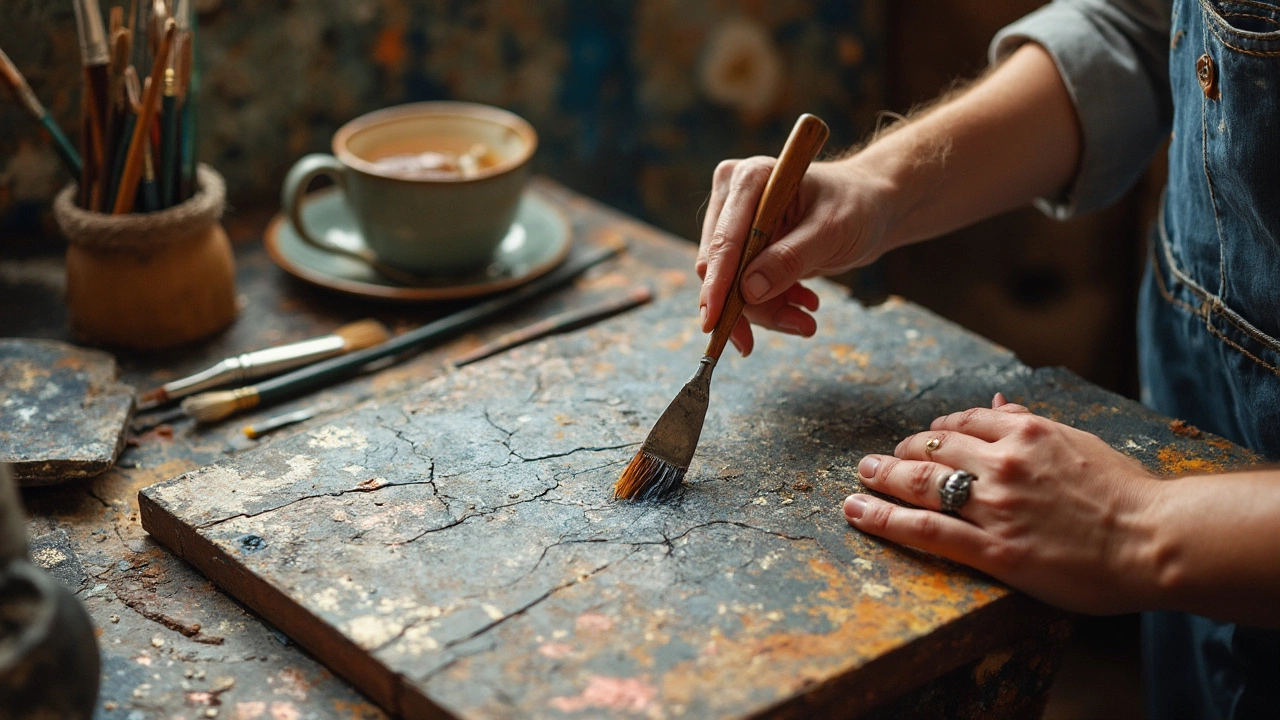
If you’ve got a stubborn layer of old oil paint and fresh gesso just isn’t covering it, there’s a reason the pros reach for specific paint removal tools. Not all methods are created equal, and knowing what works can save your canvas—or your sanity.
Solvents are usually the first thing on the list. These aren’t your everyday paint thinners. Professionals often use high-grade stuff like mineral spirits, denatured alcohol, or specialized products like Nitromors or Winsor & Newton’s Professional Paint Remover. Mineral spirits are favorites because they’re strong enough to break down most oil paints but not so harsh that they eat away at the canvas backing. Here’s a quick breakdown of common solvents and what they’re best for:
| Solvent Name | Works Best On | Pro Tip |
|---|---|---|
| Mineral Spirits | Standard oil paint | Great for gentle stripping, but needs ventilation |
| Denatured Alcohol | Shellac and resin layers | Test on a corner first—too strong for acrylics |
| Nitromors | Heavy, multi-layered paint | Wear gloves; stuff is strong and smelly |
On hard surfaces like wood panels, a good old scraper or even a sturdy palette knife can lift paint without much fuss. Metal scrapers work best, but be careful—pressing too hard can scar the wood or weave of a canvas. Some pros swear by plastic blades for delicate work. Keep the angle shallow and let the edge do the lifting, not brute force. If you’ve got thick, built-up paint ridges (impasto gone wild), these tools are your friends.
And then there’s heat. Using a heat gun sounds a little reckless, but on wood panels, it can make old paint soft enough to peel off in strips. Just don’t try this on stretched canvas—canvas can sag or burn in seconds if you overdo the heat. Painters usually keep the gun moving and hold it a few inches away, working in small sections so things don’t get too hot.
If you’re thinking of just sanding the paint off, tread carefully. Sanding can make a mess of canvas pretty quickly, and loose fibers spell trouble for new layers of oil paint. But on wood, fine-grit sandpaper or an electric sander (set to low) gets the job done fast—just remember to wipe off all that dust before priming again.
When it comes down to it, oil painting pros pick the right tool for the job, and combining methods is common. For example, a solvent wipe followed by a gentle scrape gets rid of most problem layers. One last tip: always try whatever method you pick on a tiny, hidden spot first. It’s the closest thing to a safety net you’ll find in this game.

Safety First: Prep, Protection, and Ventilation
Stripping paint sounds simple, but it's risky business if you skip safety steps. Every pro who removes paint from oil painting surfaces knows that paint removal chemicals and flying flakes can mess you up if you aren't ready for them. Safety isn’t about being paranoid—it’s about not getting a nasty headache, skin rash, or breathing issues just because you didn’t take five minutes to set up right.
First off, always check what’s in your stripper. Many strong paint removal products contain things like methylene chloride, NMP, or acetone—stuff you really don’t want in your lungs. Even citrus-based products shouldn't be treated like scented candles. Get nitrile gloves (latex won't cut it), eye protection, and an apron or old clothes you never want to wear again. For anything serious, a proper respirator beats a flimsy dust mask every time.
- Ventilation is mandatory. Always work near a window, use a fan pointed outwards, or—best case—tackle the job outdoors. Just cracking a window isn’t enough if your solvent has a strong smell.
- Clear your work area. Any rag soaked in solvent is a fire risk, so put it in a metal container or let it dry out flat in a safe spot. Watch out for drips, because some products can stain floors or even damage furniture.
- Avoid food and drinks while working. You don’t want accidental splashes or fumes anywhere near your snacks.
Here’s something the pros know: don’t rush. Leaving stripper on too long can eat into canvas threads or even warp wood panels. But pulling it off too soon just means doing it all over again.
| Common Solvent | Protective Gear Needed | Ventilation Needed |
|---|---|---|
| Acetone | Nitrile gloves, goggles, respirator | Open windows, fan out |
| Methylene chloride | Heavy-duty gloves, full-face shield, chemical respirator | Outdoor or professional exhaust system |
| Citrus-based | Gloves, goggles (just in case) | Good airflow still required |
This all sounds like overkill until you get a face full of fumes. Play it safe, keep your studio in one piece, and you’ll be ready for actually painting—without any battle scars.
Pro Tips and Common Mistakes to Avoid
If you use the wrong approach to paint removal on an oil painting surface, you can end up with warped canvases or wood panels that are no longer smooth. Here’s what professionals keep in mind while stripping paint so their surfaces stay solid and ready for a fresh layer.
- Stay gentle with canvases. Rigid scrapers might work like magic on wood or metal, but on stretched canvas, you need to keep a light hand. Most pros use a flexible palette knife or even a silicone scraper instead of sharp metal blades. Press too hard, and you’ll dig into the fabric. If you’re working with linen, it’s even easier to damage the weave.
- Test solvents before going all in. Not all solvents are good for every project, especially store-bought paint removers. Always try them on a corner or the back. Some removers soften the paint but also weaken glue or gesso. If you strip too much, you may find yourself priming from scratch.
- Patience is your friend. One of the most common paint removal mistakes is rushing. Professionals let solvents sit just long enough to loosen paint, then use rags or a gentle scraper. Leave them on too long, and they’ll eat into the ground or wood, leaving potholes or stains you can’t cover up with new paint.
- Prep for dust and mess. No one likes a messy studio, but scraping and sanding always create debris. Lay down old sheets or plastic, and grab a shop vacuum after scraping. Wear an N95 mask, especially if you’re sanding old oil paint—lead is still a risk on older works.
- Don’t over-sand. If you’re working on a wood panel, it’s easy to keep going until it’s perfectly smooth, but sanding too much can thin the panel, make it too absorbent, or ruin the surface texture. You just want to knock down the old surface, not rebuild the panel.
Ever wonder which mistakes pop up the most for beginners? Here’s what usually happens in real-life workshops:
| Mistake | Tip to Fix |
|---|---|
| Rushing solvent removal | Let it sit just till paint softens, then wipe off |
| Forgetting safety gear | Always ventilate, mask up, and wear gloves |
| Peeling paint instead of dissolving | Apply more solvent, use a soft scraper |
| Using heat guns on canvases | Stick to chemical methods—heat can melt or warp the fabric |
The pros don’t gamble with shortcuts. If you stick with these habits and avoid the usual goofs, you’ll not only save your painting surface—you’ll make the next layer look a whole lot better too.