Dec 23, 2024
Understanding Canva Licensing and Copyright for Creatives
When you scan drawings, you create a digital copy that preserves the original artwork and opens it up for new creative uses. Also called art digitisation, this process is a bridge between traditional media and modern workflows. Digital art refers to any artwork made or enhanced with electronic tools, often starting from a scanned image relies on clear, detailed source material, so the quality of your scan matters a lot. High‑resolution scanning captures tiny pencil lines, texture, and colour nuances that low‑end devices miss is the key to preserving those nuances. In short, scan drawings encompasses three steps: capture, clean, and apply. Capturing uses a scanner or camera, cleaning involves basic editing, and applying means fitting the image into a digital artwork, a portfolio, or an archive. This simple chain lets you move from paper to screen without losing the original's soul.
First, a good scan protects the physical piece. Art preservation is the practice of keeping artwork safe from wear, fading, or accidental damage often starts with a high‑quality digital copy. If the original gets stained or torn, you still have a faithful replica ready for prints or online display. Second, the right image file format defines how the scanned data is stored, influencing quality, file size, and future accessibility determines how well the image endures. Lossless formats like TIFF keep every pixel, while JPEG shrinks the file at the cost of detail. Choosing the appropriate format is a balance between archival stability and practical sharing. Third, scanned drawings feed directly into digital art workflows: you can layer them in Photoshop, vectorise them in Illustrator, or animate them in After Effects. By turning a hand‑drawn sketch into a clean digital layer, you unlock endless remix possibilities while keeping the original intact.
Now that you understand the why, let’s look at the how. Start with a scanner that offers at least 600 dpi for line work; many artists prefer 1200 dpi for fine pencil shading. Calibrate the scanner’s colour profile so whites stay true and greys don’t shift to blue. After the scan, use a light editing tool (GIMP, Photoshop, or even free online editors) to crop, straighten, and adjust contrast. Remove any dust spots with a small eraser brush; this step is quick but makes a huge difference in the final image. When you save, opt for TIFF if you plan to archive or print large formats, and keep a JPEG copy for email or social media. Finally, store the files on a reliable backup system—cloud storage plus an external hard drive—so your work survives a hard‑drive crash. By following these steps, you turn a simple scan into a lasting digital asset that powers your creative projects and safeguards your artistic legacy.
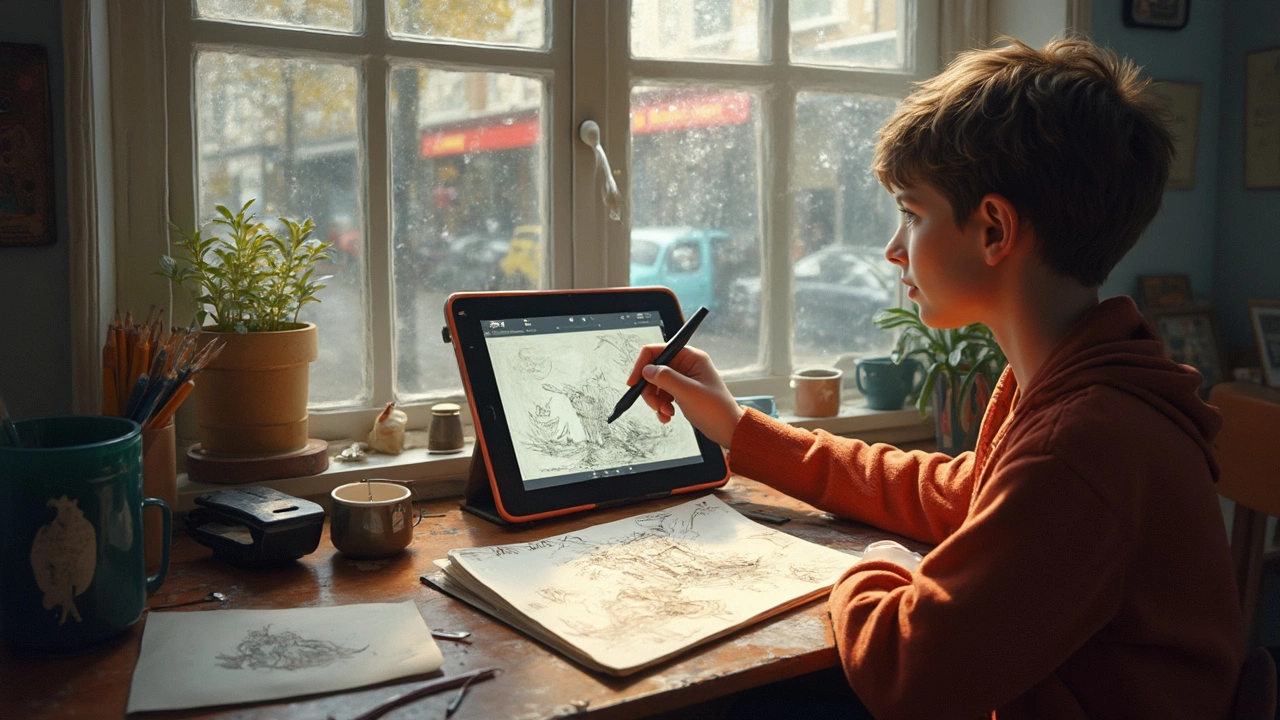
Curious about how to turn your drawings into digital art? This guide breaks down the process into simple, actionable steps—from scanning your sketch to final digital polish. Learn what tools you really need, how to avoid beginner mistakes, and discover cool tips that make your art stand out. It doesn't matter if you're using a smartphone, tablet, or fancy scanner—this article covers them all. Start turning your paper imagination into pixel magic.