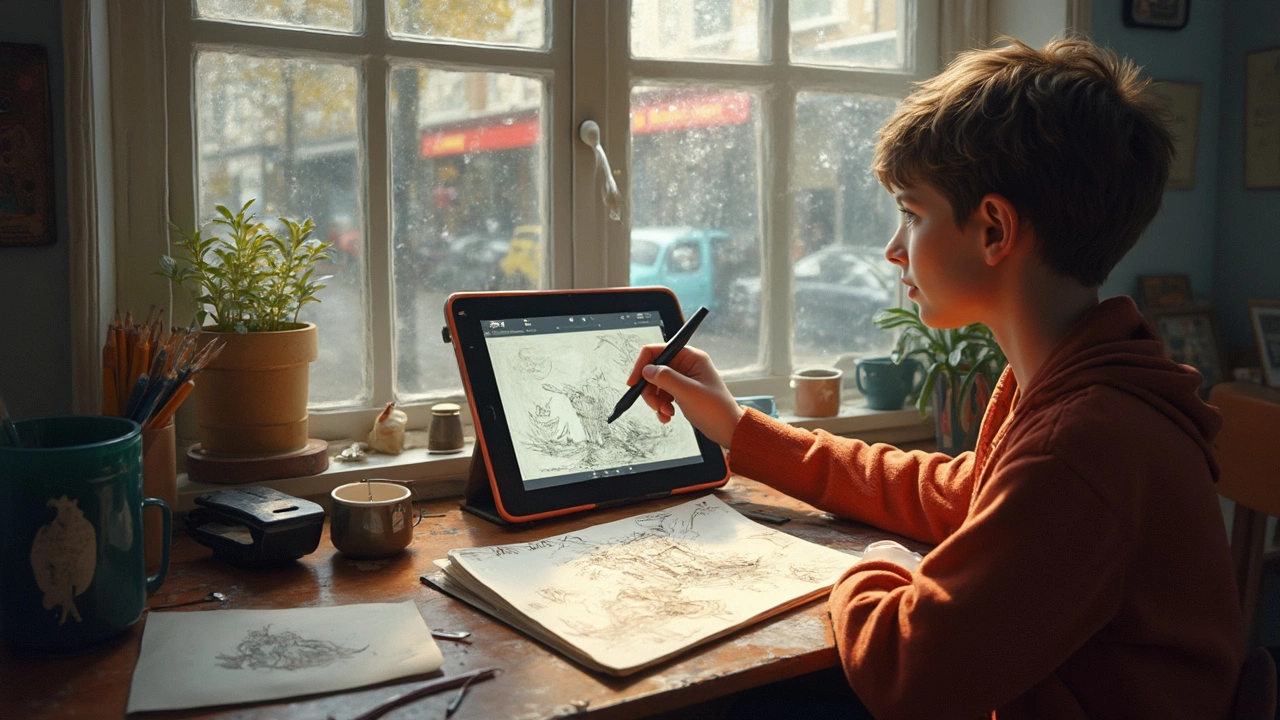
Ever stared at a sketch on paper and thought, “What if this had color, light, or pop like the stuff I see online?” That itch to bring your analog art into the digital world isn’t about chasing trends—it’s about seeing your ideas stretch further, get sharper, and find new life. Maybe you want your characters jumping off the tablet instead of sitting quietly on the page. Or perhaps you’ve got a shoebox of doodles and comics that just beg to become shareable, editable, and, let's be honest, a bit more future-proof. If you’ve ever seen an old drawing ruined by spilled coffee (like what Simba did to my science notebook last year!), you know a digital backup sounds pretty sweet.
What You Need to Get Started: Choosing Your Tools and Setting Up
Before you go wild transforming your artwork, let’s talk gear. Some people worry you need expensive tablets or Photoshop subscriptions. Truth is, plenty of tools from free apps to scanners work just fine. The trick is matching your workflow to the stuff you already own.
- Paper and Pencils Matter: It sounds obvious, but smoother, higher-quality paper gives you sharper scans. If you sketch with light blue pencils, they erase better digitally. Avoid crumpled or thin notebook paper—trust me, even your smartphone camera will pick up those lines and shadows, which take extra time to clean later.
- Scanning and Photographing: If you’ve got a scanner—standalone or combo printer—use it. Set it for at least 300 dpi (dots per inch). Flatbed scanners capture details and subtle linework best. If you don’t have a scanner, your phone’s camera will absolutely work in a pinch. Turn off the flash (or you’ll get glare), and lay your art on a flat surface near a window but out of direct sunlight. Apps like Adobe Scan, CamScanner, or even Google Drive’s built-in scanner can flatten and boost contrast so your lines stand out.
- Tablets and Styluses: Drawing tablets range from ultra-affordable (Huion, XP-Pen) to pro-level (Wacom, iPad Pro + Apple Pencil). If you already have one, perfect. If not, start with your mouse and a free drawing app—don’t get hung up on hardware. You’ll pick up layers, brushes, and shortcuts on the go.
- Software Options: There’s a buffet of choices. Free options include Krita, GIMP, Medibang Paint, FireAlpaca, or Autodesk Sketchbook (sometimes free, sometimes not). If you like editing photos, Paint.net and Pixlr are solid. For pros or those willing to splurge, Adobe Photoshop and Clip Studio Paint are industry favorites. Mobile-only apps like Procreate Pocket (iPhone) or Autodesk Sketchbook are ideal if you prefer drawing on the go.
| Tool | Budget Option | Recommended for |
|---|---|---|
| Scanner | Any flatbed, even used ones | High detail, sharp lines |
| Smartphone Camera | iPhone/Android (with scanning app) | Quick capture, on the go |
| Drawing Tablet | Huion, XP-Pen, One by Wacom | Precision, brush effects |
| Software | Krita, GIMP, FireAlpaca | Digital inking and coloring |
Setting up isn’t about breaking the bank. Most of my earliest digitized comics started on a ratty old scanner and GIMP, in a cramped apartment. What makes the most difference is a well-lit scan and patience while cleaning up rough edges after.
Scanning, Digitizing, and Cleaning: Bringing Paper to Pixels
You’ve picked your tool. Now it’s time to actually get that drawing onto your screen and make it look even better than it did on paper. Here’s the secret: Digitizing a drawing is as much about cleanup as it is about coloring. If your lines look muddy or faded after scanning, don’t panic—everyone goes through this stage.
- Scan at the Right Settings: For line art, shoot for grayscale or black & white mode at 300-600 dpi. Colored drawings can stay in color mode, but be ready to tweak contrast later. If you’re photographing instead, get as much even lighting as possible and crop right to the edges to avoid shadows.
- Import & Adjust: Open your scanned or photographed drawing in your chosen app. First, up the contrast (Image > Adjustments > Brightness/Contrast in most apps) so lines pop. Use the eraser tool or layer masks to clean up stray marks, fingerprints, or shadows. If you see ghost lines where the paper folded, clone or brush them away. Sometimes using a Levels adjustment gives the best punch, pushing pure whites and deep blacks for solid lines.
- Create Clean Layers: Here’s a pro tip: Make your scanned line art its own layer (call it "Inks" or "Lines"). Set this layer's blending mode to “Multiply.” Now, anything you paint or add on layers below will show through the lines, keeping them crisp.
- Trace or Redraw Digitally (Optional): If your lines are weak or you want a neater finish, trace over them using a digital brush. Some artists swear by this step—even pros like Loish clean up traditional sketches digitally. Try a hard round brush for crisp manga lines, or a textured pencil brush for artsy, hand-made vibes. It’s up to your style.
- Remove the Paper Texture: Scans, especially from textured paper, often show the "tooth" or grit of the paper. Use your app’s blur, dust/scratch remover, or selective erasing to clean flat white areas. If it looks too clinical, some people bring back a tiny bit of texture later—it’s not cheating if the final result looks awesome!
- Always Save a Backup: Export a high-res version at every stage. Why? Accidental overwrites, corrupt files, and yes, even dogs stepping on keyboards are all very real digital hazards.
I can’t tell you how many hours I’ve spent learning that most professional-looking digital art comes down to care in cleaning. Most folks don’t realize the work that goes into sharpening those lines and scrubbing out old paper smudges, but it’s the thing that separates a quick scan from artwork people want to hang on their wall.
Adding Color, Texture, and Finishing Touches: Bringing Your Art to Life
Now comes the fun part. You’ve got a crisp, clean version of your sketch or drawing sitting on its own layer. Time to color, shade, add highlights, and play with effects only possible digitally. Here’s where digital wins: The "undo" button becomes your superpower, and you can experiment without trashing your original. This section isn’t about just “filling in” areas—it’s where your style gets to breathe.
- Add Base Colors on New Layers: Make a new layer under your line art, and block in the base colors with a hard round brush or lasso tool. Some apps let you lock transparency so you can color inside the lines after laying a flat base.
- Experiment with Brushes: Most digital art programs come loaded with wild brushes—watercolor, ink, pencil, etc. Some artists download brush packs from sites like DeviantArt or Gumroad. The right brush can give your digital piece the warmth of real paint or the pop of marker.
- Use Selections and Masks: These are magic for crisp coloring. Select an area (like a shirt or hair), and you can paint, shade, or blend inside the lines. Masks let you “paint” what’s visible or hide mistakes without erasing forever. Once you get the hang of it, this becomes second nature.
- Play With Light and Shadow: On a new layer—set above your colors—try painting shadows or highlights. Lower the layer’s opacity or set the blend mode to ‘Multiply’ (for shadows) or ‘Overlay’ (for highlights). It creates depth, making your drawing feel three-dimensional without muddying the base color underneath.
- Textures Give Character: You can overlay paper textures, watercolor washes, or grit effects onto your drawing with layer blending modes. This helps digital art escape the “plastic” look and gives it soul. There are public domain textures everywhere online, or photograph your own for a personal touch.
- Final Polish: Zoom way out to check your colors and flow. Zoom back in to fix stray pixels, rough edges, or bits you missed while coloring. Some artists tweak entire color palettes with a Color Balance or Hue/Saturation tool towards the end—it’s all fixable digitally.
- Export in High Quality: Save a high-res PNG or TIFF for sharing and printing, plus a web-optimized JPG or PNG for your socials. Saving your artwork at 300 dpi means it’ll print sharp even on posters or t-shirts.
The coolest part? Once you digitize a piece, you can remix it into stickers, t-shirts, prints, or even (with a little Photoshop magic) full-blown animations. The same scanned doodle of Simba that started as a birthday card now lives on as my phone wallpaper and on my coffee mug. The only real limit—cheesy as it sounds—is what you imagine for it next.
The process is way less about perfect lines and more about playing, experimenting, and learning what works for you. Every artist I know ended up developing their own digital workflow—some obsess over clean ink, others love messy, collage-like layers with scanned-in paper. Either way, once you start, you’ll never look at your old sketchbook the same way again.
