So, you've decided to paint landscapes, eh? Fantastic choice! There’s something incredibly satisfying about capturing the beauty of a scene on canvas. But where in the world do you start? Let's tackle this step-by-step, so you can dive in with a bit of a head start and a lot less confusion.
First up—the scene. You know those Instagram-worthy spots in your neighborhood or that dreamy spot you’ve always loved? Start there. The love you have for a place will naturally translate into your painting, making it feel more genuine and alive. Plus, familiarity means you're already halfway there in terms of knowing the details and the little quirks of the scene.
- Choosing Your Scene
- Basic Tools You'll Need
- Grasping Composition
- Selecting the Right Colors
- Layering Techniques
Choosing Your Scene
Alright, so you’re pumped about creating your first landscape painting. But before you whip out your brushes, let’s talk scene selection. This is where your journey really begins. Pick a place that tugs at your heartstrings. It could be that sunlit park you always walk through, or the view from your coffee spot window. The key is choosing somewhere you feel a connection with; it’ll make depicting it a lot more meaningful and authentic.
When picking your perfect spot, consider the time of day. Light changes everything in a landscape. The morning with its soft, golden hues can create a tranquil mood, while a sunset may shower your scene with dramatic colors. Early morning and late afternoon are known among painters as the golden hours, thanks to the enchanting light they provide.
There’s also the choice between painting outdoors, known as en plein air, or from a reference photo. Painting outside can be exhilarating – you’re right there in the moment! But if unpredictable weather or time constraints are an issue, snapping a good photo at your chosen spot is a solid backup plan. Make sure your photo captures the lighting and composition you want to play with.
- Tip: Visit your scene at different times to see how light and shadows change. This might give you inspiration for what exactly to paint!
- Explore: Don’t just settle on the first spot you find. Walk around, take a few photos, maybe enjoy a cup of coffee while taking it all in.
- Focus: Look for a focal point, like an interesting tree, a winding path, or a distant mountain. This gives your painting a point of interest.
Choosing your scene wisely kicks off your painting process on the right foot. It sets the stage for everything else. Plus, it’s an excuse to explore, right? So go ahead, find that spot that makes your painting fingers twitch with excitement!
Basic Tools You'll Need
Before you dip your brush into a sea of colors, let’s talk about tools. Having the right gear can make or break your landscape painting adventure. Whether you're going the traditional route or trying something more experimental, a few basic items are essential.
First on the list is a set of landscape painting brushes. Choose a variety that includes flat, filbert, and round tips, starting from wide and working down to fine. A range of sizes gives you more freedom to express those tiny, intricate details and sweeping strokes that bring your scene to life.
Next up, paints. Are you leaning towards oils, acrylics, or watercolors? Each has its own vibe:
- Oils: These are great for blending and take longer to dry, giving you more time to play with your colors.
- Acrylics: They dry fast and are super forgiving—perfect for beginners worried about mistakes.
- Watercolors: A bit more challenging but wonderful for creating soft, flowing effects.
Choosing your canvas is just as important. A stretched canvas is the classic choice, but if budget's a concern, canvas boards offer a more affordable and still effective option. For smaller art pieces or practice, watercolor paper can also work for acrylics or watercolors.
While a trusty palette might seem obvious, don’t overlook its importance. Plastic ones are cheap and disposable, while a wood palette vibes with oil paints, giving them more character.
Finally, don’t forget an easel, even if it’s a tabletop one. It keeps your work at the right height and angle, giving you the artist's view without hunching over.
Investing in these basic tools sets you up for a successful creative journey, allowing your skills to grow without being held back by equipment failures. Once you're comfortable with the essentials, feel free to experiment with other mediums and tools as you find your unique artistic style.
Grasping Composition
Alright, you've got your scene sorted and your tools in hand, but what about composition? This is all about how you arrange stuff in your painting. Trust me, it makes a big difference. Get this right, and your landscape will look way more inviting and balanced.
A well-known rule to keep in mind is the Rule of Thirds. Imagine your canvas with two equally spaced horizontal lines and two equally spaced vertical lines, breaking it into nine boxes. Place your focal points where these lines intersect, and your painting will naturally feel more appealing. It’s a neat trick used frequently in both photography and art.
Don’t forget about perspective, though. This is where those distant hills should look tiny compared to that big ol' tree upfront. Playing with size will help create depth and make your landscape painting pop.
And hey, have you ever thought about using leading lines? These are lines that guide a viewer’s eye to the focal point. Roads, rivers, or fences in your composition can do wonders for this.
- Foreground Interest: Add a rock, plant, or something cool in the foreground to pull folks right into your scene.
- Balance: Too much to the left, and you risk the painting tipping over. Not literally, but you get me. Balance things out to keep it pleasing to the eye.
- Simplicity: Don’t cram in everything. It’s okay to leave some stuff out. Less can be more sometimes.
Remember, the point of learning composition is to make sense of everything you want on canvas in a way that's pleasing and makes viewers want to step inside that world. Keep it fun and don't stress too much—play around, and you'll find the composition that's right for you!
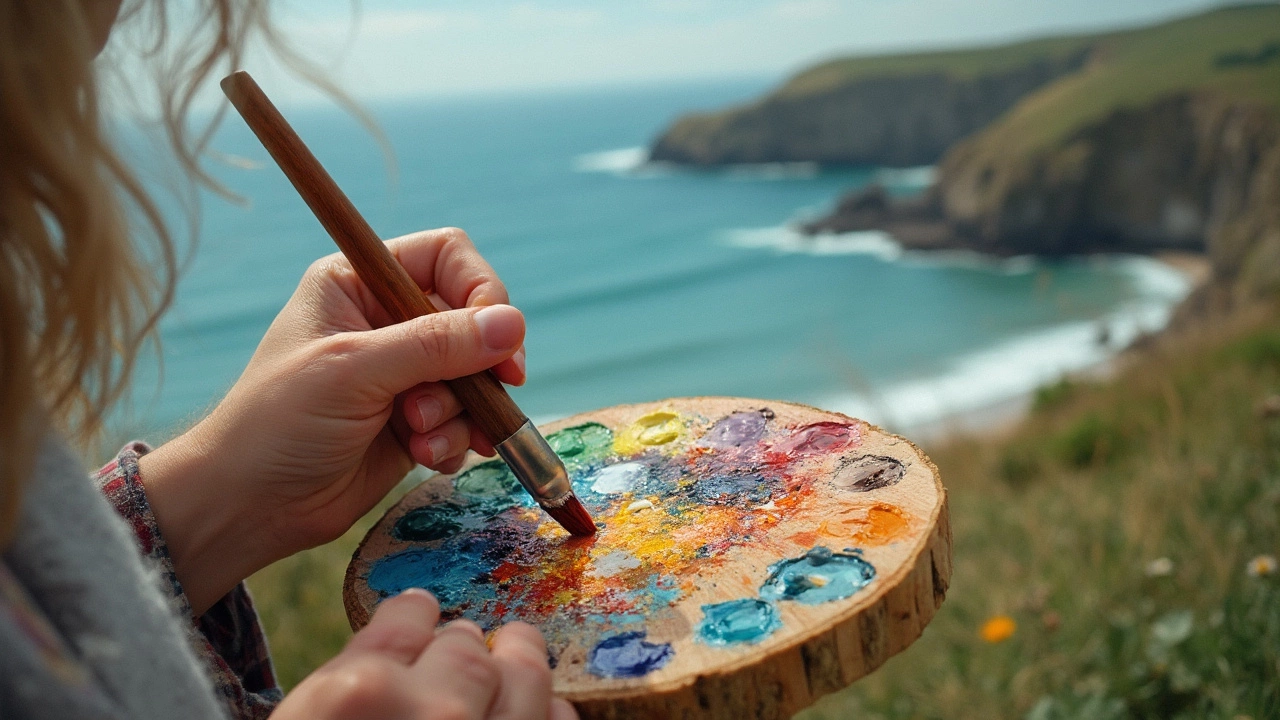
Selecting the Right Colors
Choosing the right colors for your landscape painting is huge. It can make or break your piece. Before you get too excited and start slapping paint on canvas, take a sec to think about the vibe you want to create. Is it a warm, sunlit meadow or a misty, moody forest?
An easy place to start is by sticking with a basic palette of primary colors. That’s red, blue, and yellow, plus black and white for mixing. These fundamentals allow you to create a broad range of colors without splurging on every tube at the art store.
When trying to capture natural settings, consider earth tones. Browns, greens, and grays can help create a more realistic look. And remember, lighter colors can often highlight areas you want to pop out, like the shimmer of sunlight on water, while the darker shades can add depth and shadow.
Feeling bold? Experiment with complementary colors—those tricky opposites on the color wheel. Blues paired with oranges, or reds with greens, can give your painting a nice visual punch without being too in-your-face.
Here’s a quick tip: study real landscapes. Take a look at how the sky changes color as the sun sets, or notice the shades of leaves under different light conditions. This can guide your color choices and help you bring realism to your canvas.
Lastly, lots of beginners overlook the importance of testing. Seriously, create small color swatches on paper before committing to your canvas. This way, you can see how colors interact and make tweaks as necessary.
Layering Techniques
Alright, let's get into the meat of it—layering techniques. This is like building a sandwich. You don’t want all the ingredients stacked randomly, right? It's about getting the right stuff in the right order to make it pop.
Start with the background. Get the sky and the lightest parts set up first. It’s kind of like laying down the foundation. Use broader strokes here to get those big areas covered. It sets the stage for the rest of the painting.
Next is the mid-ground. This is where you'll add elements like trees, hills, or any other stuff that's not quite on the horizon but not zoomed-in either. You can get a little more detailed but still keep those strokes loose. It’s okay to make adjustments as you go—sometimes the paint has a mind of its own!
Finally, tackle the foreground. Think of this as the juicy details. Here’s where all those little touches come in—the flowers in the field, the texture of the water—stuff that catches the eye. Use smaller brushes and bolder colors to really make these elements stand out.
Here's a quick tip: let each layer dry before jumping to the next one, especially if you're using oils or acrylics. Otherwise, things can get muddy, and not in a good way!
| Layer | Focus | Time to Dry (Acrylics) |
|---|---|---|
| Background | Sky, Horizon | 20-30 min |
| Mid-ground | Trees, Hills | 15-20 min |
| Foreground | Details, Textures | 10-15 min |
Embrace the process, and don't stress if it doesn't look perfect immediately. Every layer adds depth and character to your landscape painting. Just keep practicing, and soon layering will feel like second nature.