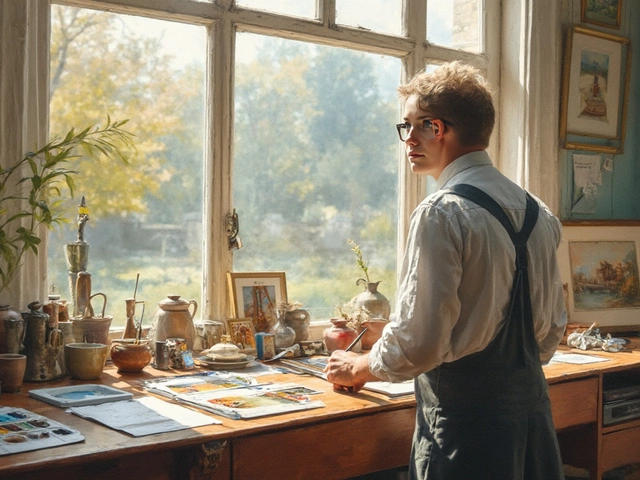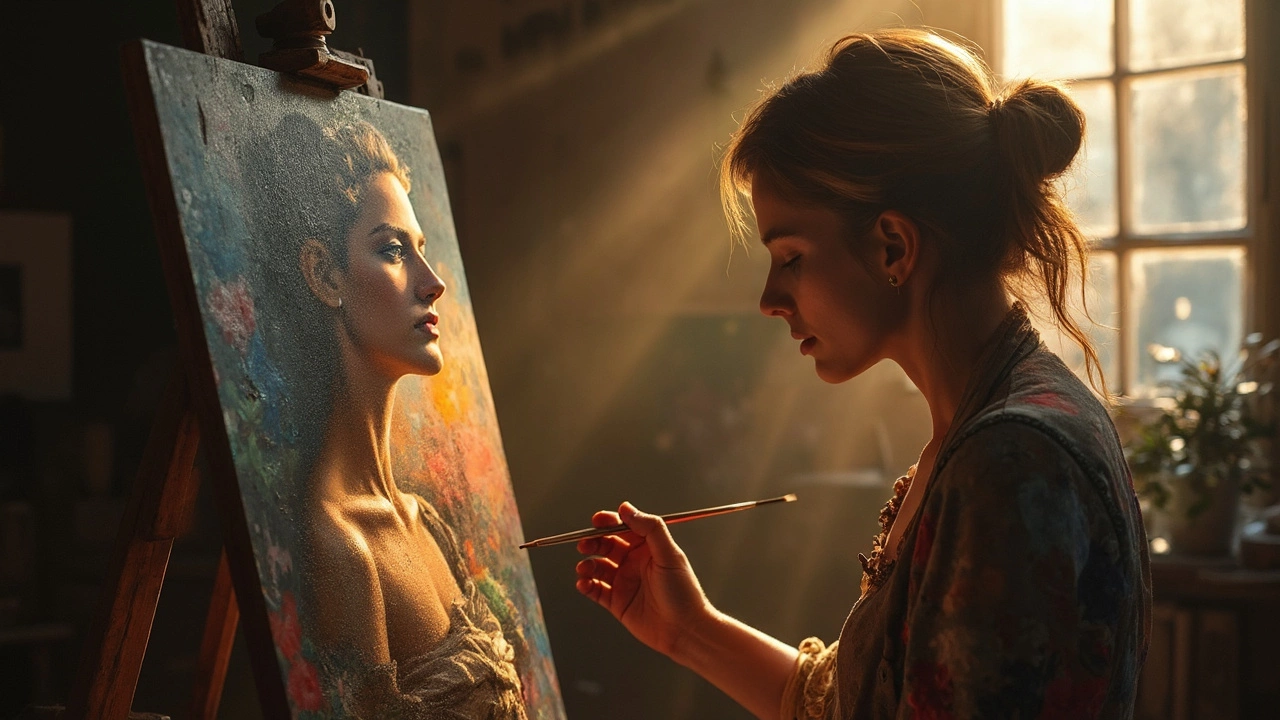
Ever wonder why some portraits seem to capture your attention and others just fall flat? It's not just luck or talent at play — it's about understanding a few key elements that can make or break your artwork. Let's kick things off with lighting. It’s not just about illuminating a subject; lighting sets the mood and tone of your painting. Whether you opt for soft diffused light or dramatic shadows, getting it right can make your portrait pop.
Now, let's talk about emotion. What makes some portraits unforgettable? It's the raw, genuine emotion they convey. Capturing that essence in a painting can be challenging but also incredibly rewarding. A viewer connects with the emotion in a portrait, feeling a sense of intimacy and authenticity.
- Lighting: Setting the Mood
- Emotion: The Heart of the Portrait
- Composition: Guiding the Eye
- Techniques to Enhance Portraits
- Common Mistakes and How to Avoid Them
Lighting: Setting the Mood
Lighting can make a world of difference in portrait painting. It's an art in itself, setting the stage for everything to come. Think about the mood you want to convey; lighting is your best tool to achieve that vibe. Soft lighting, for instance, can create a sense of warmth and gentleness, while harsher lighting can highlight drama and intensity. It's all about what you're aiming for.
Types of Lighting
Natural light is a go-to for many artists because it's forgiving and creates lifelike warmth. Position your subject near a window to let soft light wrap around them. If you're working with artificial light, lamps or studio setups, pay attention to shadows. They can add depth and dimension or risk making your subject look flat.
Lighting Techniques
There are a couple of techniques every artist should know. One is 'Rembrandt lighting,' named after the famous painter. It's that classic triangle of light on the cheek, adding just the right amount of shadow. Then, there's 'split lighting,' where the light hits one side of the face, creating a bold, dramatic look. Don't forget 'butterfly lighting,' which shines down from above, softening features and minimizing shadows.
Practical Tips
- Always test your lighting before starting. Move your light source around until you hit the sweet spot.
- Tweak as you go. Sometimes, just a slight tilt of the head or shift of the lamp changes everything.
- Experiment. Don't lock yourself into one type of lighting setup; play around until you find what fits your portrait best.
Common Pitfalls
Be wary of over-illumination, which can wash out your subject's features. On the flip side, too little light might lack the drama you need. Balance is key.
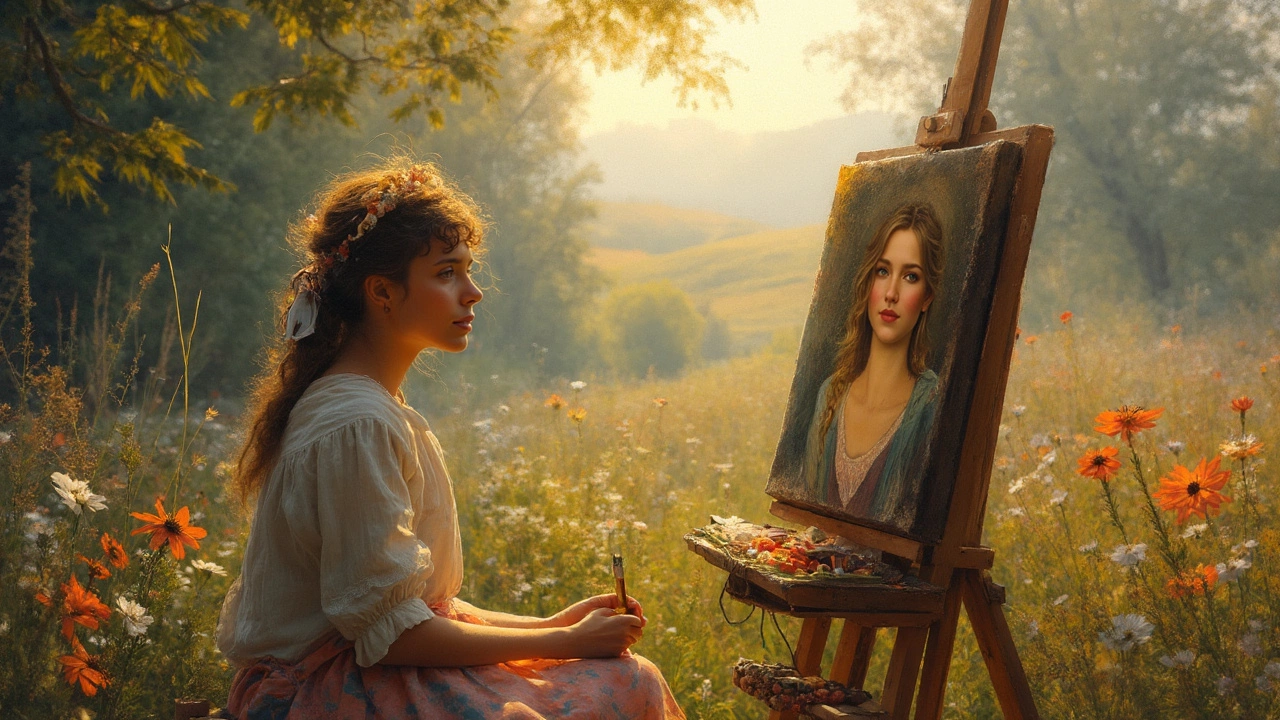
Emotion: The Heart of the Portrait
Capturing emotion in a portrait painting is like striking gold. It transforms a static image into a vivid narrative. But how do you convey something so intangible?
Firstly, focus on the eyes—often called the windows to the soul. Eyes can express a spectrum of emotions from joy to melancholy. Study your subject, notice the sparkle in a laugh or the depth in a lingering gaze. These small details breathe life into your artwork.
Expressions that Speak Volumes
Don't just look at the eyes. A smile can light up a face, but so can a subtle frown or thoughtful glance. Think of da Vinci’s Mona Lisa — her enigmatic smile is endlessly intriguing. Similarly, your portrait should invite viewers to ponder what lies beneath the surface.
Artist Mary Cassatt perfectly captures sentiment in her pieces. As she noted,
"I think that if you shake the tree, you ought to be around when the fruit falls to pick it up."This quote reminds you to observe and capture authentic moments, the real emotions that resonate most.
Connect and Observe
Building a rapport with your subject can unlock an authentic emotional connection. Take time to chat and understand what they’re comfortable expressing. Some people naturally wear their heart on their sleeve, while others may need a bit of coaxing. The key is to keep it genuine; forced expressions rarely translate well onto canvas.
Tethering emotion with strong composition and lighting creates a dynamic piece that feels real. Embracing these elements can elevate your artwork from simple representation to a profound connection with viewers. Keeping your audience engrossed is not just about aesthetics but also about the story your portrait tells.
Composition: Guiding the Eye
How you arrange elements in a portrait can completely change how people see it. A strong composition draws the viewer into the scene and guides their eye within the canvas. This is why many artists focus heavily on it in portrait painting.
One classic trick is the rule of thirds. Imagine your canvas divided into a 3x3 grid. Placing key elements along these lines or at their intersections can make the arrangement more dynamic. This method is often used to bring attention to the subject's eyes, which are typically the focal point in portraits.
Balancing Elements
Another essential aspect is balance. A portrait should feel neither too cluttered nor too sparse. Balancing colors, shading, and the relationship between subject and background creates harmony. Contrast can also play a vital role in balance — like using a light subject against a darker background to emphasize the subject's features.
Leading Lines
Leading lines guide the viewer's attention to specific areas within the portrait. These could be implied lines formed by gaze direction or actual lines within a scene such as threads of hair or the contours of clothing. Utilizing these can create depth and a narrative.
Think of composition as your way to communicate a story. Every line, color, and space should lead the viewer's eye to the subject, highlighting their significance.
The Golden Ratio
If you want to get a bit more mathematical, there's the Golden Ratio, which is believed to be aesthetically pleasing. It provides a more calculated approach to placing elements within your portrait, but many artists still use it to create balanced and engaging images.
Incorporating these techniques effectively in portrait elements can significantly improve the impact of your artwork. Whether you adhere strictly to these rules or use them as a guide, understanding them will definitely up your painting game.
Techniques to Enhance Portraits
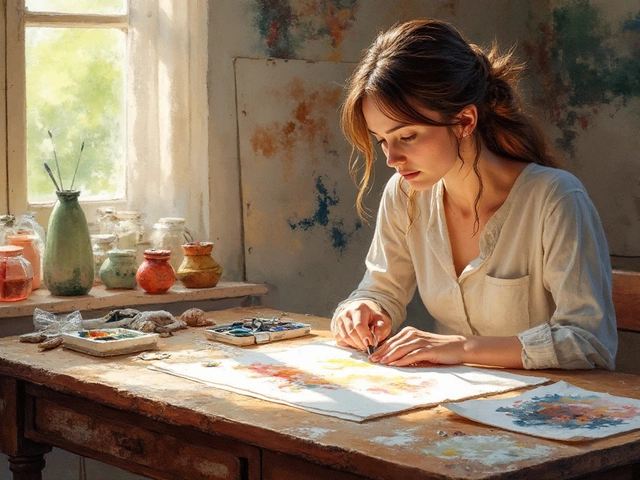
Diving into the art of portrait painting? A few practical techniques can elevate your work from decent to dazzling. It's not always about over-detailing; sometimes, less truly is more. Let's break down some tried-and-true methods.
Mastering Brushes and Strokes
First up, brushwork. It's smart to experiment with different brushes and strokes to see what fits your subject's needs. A soft fan brush gives a gentle texture, perfect for blending skin tones. Whereas a stiff, bristle brush can add rough texture, useful for hair or even fabric details.
Layering for Depth
Don't be afraid of layers. Layering paint can give your portrait depth and dimension, moving it from flat to full of life. Start with thin layers of underpainting to sketch your subject, then gradually add thicker layers of color, building highlights and shadows as you go.
Playing with Colors
When it comes to colors, complementary colors can make your subject stand out. Conceive of your color palette like a mood board: Contrasting hues can accentuate features, while a harmonious palette can bring a soothing cohesiveness to your art.
Practicing Steady Proportions
Getting proportions right? It's less about rigid measurements and more about the overall balance. Sometimes stepping a bit further from your canvas and looking at it from a distance can help catch any disproportion. Also, the classic 'rule of thirds' can provide a natural balance to your composition.
Adding the Finishing Touches
Finally, don't skip the final touches, where details truly shine. Tiny reflections in the eyes, subtle highlights on lips, or even a hint of blush can breathe life into your portrait painting.
And sometimes, the numbers speak for themselves. Learners of all stages benefit from practice, with statistics showing that artists who sketch daily improve by 30% faster than those who don't! So grab your brush, and embrace these techniques to make your portraits stand out.
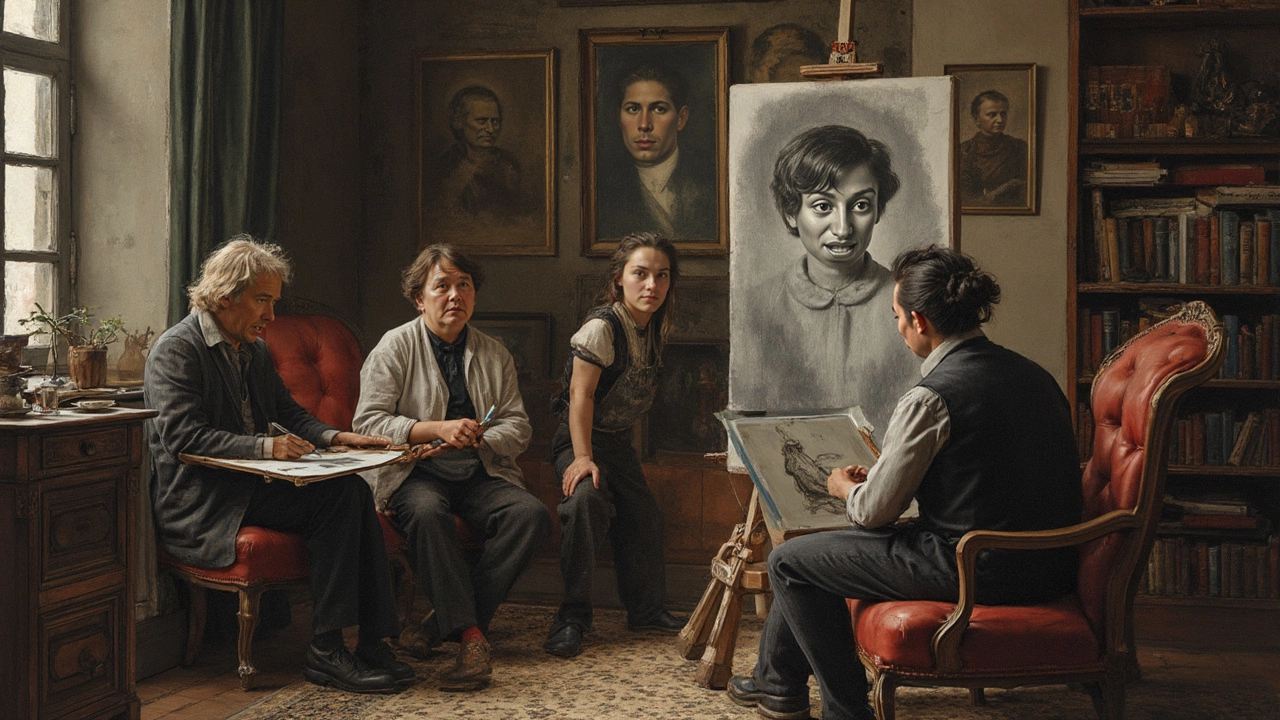
Common Mistakes and How to Avoid Them
Diving into portrait painting can be exciting, but it’s easy to stumble into some pitfalls. Let's break down the usual suspects and how to dodge them.
Misjudging Skin Tones
A classic blunder? Getting skin tones all wrong. Many mix up colors, leaving subjects looking too orange or ghostly pale. The key is subtlety. Study your subject under different light conditions. Mix small amounts of paint to test before going for the full canvas.
Ignoring Proportions
This one can sneak up on you. It's easy to start focusing too much on one part, messing up the entire balance. Try using the grid method. It helps keep things like the eyes and mouth right where they should be.
Overworking Details
Sometimes less is more. Many aspiring artists obsess over tiny details, losing the overall feel. Stand back every so often to see how it all comes together. Try squinting to see if the major forms stand out.
- Tip: Reserve details for focal points like the eyes or facial features that define the personality.
Forgetting the Background
A stark or cluttered background can quickly distract from the subject. Think about how the background color and texture can complement rather than compete with your portrait.
Limited Color Palette
It’s tempting to use every color on your palette, but this can lead to chaos. Consider a limited selection that harmonizes well. This constraint often sparks creativity, forcing you to mix and match effectively. Try a table to keep track of color combinations:
| Primary Color | Mixed Variation | Effect |
|---|---|---|
| Ultramarine Blue | Burnt Sienna | Warm shadows |
| Cadmium Red | Yellow Ochre | Natural skin tones |
Remember, each mistake is a stepping stone. Practice, observe, and don’t be afraid to experiment with these art techniques. That’s where the magic happens.