Painting to Digital Print Resolution Calculator
Recommended Scanning Resolution
When you turn a painting into a digital print a high‑resolution, color‑accurate reproduction that can be sold or displayed online, the process feels both artistic and technical. Below is a practical roadmap that walks you through everything from the first capture to the final packaged print, so you can keep the soul of your original work while reaching a wider audience.
Key Takeaways
- Use a flatbed scanner for small‑to‑medium works; a DSLR on a lightbox works best for larger or textured pieces.
- Capture at least 300DPI for prints up to 18×24in, and 600DPI for larger formats.
- Calibrate your monitor and work in an ICC‑profile‑managed workflow to preserve colors.
- Save the master file as a lossless TIFF; create JPEGs only for web previews.
- Choose giclée printing on archival paper for museum‑grade quality, or a print‑on‑demand service for low‑volume orders.
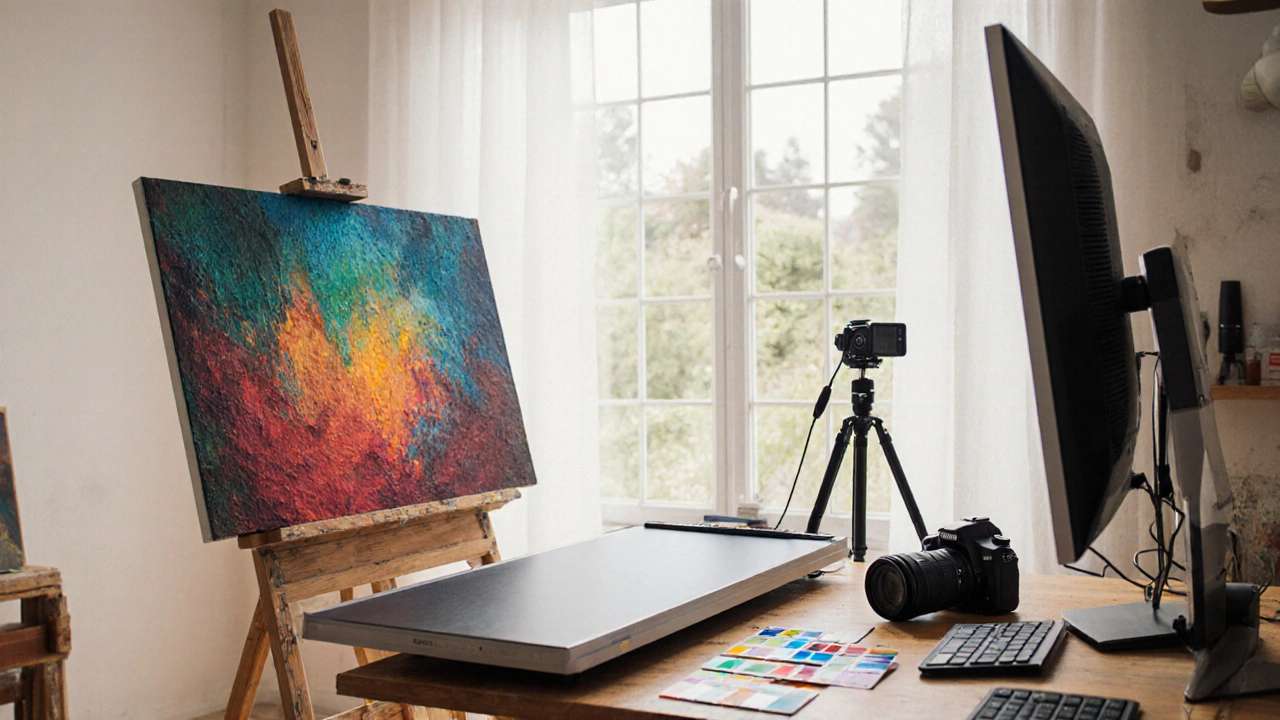
1. Capture Your Artwork: Scan vs. Photograph
The first decision is how to digitize the surface. Both methods can yield excellent results if you follow a few rules.
Flatbed scanner - ideal for paintings up to 12×12in and works with smooth surfaces. It provides even lighting and consistent color data.
Flatbed scanner should be set to the highest optical resolution (usually 4800DPI), then down‑sample to 300-600DPI for the final file to keep file size manageable.
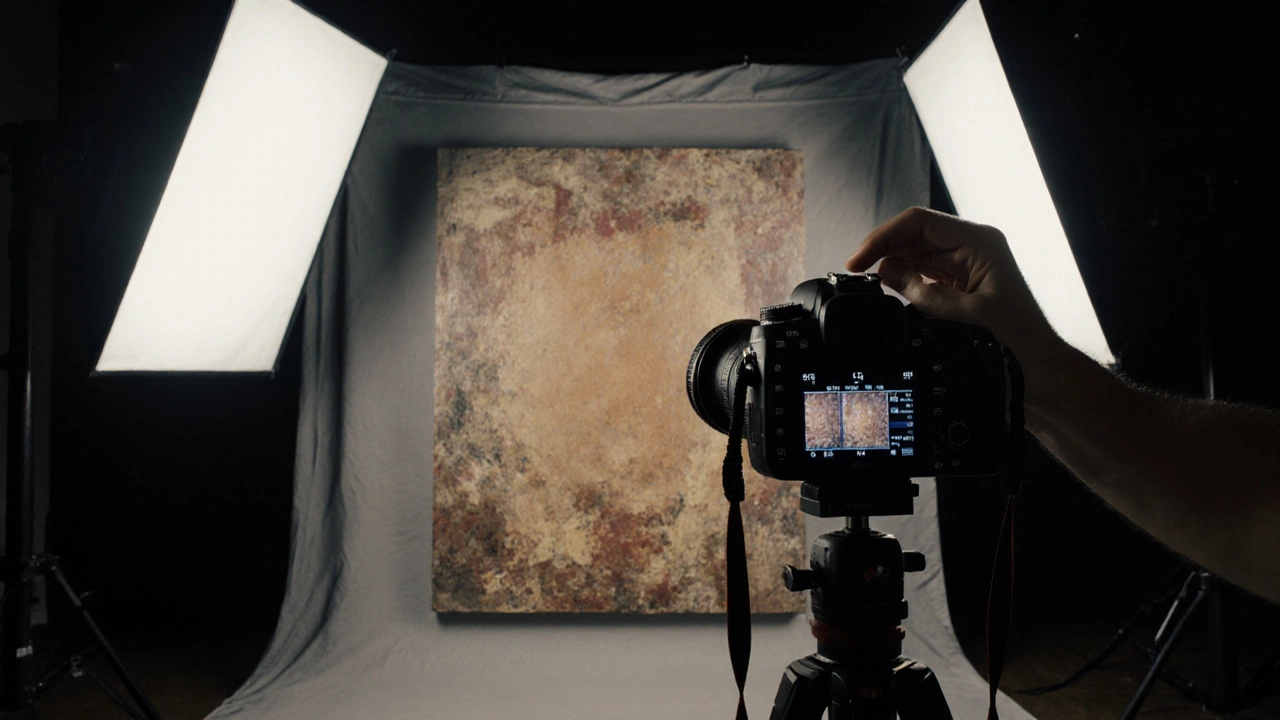
DSLR photog‑raphy - better for large canvases, textured oil paintings, or works with impasto. You’ll need a sturdy tripod, a neutral‑gray backdrop, and a lightbox or two 5000K LED panels to avoid glare.
DSLR camera (a 24MP full‑frame model works well) should be set to RAW, ISO100, and aperture around f/8 for maximum sharpness across the field.
| Aspect | Flatbed Scanner | DSLR Photo |
|---|---|---|
| Best Size | Up to 12×12in | Any size, especially >12×12in |
| Surface Texture | Smooth, flat | Textured, impasto |
| Lighting Control | Built‑in, even | External LEDs or lightbox needed |
| Typical Cost | $100‑$300 scanner | Camera already owned; $0‑$50 for lights |
2. Clean Up the Capture in Software
After you have a RAW or TIFF master, move to an editing suite for color correction, dust removal, and cropping. Adobe Photoshop is the industry standard, but free alternatives like GIMP work fine.
- Dust & scratches: Use the “Dust & Scratches” filter or the Spot Healing Brush at a low radius.
- Color balance: Compare the digitized image to a calibrated color swatch (e.g., a Pantone chip) and adjust Levels or Curves.
- Crop & straighten: Keep the original aspect ratio; add a small bleed (1/8in) if you plan to print to the edge.
- Sharpen: Apply a subtle Unsharp Mask (Amount≈85%, Radius≈0.8px) - avoid over‑sharpening which creates halos.
3. Master Color Management with ICC Profiles
Color fidelity is the biggest hurdle when moving from a physical painting to a digital file. An ICC profile tells your software how your monitor, scanner, and printer interpret colors.
- Calibrate your monitor using a hardware colorimeter (e.g., X‑Rite i1Display). Set D50 white point and a gamma of 2.2.
- When scanning, select the AdobeRGB (1998) profile for the widest gamut.
- For Photoshop, assign the same AdobeRGB profile to the image, then convert to the printer’s profile (often supplied by the print shop) before saving the final file.
If you skip this step, you’ll end up with prints that look dull or overly saturated.
4. Choose the Right File Format and Resolution
Your master file should be lossless to keep every nuance of brushstroke.
- TIFF (uncompressed or LZW) - keeps layers, color profiles, and high bit depth (16‑bit/channel). Ideal for archival storage and sending to professional printers.
- PNG (8‑bit) - useful for web previews when you need transparency.
- JPEG (maximum quality, q=90‑95) - only for low‑resolution mock‑ups; never for final prints.
Resolution guidelines:
- 300DPI for prints up to 18×24in.
- 600DPI for large‑format prints (30×40in) or when the original has fine detail.
5. Pick a Printing Method That Matches Your Goal
Two main routes dominate the market: giclée printing on archival paper, and print‑on‑demand services like Printful or Fine Art America.
- Giclée printing - uses pigment‑based inks on museum‑grade paper (e.g., Hahnemühle Photo Rag). Delivers color depth, longevity (100+years), and a tactile surface that resembles the original.
- Print‑on‑demand - uploads your file to a platform; they handle production, packaging, and shipping. Good for testing market demand without inventory.
If you want the highest quality, order a proof from a local fine‑art lab. Check that they accept your ICC‑profile‑converted TIFF and that they offer a 1:1 proof before the full run.
6. Proof, Adjust, and Finalize
Even with perfect color management, the first print can reveal hidden issues (banding, unexpected contrast). Follow this loop:
- Print a small 8×10in test on the same paper.
- Compare it side‑by‑side with the original in natural daylight.
- If colors are dull, increase saturation in the master file by 2‑3%.
- If shadows look muddy, lift the Blacks a touch in Curves.
- Apply the tweaks, re‑export the TIFF, and order the full‑size print.
Document each version with a filename convention like Title_2025_01_TIFF.tif so you can track changes.
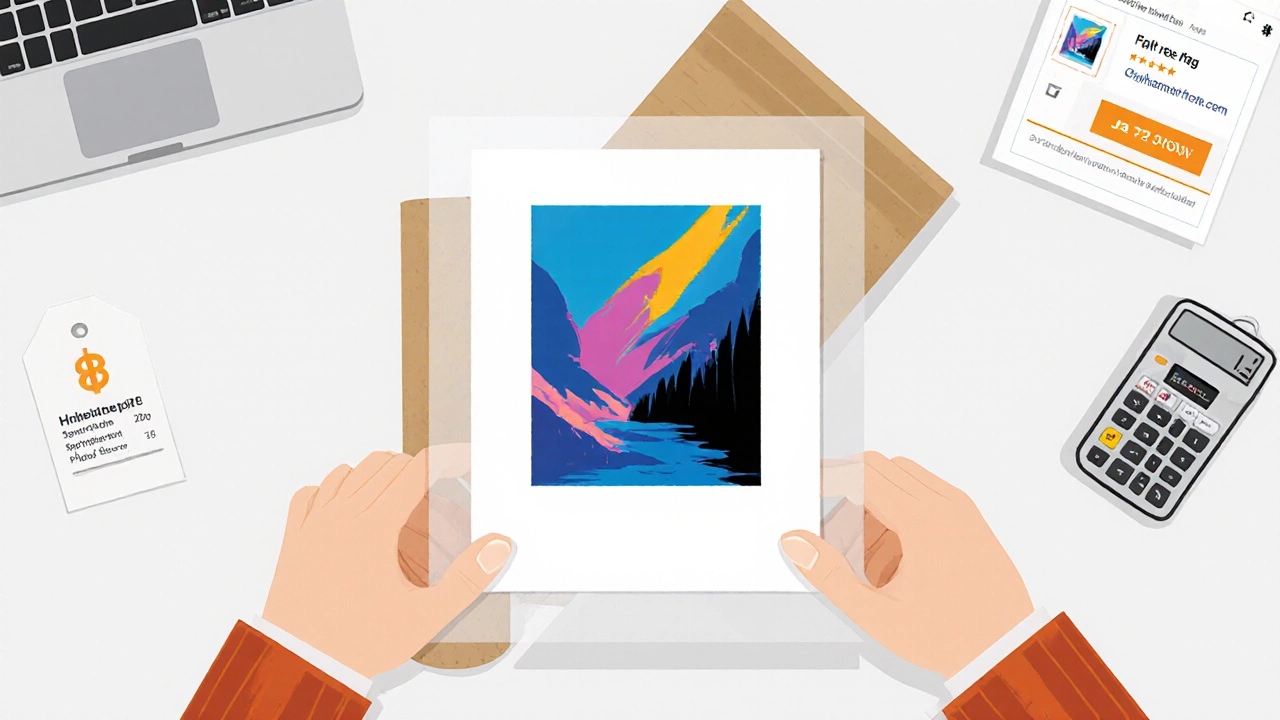
7. Packaging, Pricing, and Selling Your Prints
When the prints arrive, protect them with acid‑free sleeves and sturdy cardboard tubes (for rolled canvas). For pricing, calculate:
- Cost of paper + ink + labor (usually ~30% of retail).
- Market rates for similarly sized prints (research on Etsy or local galleries).
- Desired profit margin (artists often aim for 2‑3× cost).
List your prints on platforms that cater to art buyers - Etsy, Shopify, or a dedicated gallery website. Include high‑resolution mock‑ups (the JPEGs you saved earlier) and a short story about the original painting to engage buyers.
Frequently Asked Questions
Do I need a professional scanner, or can a home scanner work?
A decent flatbed scanner (4800DPI optical) works for most artworks up to 12×12in. The key is to scan at the highest optical resolution and then down‑sample. For large or textured pieces, a DSLR set up with a lightbox gives better results.
What file format should I send to a print shop?
Send an uncompressed TIFF with the printer’s ICC profile embedded. Keep the color mode in 16‑bit RGB until the final conversion to the printer’s CMYK profile.
How can I ensure the colors match the original painting?
Calibrate your monitor, use a color‑accurate scanner or a properly lit DSLR, and work in a fully ICC‑managed workflow. Always order a proof before the full run.
Is giclée printing really worth the extra cost?
If you’re selling limited‑edition fine‑art prints, giclée offers archival quality, richer colors, and a tactile feel that buyers associate with high‑end artwork. For mass‑market merchandise, a print‑on‑demand service is more economical.
Can I sell digital prints without printing them first?
Yes. Many artists offer downloadable high‑resolution PDFs or JPEGs on platforms like Gumroad. Just make sure the file is at least 300DPI and includes your ICC profile, and consider watermarking low‑resolution previews.