Mar 31, 2025
How to Start Your Art Show Journey
Putting theory into practice is where the magic happens. Start each portrait by sketching a loose layout: block in the head, mark the light direction, and lay down a faint background shape. This quick draft lets you test different eye lines and pose options without committing to paint. Many Pembrokeshire artists swear by a “portrait still‑life” exercise—arrange a simple object (like a seashell) beside the model to practice scale and spatial relationships before tackling the full figure. When you move to paint, build the skin tones in layers: a thin underpainting establishes value, then richer glaze layers bring depth. Keep an eye on the interplay between light and color; if a shadow feels too cool, warm it up with a hint of alizarin or burnt sienna to match the overall lighting scheme. Common pitfalls include over‑detailing the background, using a flat light that flattens the face, or selecting a palette that clashes with the chosen mood. To avoid these, step back frequently and ask: does the lighting highlight the most expressive part of the face? Does the color palette support the story I want to tell? Does the composition guide the viewer’s gaze naturally? Answering these questions as you work ensures each decision reinforces the others. Below you’ll find a collection of articles that dive deeper into each of these topics—from choosing the perfect skin‑tone palette to mastering dramatic lighting setups—so you can keep sharpening your portrait composition skills day by day.
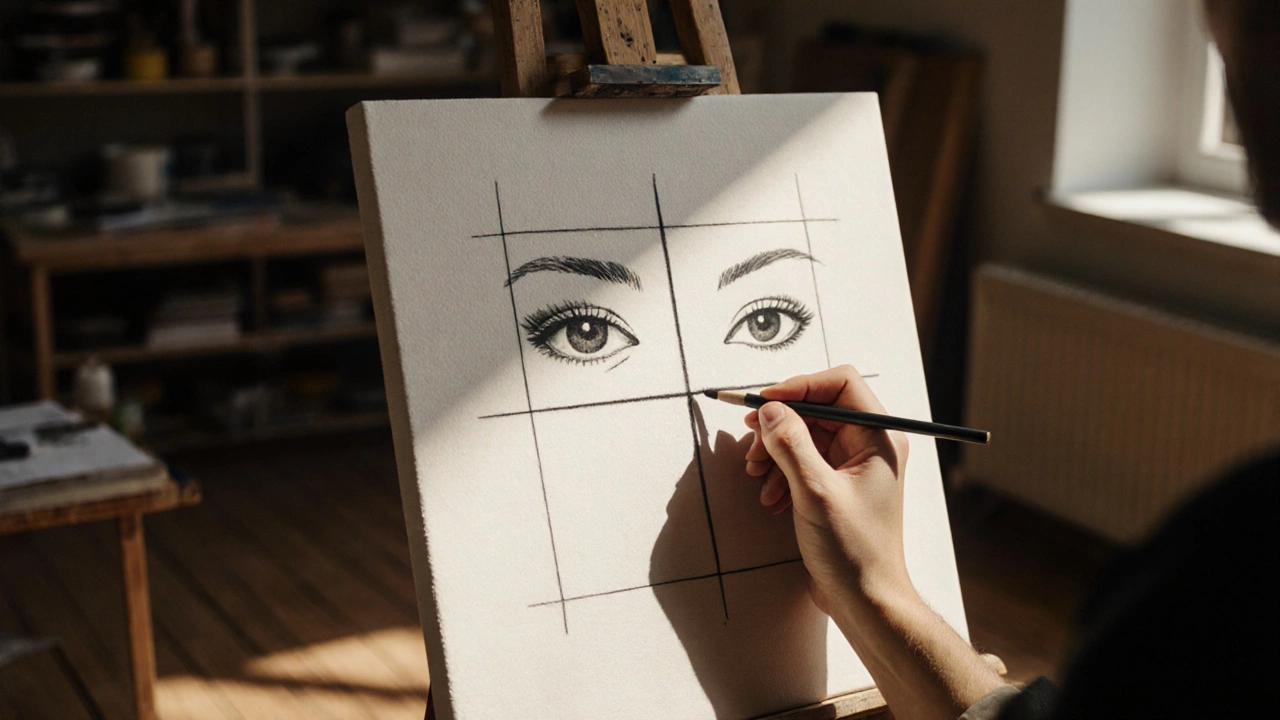
Learn how the rule of thirds shapes portrait painting, from eye placement to combining with golden ratio, lighting, and color. Follow a step‑by‑step checklist and avoid common compositional pitfalls.