Convert Image to Digital Art – Quick Guide for Every Artist
When working with image-to-digital‑art conversion, the process of turning a photo, scan or hand‑drawn sketch into a fully editable digital piece. Also known as digital image transformation, it lets you keep the original feel while adding unlimited color, texture and effects.
Why bother? Artists use this workflow to preserve old drawings, create eye‑catching social posts, or prepare files for print on demand. Convert image to digital art bridges the gap between analog charm and modern flexibility, so you can share work online, sell prints, or just have a clean master file for future tweaks.
Getting started means picking the right capture device. A flatbed scanner, delivers consistent lighting and high DPI for line work works great for paper sketches. If you’re on the go, a smartphone camera with good lighting can do the job – just make sure the image is sharp and the background is plain.
Once the image is in your computer, you’ll need illustration software, tools like Photoshop, Procreate or free options such as GIMP that let you paint over, layer and edit your picture. These programs provide brushes, adjustment layers, and selection tools that turn a simple scan into a polished digital illustration.
The workflow breaks down into four easy steps. First, capture the source at a high resolution (300 dpi or more for prints). Second, clean the image – erase stray marks, adjust contrast, and set a transparent background if needed. Third, import into your software and either trace the lines with a brush or use a vector‑trace feature. Finally, color and refine using layers, blending modes and texture brushes. This sequence digital art creation, requires both a clean source file and the right software tools to look professional.
Common pitfalls hide in the details. Low‑resolution scans become pixelated when you zoom in, and wrong color profiles can shift hues between screen and print. Keep your files in RGB while you work, then switch to CMYK before sending to a printer. Use separate layers for line work, shading and highlights – this lets you tweak each part without affecting the whole image.
Ready for the next level? vector conversion, turns raster lines into scalable paths that never lose quality is perfect for logos or large‑format prints. AI‑upscalers can also enhance detail without introducing blur, making old photos look sharper. Both options expand what you can do with a single source image and open doors to new revenue streams, like merchandise or NFT art.
What’s Coming Up Next
Below you’ll find a curated list of articles that dive deeper into each part of this process – from choosing the best scanner to mastering Procreate brushes, plus real‑world tips on monetizing your digital creations. Let’s keep the momentum going and turn those scans into stunning digital art together.
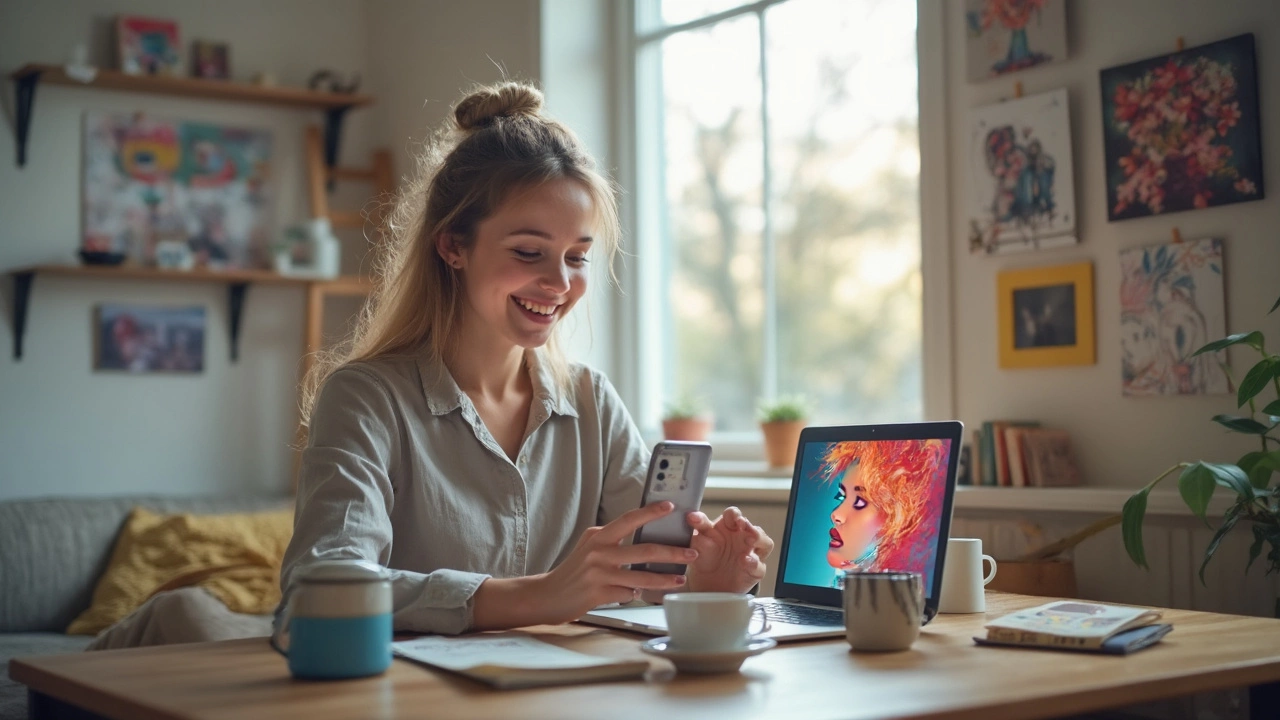
Turning a regular photo into digital art isn't just for tech pros or artists—you can do it right on your phone or laptop. This guide breaks down the easy and practical steps to convert images to digital art, no matter your skill level. You’ll learn about free and paid tools, what to expect with different styles, and smart tips to make your digital creations pop. Whether you’re making profile pics, gifts, or just having fun, these steps will help you get professional-looking results. Forget the confusing jargon—this article gets straight to what works.
