Oil Painting Brush Preparation Guide
Answer these questions to get the perfect preparation steps for your current painting session.
Recommended Procedure:
The Short Answer: No, But It Depends on What You Mean
If you are picking up a brush for the first time to work with oil paint, the instinct to wet it might come from years of using watercolors or acrylics. In those mediums, water is the vehicle that carries pigment across the canvas. With oils, that logic falls apart immediately. If you dip your bristles into water before loading them with paint, you will create a messy, unworkable situation. Water and oil do not mix. Instead of helping the paint flow, the water will cause the pigment to bead up, slide off the brush in clumps, or simply refuse to adhere to the bristles.
So, should you wet your brush before oil painting? Generally, no. You should start with a clean, dry brush. However, "wet" can mean different things depending on whether you are talking about water, solvent, or medium. Understanding this distinction is the difference between a frustrating morning and a smooth workflow. Let’s break down exactly how to prepare your tools so you can focus on making art, not fighting your supplies.
Why Water Is the Enemy of Oil Paint
To understand why we avoid water, we have to look at the chemistry of pigment. Oil paints consist of finely ground color particles suspended in a drying oil, typically linseed oil or safflower oil. This mixture is hydrophobic, meaning it repels water. When you introduce water to an oil-based system, surface tension takes over. Imagine trying to stir honey into a glass of ice-cold water; it just sits there, refusing to integrate.
If your brush retains moisture from washing, that water acts as a barrier. When you load the brush with paint, the oil cannot penetrate the damp fibers evenly. This leads to uneven application, streaky marks, and a loss of control. More importantly, if water gets trapped inside the handle or ferrule (the metal part holding the bristles), it can promote rust and rot, shortening the life of expensive tools. For traditional oil painting, water has no place in the mixing process unless you are using specific alkyd mediums designed to accept small amounts of moisture, which is an advanced technique best left for later.
The Traditional Method: Solvents and Odorless Mineral Spirits
Historically, painters have used solvents to "wet" or condition their brushes. The goal here isn't to make the brush soggy, but to remove any residual dust, manufacturing oils, or dried paint from previous sessions. The standard tool for this job is Odorless Mineral Spirits (OMS). Unlike harsh turpentine, OMS is refined to remove strong smells while still effectively cutting through grease and paint.
Here is the proper way to use solvent:
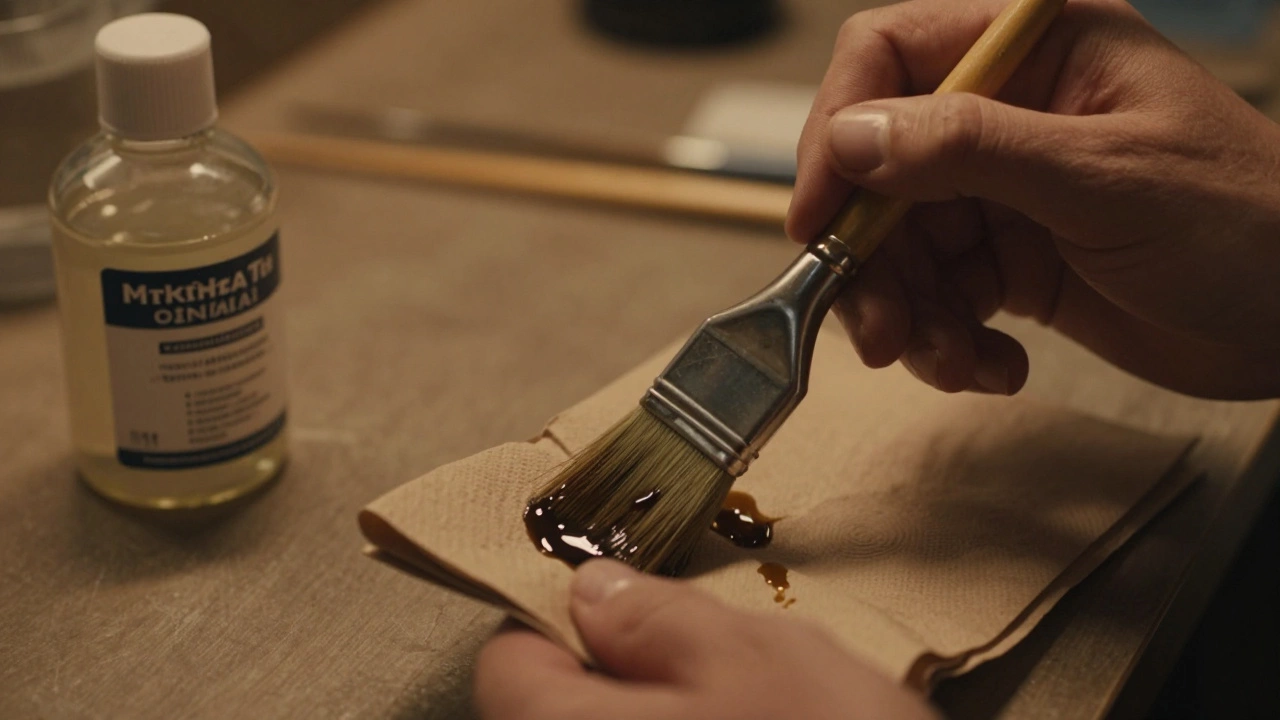
- Initial Clean: Dip the tip of your dry brush into a jar of fresh OMS. Swirl it gently to loosen any debris.
- Wipe Dry: This is the crucial step. Take a paper towel or rag and thoroughly wipe the brush until it feels almost dry to the touch. You want the bristles to be clean and flexible, not dripping wet with solvent.
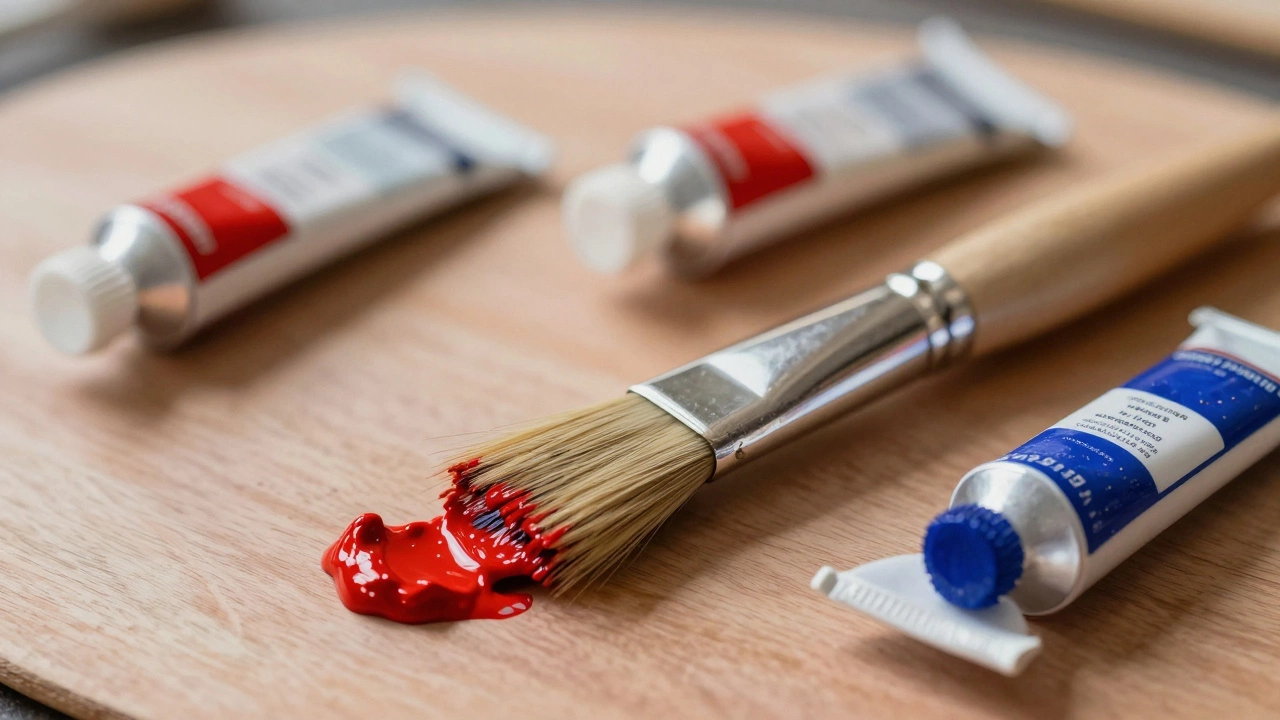
- Load Paint: Now pick up your oil paint. The clean, slightly conditioned bristles will hold the paint evenly and release it smoothly onto the canvas.
Using too much solvent is a common beginner mistake. If your brush is dripping with spirits, you are essentially diluting your paint every time you touch the canvas. This creates weak, chalky layers that may not bind properly. The brush should act as a delivery system, not a reservoir for thinner.
The Modern Shift: Solvent-Free Oil Painting
In recent years, many artists, including myself, have moved away from solvents entirely. Breathing in fumes, even from "odorless" spirits, is not ideal for long-term health, and disposing of chemical waste is an environmental headache. This has given rise to the solvent-free movement, often associated with brands like Golden Artist Colors and their Galkyd medium.
In a solvent-free setup, you never "wet" your brush with chemicals. Instead, you rely on mechanical cleaning. Here is how it works:
- Start Dry: Begin with a completely dry, clean brush.
- Paint: Apply your colors directly from the tube or palette.
- Switch Colors: When you need a new color, don't wash the brush. Simply wipe it clean on a rag or paper towel until no trace of the old color remains.
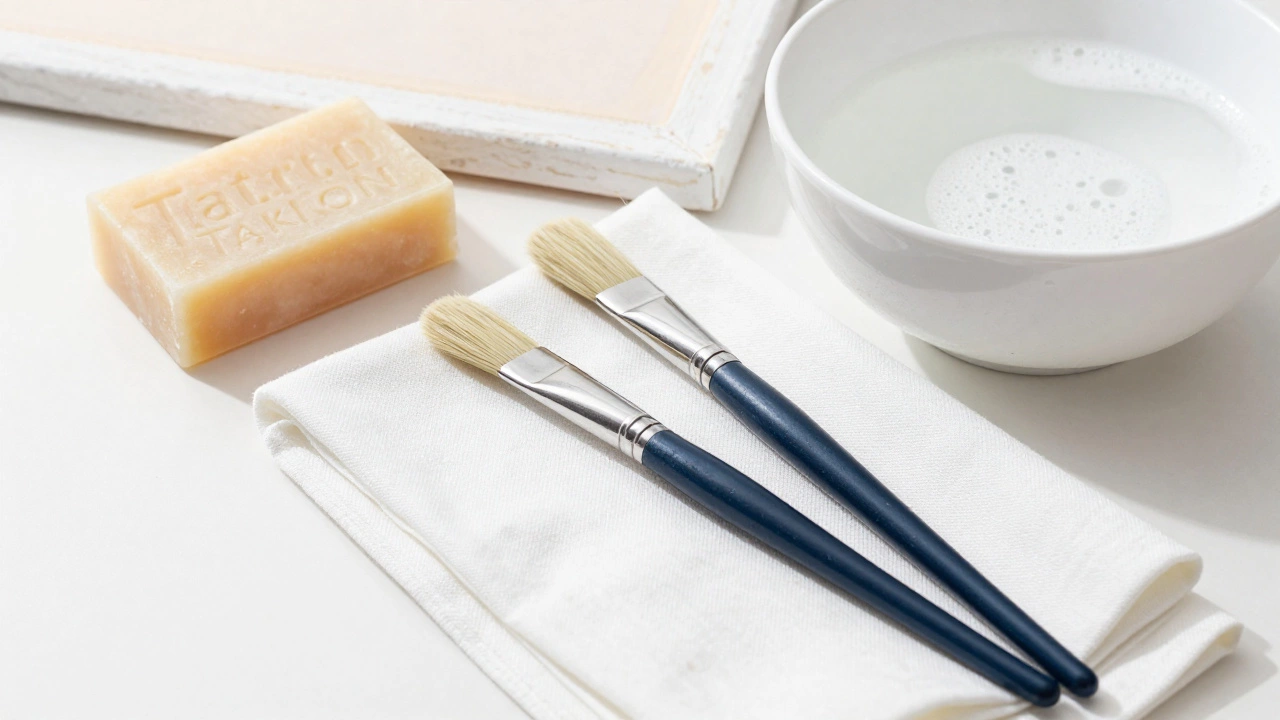
- End of Session: Clean the brush with a natural soap like The Master's Brush Cleaner or a mild dish soap and warm water. Rinse thoroughly and reshape the bristles.
This method keeps your workspace safer and cleaner. The brush stays responsive because you aren't saturating it with thinners that can degrade the natural hairs over time. Synthetic brushes, made from materials like nylon or Taklon, perform exceptionally well in this environment because they resist absorbing oil, making them easier to keep clean.
When "Wetting" Actually Helps: Using Mediums
There is one scenario where adding liquid to your brush makes sense: when you are using a painting medium. A medium is an additive that modifies the properties of the paint, such as increasing gloss, speeding up drying time, or improving flow. Common mediums include Linseed Oil, Walnut Oil, or Alkyds like Galkyd.
If you plan to use a medium, you might dip your brush into it briefly before picking up paint. This ensures that the first stroke on your canvas has the desired consistency. However, this is less about "wetting" the brush and more about pre-mixing your ratio. Most experienced painters prefer to mix the medium directly onto their palette with the paint rather than wetting the brush separately. This gives you more control over the viscosity of each stroke. If you do wet the brush with medium, wipe off the excess. You want a light coating, not a puddle.
Brush Selection Matters More Than Moisture
Often, the question of whether to wet a brush stems from frustration with the brush itself. If your paint isn't flowing, the issue might be the type of bristle you are using. Natural hair brushes, such as Hog Bristle, have split ends called flags that hold large amounts of paint. They are stiff and great for impasto work (thick, textured paint). They don't need to be wetted; they need to be loaded generously.
Synthetic brushes, on the other hand, are smoother and hold less paint. They are better for glazing or detailed work. Because they don't absorb oil as much, they stay cleaner longer. If you find yourself constantly needing to add liquid to get the paint to move, consider switching to a softer synthetic brush or adjusting your paint-to-medium ratio on the palette instead of altering the brush's state.
Maintaining Brush Health: Beyond the First Stroke
How you treat your brush after painting is just as important as how you prepare it. Leaving oil paint on a brush overnight will harden the bristles, rendering the tool useless. Even if you cap the brush, the oil will eventually oxidize and glue the hairs together.
For daily maintenance, follow these steps:
- Immediate Wipe: After each session, wipe the brush on a rag to remove as much paint as possible.
- Deep Clean: Use a dedicated brush soap or solvent to remove remaining residue. Massage the base of the bristles with your fingers to ensure no paint is trapped near the ferrule.
- Rinse and Reshape: Rinse under lukewarm water (if using soap) until the water runs clear. Gently squeeze the bristles back into their original shape.
- Dry Flat: Lay the brush flat on a towel to dry. Never store brushes standing up with the bristles facing down, as water or solvent can seep into the handle and loosen the glue.
A well-maintained brush requires minimal preparation. It will be ready to go the moment you pick it up, saving you time and reducing the amount of waste you generate.
Common Mistakes to Avoid
New oil painters often fall into a few traps regarding brush preparation. Recognizing these early can save you money and frustration.
The "Dripping" Brush: Never let your brush drip solvent or medium onto the canvas. This creates unintended pools of liquid that can weaken the paint film. Always blot the brush on a paper towel.
Over-Thinning: Adding too much medium or solvent to your brush makes the paint transparent and weak. Remember the "Fat over Lean" rule. Early layers should be leaner (more solvent/medium), and later layers should be fattier (more oil). Wetting your brush excessively disrupts this balance.
Ignoring Bristle Type: Don't use a soft sable brush for heavy texture work, and don't use stiff hog bristles for fine details. Match the tool to the task, and you won't feel the need to manipulate the brush with liquids.
Frequently Asked Questions
Can I use water to clean my oil painting brushes?
Yes, but only after you have removed most of the paint with a rag or solvent. Water alone cannot dissolve oil paint. You must use a specialized brush soap or mild dish detergent along with warm water to emulsify and remove the remaining oil residue. Never soak brushes in water without soap, as it can damage the bristles and handle.
Do I need to wet my brush with odorless mineral spirits before starting?
Only if the brush is dirty or has residual paint from a previous session. For a brand new or freshly cleaned brush, it is best to start dry. If you choose to use solvent, dip the tip lightly and then wipe it thoroughly on a paper towel until it is nearly dry. You want clean, flexible bristles, not a saturated brush.
What is the best way to clean brushes without using solvents?
The solvent-free method involves wiping the brush clean on a rag after each color change. At the end of the day, clean the brush using a natural brush cleaner like The Master's Brush Cleaner or a mild dish soap with warm water. Work the soap into the bristles with your fingers, rinse until the water is clear, reshape the brush, and lay it flat to dry.
Why does my oil paint bead up on the canvas?
Beading usually occurs when there is too much solvent or medium on the brush, or if the canvas is not properly sized. It can also happen if you are trying to apply paint over a layer that is still too wet or greasy. Ensure your brush is wiped dry before applying paint, and allow previous layers to dry sufficiently before adding new ones.
Is it better to use natural or synthetic brushes for oil painting?
It depends on your style. Natural hog bristle brushes are excellent for thick, textured applications because they hold a lot of paint and have stiff bristles. Synthetic brushes are better for smooth blending, glazing, and detailed work because they are softer and do not absorb as much oil. Many artists use a combination of both.
Can I leave my oil painting brushes in solvent overnight?
No, you should not leave brushes soaking in solvent overnight. Prolonged exposure to solvents can degrade the bristles, especially natural hairs, and can loosen the glue holding the bristles in the ferrule. It is also a fire hazard and releases harmful fumes. Always clean and dry your brushes properly after use.