Landscape Perspective & Value Simulator
Experiment with the sliders below to see how changing the horizon line, atmospheric haze, and shadow intensity changes the perceived depth of a simple landscape scene.
Visual Guide
Most beginners stare at a blank page and freeze. They see mountains, trees, and clouds as one giant, confusing blob. The secret isn't talent; it's breaking the scene down into simple shapes. You don't need expensive gear or years of training to capture that sunset you saw last week. You just need a pencil, paper, and a method that stops you from getting overwhelmed.
This guide strips away the art-school jargon. We're going to build a landscape from scratch using basic geometry and light logic. By the end, you'll have a finished drawing that feels alive, not flat. Whether you prefer graphite, ink, or even digital tools, the underlying structure remains the same. Let's get your hands dirty.
The Quick Summary
- Start with thumbnails: Small sketches help you plan composition without committing to details too early.
- Use horizon lines wisely: Placing the horizon high emphasizes the foreground; placing it low highlights the sky.
- Layer your values: Work from light to dark (or vice versa) in stages, not all at once.
- Simplify textures: Trees are masses, not individual leaves. Rocks are geometric blocks, not jagged spikes.
- Check your perspective: Objects further away must be smaller and less detailed.
Gear Up Without Breaking the Bank
You might think you need a $50 set of Faber-Castell pencils. You don't. A standard HB school pencil works fine for initial sketches. What matters is control. If you're serious about shading, grab a few soft leads like 2B or 4B. These lay down darker tones with less pressure, which prevents you from digging grooves into your paper.
Paper choice affects how much detail you can push. Smooth Bristol board suits crisp line work and precise hatching. Rough watercolor paper, ironically, holds graphite well for textured landscapes because the tooth grabs the pigment. Avoid glossy printer paper-it repels graphite and makes blending impossible.
| Item | Why You Need It | Budget Alternative |
|---|---|---|
| Graphite Pencils (HB, 2B, 4B) | Versatile range of tones from light sketch to deep shadow. | A single mechanical pencil with 0.7mm lead. |
| Kneaded Eraser | Lifts graphite gently without damaging paper fibers; great for highlighting fog or mist. | Standard pink eraser used carefully. |
| Tortillon (Blending Stump) | Creates smooth gradients for skies and distant hills. | Finger smudging (oils can cause blotches later). |
| Fixative Spray | Prevents smudging once you're done. | Careful handling and framing behind glass. |
Step 1: The Thumbnail Sketch
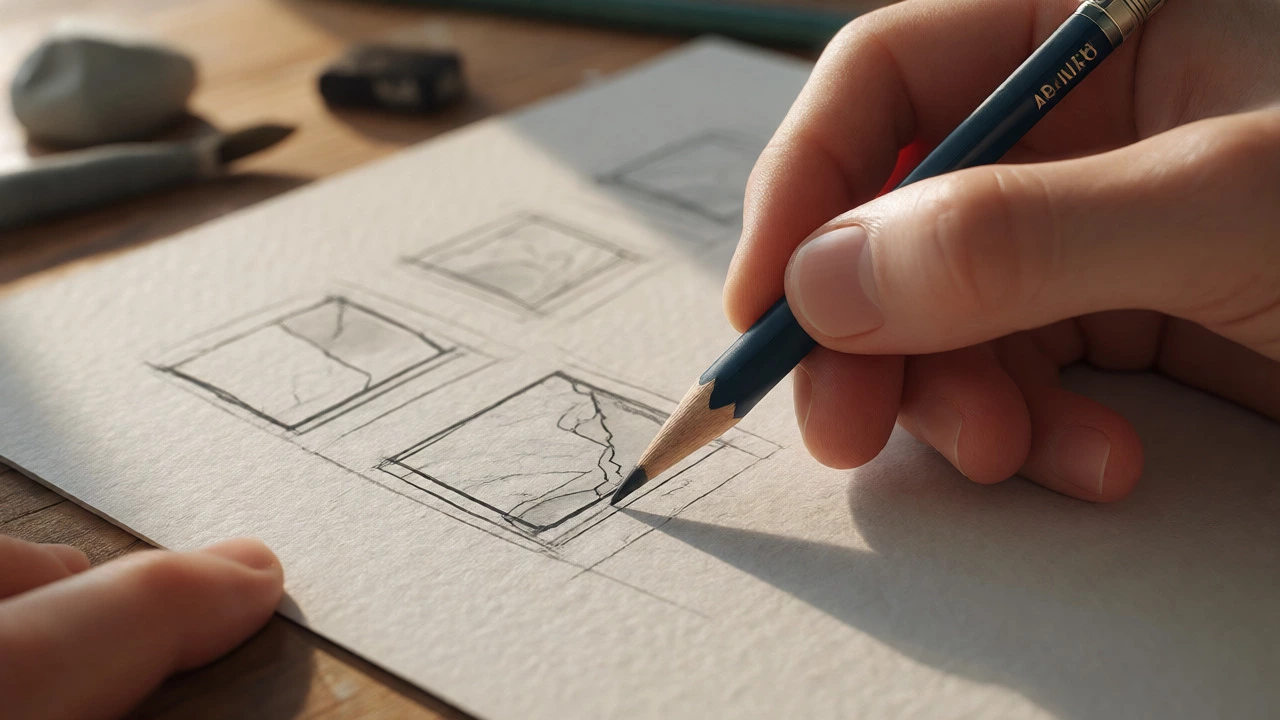
Before you draw a single tree, make three tiny rectangles on scrap paper. Each should be no bigger than a credit card. This forces you to think big picture. In these thumbnails, ignore details. Focus on where the land meets the sky. Is the horizon centered? Boring. Try moving it up so the ground dominates, creating drama. Or move it down to let the clouds take center stage.
Decide on your focal point. Where does the eye go first? Maybe it's a lone cabin on a hill or a winding river. Mark this spot roughly in your thumbnail. This step saves hours of frustration later. I've seen students erase entire pages because they realized halfway through that their mountain blocked their main subject. Thumbnails prevent that disaster.
Step 2: Establishing Perspective
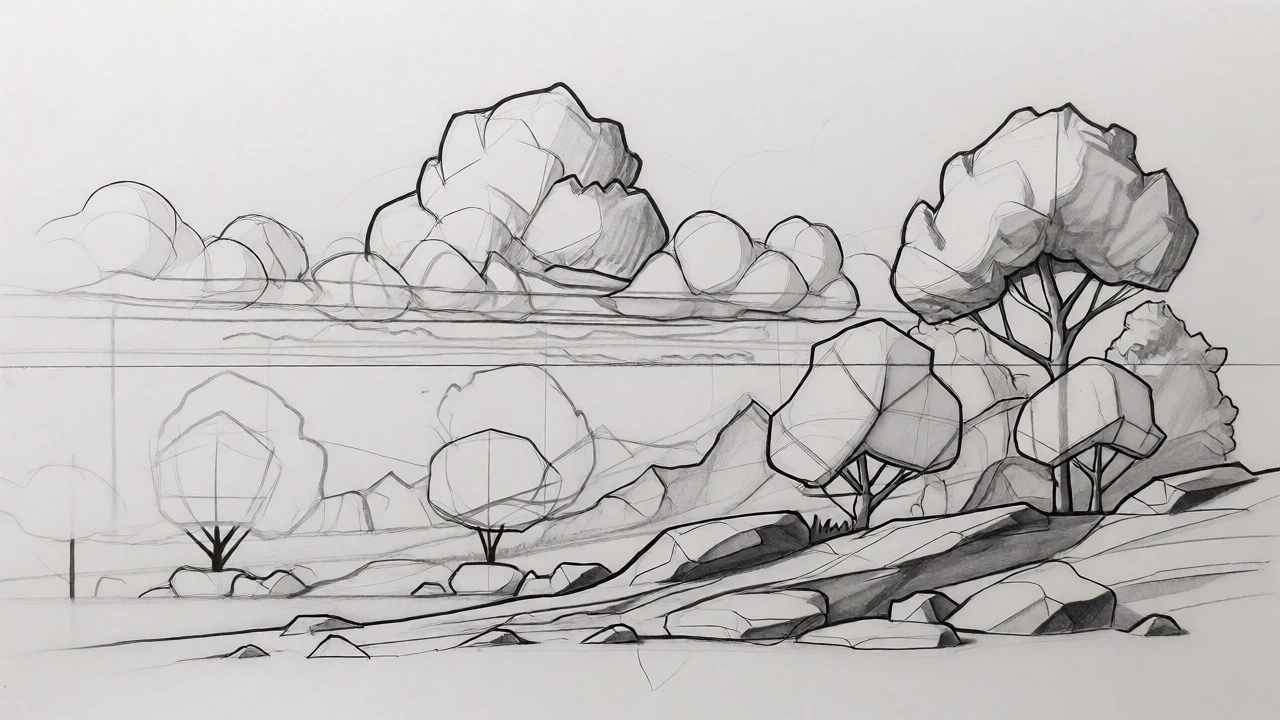
Landscapes live and die by depth. If everything looks the same size, your drawing looks like a wall. You need linear perspective. Imagine two parallel lines extending into the distance until they meet at a vanishing point on the horizon line. Roads, fences, and rivers follow these rules.
For natural scenes, use atmospheric perspective. Distant objects appear lighter, bluer, and less detailed due to particles in the air. Your foreground trees should have sharp edges and dark shadows. The mountains behind them? Soften those edges. Use lighter strokes. This contrast creates the illusion of space. Don't try to draw every leaf on a distant forest-just suggest mass with loose scribbles.
Step 3: Blocking in Shapes
Now transfer your chosen thumbnail to your main sheet. Lightly sketch the horizon line. Then block out major shapes. Think of clouds as fluffy cotton balls. Think of trees as lollipops or triangles depending on the species. Rocks are irregular polygons.
Keep your hand loose. Press lightly. If you press hard now, you'll leave indentations that trap graphite later, making corrections nearly impossible. Check proportions constantly. Measure with your pencil held at arm's length if needed. Does the tree look taller than the house? Good. Adjust before adding texture.
Step 4: Adding Texture and Detail
Here’s where most people rush. They start drawing bark on every branch. Stop. Textures vary by distance. Foreground grass gets distinct strokes. Mid-ground grass becomes short dashes. Background grass is just a wash of tone.
Use different mark-making techniques:
- Hatching: Parallel lines for directional light.
- Cross-hatching: Crisscross lines for deeper shadows.
- Stippling: Dots for rough surfaces like gravel.
- Scumbling: Circular motions for foliage and clouds.
Remember, texture implies form. A flat circle doesn't look like a rock unless you shade it to show curvature. Add details only where they enhance the story of the landscape. Too many details compete for attention and confuse the viewer.
Step 5: Shading and Value Structure
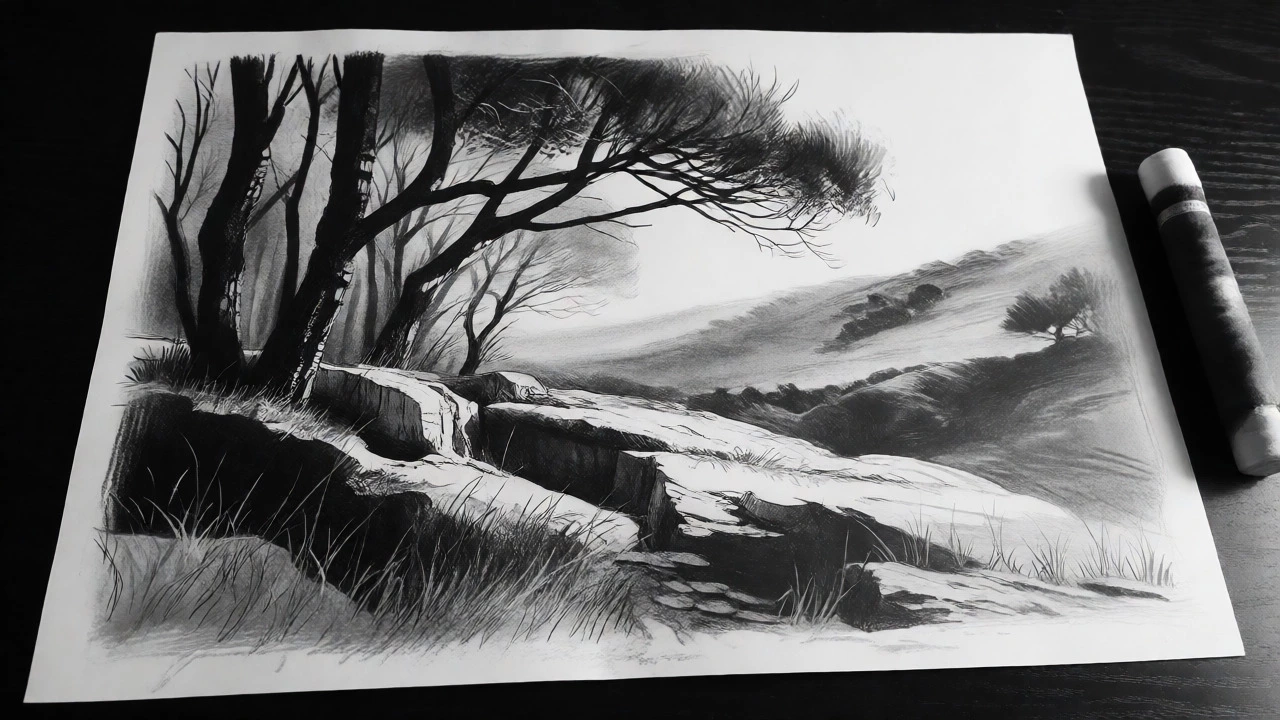
Values are the darks and lights in your drawing. Without strong contrast, your landscape looks washed out. Identify your light source. Is the sun overhead? Coming from the left? Shadows fall opposite the light.
Work in layers. Start with the darkest darks-crevices in rocks, under tree canopies. Leave the whites untouched for highlights. Fill in mid-tones gradually. Blend with a tortillon for smooth areas like water or sky. Keep some areas unblended for rough textures.
A common mistake is making shadows uniformly black. Real shadows contain color and reflected light. If the sun sets orange, shadows might pick up purple hues. Even in monochrome, varying shadow intensity adds realism. Look at photos of real landscapes. Notice how shadow edges soften as they stretch away from the object casting them.
Common Pitfalls to Avoid
One major issue is "focal crowding." Beginners often put interesting things everywhere. Pick one area for high detail and let others fade. Another trap is ignoring scale. A bird in the sky should be tiny compared to a nearby tree. If your bird looks like an eagle when it should be a sparrow, check your reference photo again.
Also, resist the urge to outline everything. Outlines flatten images. Instead, define edges through value changes. A dark tree against a light sky needs no outline-the contrast defines its shape. Only add outlines if necessary for clarity.
Refining Your Masterpiece
Step back. Literally walk ten feet away. Squint your eyes. Blurry vision helps you see overall value patterns. Are there any distracting spots? Maybe a bright white patch in a dark area draws the eye away from your focal point. Darken it slightly.
Add final touches sparingly. A few sharp blades of grass in the very front corner can anchor the composition. A subtle highlight on a wet stone adds sparkle. Sign your work. Done.
Do I need to know how to paint before drawing a landscape?
No. Drawing is actually the foundation of painting. Many artists sketch first to plan compositions. Skills like understanding light, shadow, and perspective transfer directly between mediums. Starting with pencil allows you to focus on structure without worrying about color mixing or drying times.
What is the easiest type of landscape for beginners?
Simple seascapes or open fields with a single tree are great starters. They involve fewer complex elements than dense forests or urban skylines. Water provides easy practice for reflections and horizontal lines, while a single tree lets you focus on trunk structure and canopy mass without getting lost in background clutter.
How do I make my landscape look realistic?
Focus on value contrast and atmospheric perspective. Ensure your darkest shadows are truly dark and your brightest highlights remain white. Make distant objects lighter and less detailed than foreground ones. Consistency in your light source direction also crucially impacts realism.
Can I draw landscapes digitally instead of traditionally?
Absolutely. Digital tools offer undo buttons and layer systems that encourage experimentation. Apps like Procreate or Photoshop allow you to separate sketch, line art, and coloring into different layers. However, learning traditional sketching first often improves digital skills because it forces you to commit to decisions and understand fundamental form better.
How long does it take to finish a detailed landscape drawing?
A quick sketch might take 15-30 minutes. A highly detailed, realistic piece could take 5-10 hours spread over several days. Time depends on complexity, medium, and your experience level. Don't rush. Quality comes from patience and careful observation, not speed.