Oil Painting Drying Time Calculator
Determine Your Oil Painting Drying Timeline
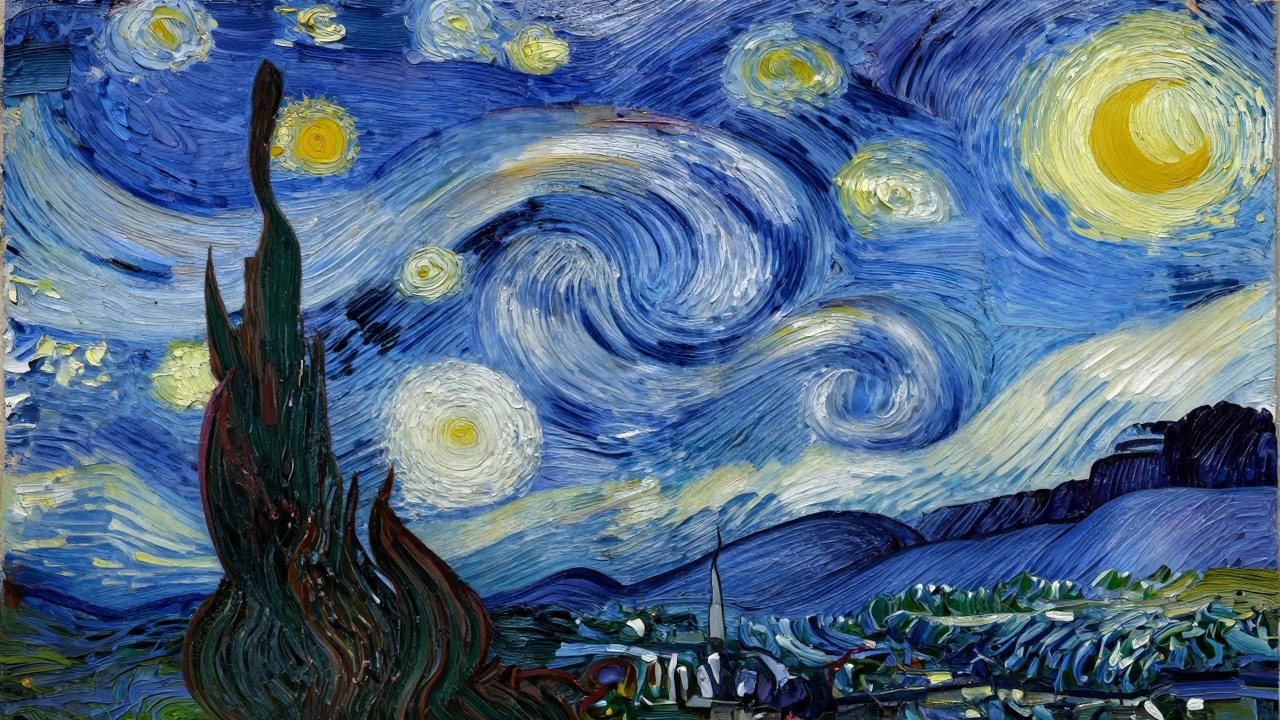
Oil painting isn’t just about putting paint on canvas. It’s about oil painting technique-how you move the brush, when you let layers dry, and how you build depth without muddying colors. If you’ve ever stared at a Rembrandt portrait and wondered how the light seems to glow from within, or how a Van Gogh sky feels like it’s swirling right off the canvas, you’re looking at centuries of refined methods. There’s no single way to paint with oil, but there are core techniques that every serious painter learns-and uses-in their own way.
Glazing: Building Light from Transparency
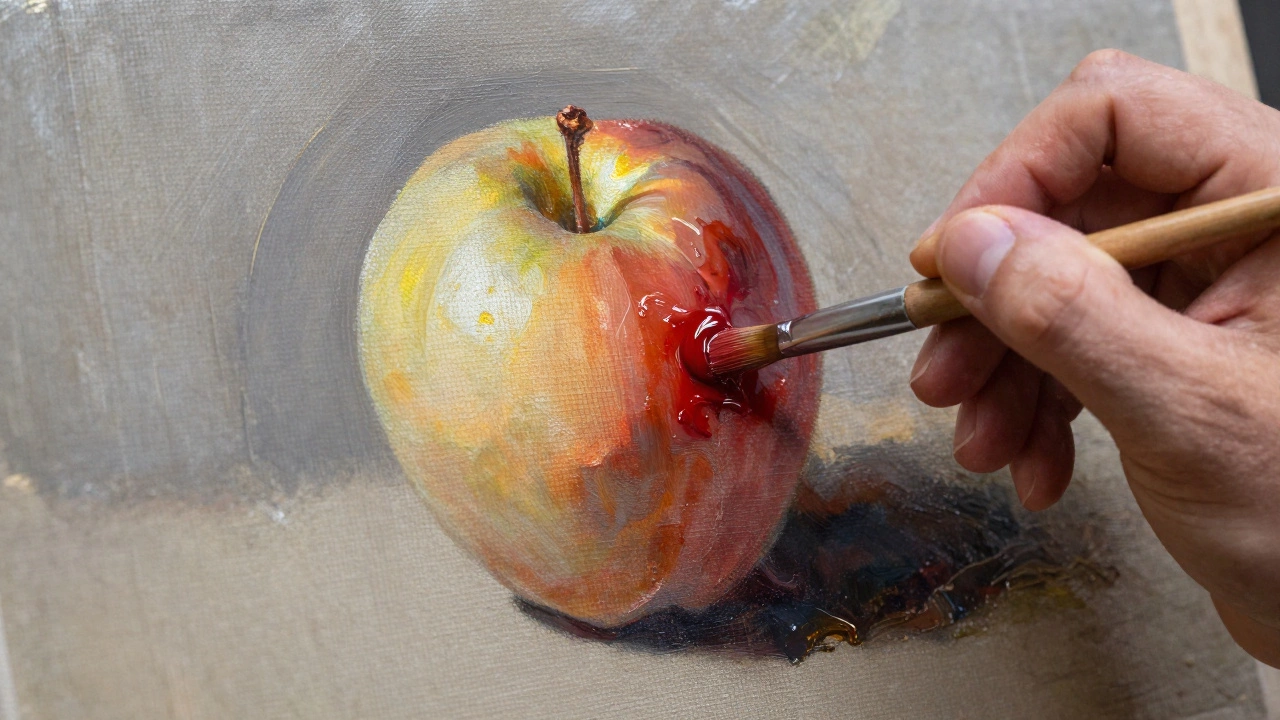
Glazing is the quiet superstar of oil painting. It’s not flashy, but it’s how you get that luminous skin tone in a portrait or the deep red of a velvet curtain that looks like it’s lit from behind. You mix a tiny bit of pigment with a lot of medium-linseed oil or a glazing medium-and apply it in a thin, transparent layer over a dried underpainting. The trick? Let each layer dry completely. A single glaze might take two to three days. Three or four layers can take weeks.
Why does this work? Because light passes through the glaze, hits the layer underneath, and bounces back. That’s why a red glaze over a yellow base turns into a rich, warm orange that flat paint can’t match. Artists like Titian and Vermeer used glazing to make their paintings feel alive. Modern painters still swear by it. If you want depth, not just color, glazing is your go-to.
Impasto: Texture That Tells a Story
If glazing is whispering, impasto is shouting. This technique uses thick, heavy strokes of paint-sometimes straight from the tube-to create real texture on the canvas. You see it in the thick ridges of a Monet haystack, the jagged waves of a Turner storm, or the rough brushmarks in a Francis Bacon figure. Impasto doesn’t just show form-it adds physical presence.
You need stiff brushes, palette knives, or even your fingers to push the paint around. The paint should hold its shape. If it flattens out when you apply it, it’s too thin. Use a medium like stand oil or gel medium to help it stay thick without cracking. And yes, thick paint takes longer to dry. A heavy impasto layer can take weeks to cure fully. But the payoff? A painting you can almost touch.
Wet-on-Wet (Alla Prima): Speed and Spontaneity
Wet-on-wet, also called alla prima, means painting in one sitting while the paint is still wet. It’s the technique of choice for plein air painters, portrait artists working from life, and anyone who wants to capture a fleeting moment-the way light hits a window at 5 p.m., or the twitch of a subject’s smile.
You mix colors directly on the canvas, blending them as you go. No waiting for layers to dry. No glazes. Just bold strokes, quick decisions, and confidence. It’s harder than it looks. Mistakes don’t vanish-they stay. But that’s part of the charm. The energy of the brushstroke stays visible. Artists like John Singer Sargent and Chuck Close used this method to create paintings that feel immediate, alive.
Use fast-drying colors like cadmiums and cobalts. Avoid slow-drying ones like ultramarine blue in thick layers unless you’re okay with waiting. And keep your palette clean. Wet-on-wet gets muddy fast if you’re not careful.
Scumbling: Soft Edges and Atmospheric Haze
Scumbling is the opposite of glazing. Instead of a transparent layer, you drag a dry, stiff brush with a thin, opaque layer of paint over a dried surface. The result? A broken, textured effect that softens edges, suggests fog, or blurs distant hills. It’s perfect for skies, mist, or the soft transition from cheek to hair in a portrait.
You don’t blend. You barely touch the surface. The underlying color shows through in patches. It’s like brushing dust over a photo. Use a dry brush-no medium. A little titanium white over a dried gray sky can make clouds feel real without adding bulk. It’s subtle, but it’s one of the most powerful tools for creating atmosphere.
Underpainting: The Hidden Foundation
Before you ever touch color, many oil painters start with an underpainting. This is a monochrome sketch-usually gray, brown, or green-that maps out the light, shadow, and form. Think of it as the skeleton of your painting. It sets the tone, the contrast, and the structure.
Traditional artists used grisaille (gray) or brunaille (brown). Modern painters might use burnt umber or even a cool green to neutralize warm tones later. You can do it with thinned paint, almost like a watercolor wash. Or you can build it up with thicker strokes. Either way, it’s all about getting the values right before you add color. Get the values wrong, and no amount of glazing will save it.
Layering and Drying Times: Patience Is the Real Technique
Oil paint dries slowly. That’s not a flaw-it’s the point. But it means you have to plan. The rule of thumb? Fat over lean. Start with thin, lean layers (more solvent, less oil). Move to thicker, fatter layers (more oil, less solvent). If you put a thick, oily layer over a thin, dry one, the top layer will crack as it dries slower than the bottom.
Most painters work in stages: underpainting, blocking in colors, refining details, then glazing or scumbling. Each stage might take days. A single portrait can take months. You don’t have to work that slowly, but if you rush, you’ll end up with muddy colors, cracking paint, or a painting that never feels finished.
What Tools Do You Really Need?
You don’t need a hundred brushes. Start with three: a flat filbert for broad strokes, a round for details, and a fan brush for soft edges. Palette knives are essential for mixing and impasto. Linseed oil and odorless mineral spirits are your basic mediums. You can skip the fancy gels and alkyds until you know what you’re doing.
And don’t forget your canvas. Pre-primed linen is best. Cotton is cheaper, but it sags over time. A stretched canvas should feel tight-like a drumhead. If it’s loose, your paint will crack.

Common Mistakes to Avoid
- Using too much solvent. It weakens the paint film and can make your colors dull.
- Layering too fast. If you paint over wet paint, you’ll lift the layer below and create mud.
- Skipping the underpainting. Color without structure is just decoration.
- Using only tube paint. Mix your own tones. Pre-mixed colors limit your control.
- Ignoring drying times. Rushing leads to cracking, peeling, or yellowing.
Which Technique Should You Start With?
If you’re new, start with wet-on-wet. It’s forgiving, fast, and teaches you how paint behaves. Learn to mix colors on the canvas. Then try underpainting in grayscale. Once you’re comfortable with value, add glazing. That’s the path most professionals took. Don’t jump into impasto until you’ve got a feel for how the paint holds its shape.
There’s no right way. But there are ways that work. The best painters don’t stick to one technique-they mix them. A portrait might have a glazed face, an impasto collar, and a scumbled background. That’s where the magic happens: in the combination.
Can you mix oil painting techniques in one painting?
Yes, and most professional oil paintings do. Glazing for skin tones, impasto for fabric texture, scumbling for skies, and wet-on-wet for quick background elements-all together. The key is layering them in the right order: lean underpainting first, then thicker layers, then glazes on top. Mixing techniques gives your painting depth, movement, and realism.
How long does an oil painting take to dry completely?
Surface dry? Maybe a day or two. But full curing-where the oil has fully oxidized and the paint is stable-can take six months to two years. You can varnish after six months, but waiting a year is safer. Thick impasto areas take longer. Patience isn’t optional-it’s part of the medium.
Do you need to use mediums with oil paint?
Not always, but they give you control. Linseed oil makes paint flow smoother and dries slower. Odorless mineral spirits thin paint for underpainting. Glazing medium adds transparency without changing drying time. You can paint straight from the tube, but you’ll miss out on texture, depth, and control. Mediums are your tools, not your crutch.
Is oil painting better than acrylic or watercolor?
It’s not better-it’s different. Oil lets you work slowly, rework areas, and build luminous depth. Acrylic dries fast and is great for layering without waiting. Watercolor is transparent and spontaneous. Choose based on what you want to express. Many artists use all three. Oil’s strength is in its slow, layered richness-something the others can’t replicate.
Can beginners use oil painting techniques?
Absolutely. Start simple: one technique at a time. Try wet-on-wet with just three colors. Learn how the paint moves. Then try an underpainting in gray. You don’t need to master glazing on day one. Oil painting is a conversation between you and the paint. The more you practice, the more it listens.
Next Steps: Practice With Purpose
Grab a small canvas-12x16 inches. Pick one technique: glazing. Paint a simple still life: an apple, a cloth, a cup. Block it in with a single color. Let it dry. Then apply three thin glazes over the apple-red, then a touch of orange, then a hint of yellow. Watch how the color deepens. That’s the power of oil.
Don’t aim for a masterpiece. Aim for understanding. Each stroke teaches you something. The slow drying time? It’s not a delay-it’s a gift. It gives you space to think, to adjust, to wait for the right moment. That’s what makes oil painting timeless.