If you want to supercharge drama in your oil paintings, you can't ignore what Goya did. This isn't just about copying an old master's look—it's about grabbing his bag of tricks and using them for your own bold, moody pieces. The Goya technique focuses on layering dark and light in punchy contrasts, making every shape pop and every shadow feel almost alive.
Getting started doesn't mean you need fancy supplies or years of training. At its core, this method uses a simple system: start with a dark underpainting (chiaroscuro), add clear shapes with confident brushwork, then layer thin, colorful glazes to dial up moods and effects. It's surprisingly straightforward, but the results feel deep and complex.
If you've ever wondered how artists make faces or figures leap out from the canvas, this technique shows you. It’s perfect for folks who want more grit and intensity in their images. Whether you're brand new to oils or hitting a creative block, Goya’s approach can give you new ideas and sharper results.
- Who Was Goya and Why His Technique Matters
- Core Elements of the Goya Technique
- Step-by-Step: How to Paint Using the Goya Technique
- Common Mistakes and How to Dodge Them
- Modern Twists: Using Goya Today
Who Was Goya and Why His Technique Matters
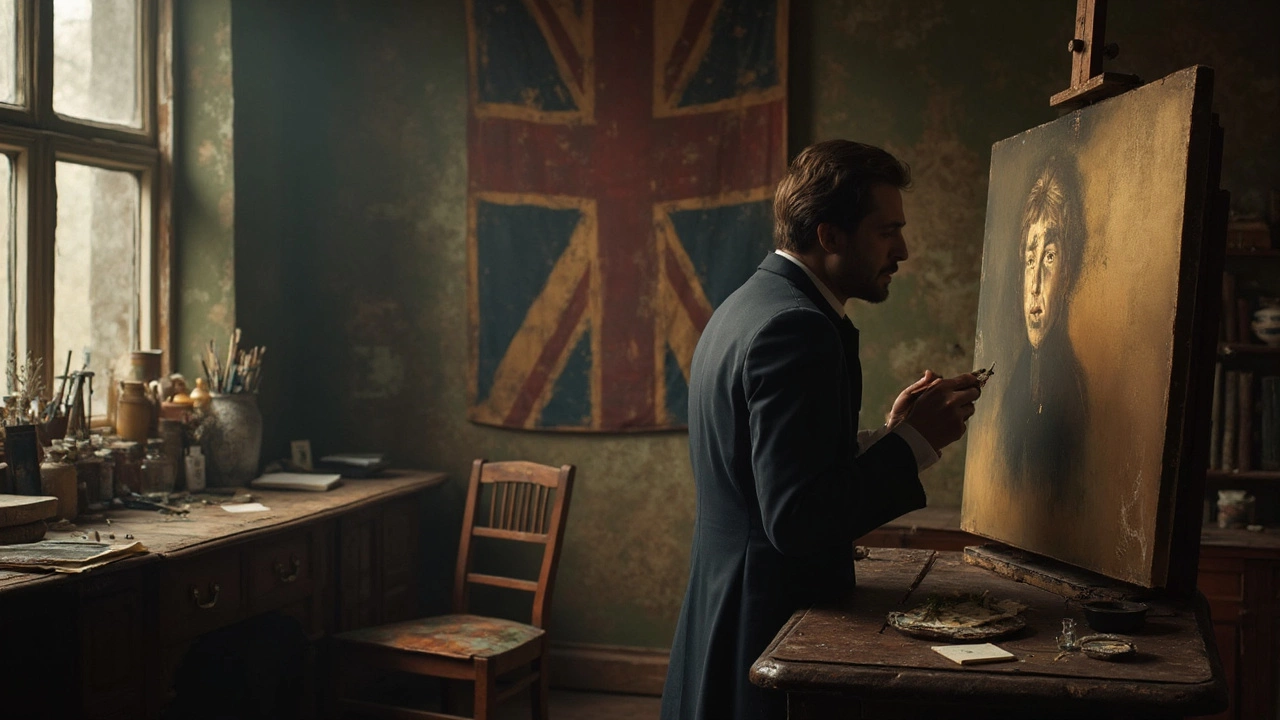
Francisco Goya wasn’t just another Spanish painter—he was a game-changer for oil painting. Born in 1746, he started in the royal courts and became the go-to artist for powerful people in Spain. But what set him apart wasn’t just the people he painted; it was how he did it. Goya’s work cut through the fluff seen in typical portraits of his time. He stripped things down, using high-contrast lights and shadows, and left brushstrokes loose. His paintings like "The Third of May 1808" and the "Black Paintings" basically throw emotion and rawness onto canvas.
Here’s why the Goya technique matters: it’s all about pushing boundaries. Before Goya, oil painting often meant smooth, careful details and polite, soft shadows. Goya flipped that by laying down bold, dark backgrounds first, then sharpening highlights to create drama and depth. He didn’t hide mistakes—he let his brushstrokes and texture show. Instead of perfection, he chased impact and feeling.
That’s the legacy artists still crave. His ways let you say more with every stroke—anger, fear, hope—without looking squeaky clean. According to the Prado Museum, which holds many of his works:
Goya’s brushwork is unparalleled in its ability to bring out the psychological reality of his subjects, making their inner life almost palpable.
Modern oil painters can borrow these tricks to give their work more guts. So, if you want oil paintings that actually grab attention, learning what made Goya tick—and why his moves still matter today—is the first step.
Core Elements of the Goya Technique
At the center of the Goya technique, you’ll find three main moves: dark underpainting, bold contrasts, and controlled glazing. These parts work together to punch up drama in any oil painting, taking a flat scene and making it three-dimensional and emotional. Here’s how it all breaks down.
- Chiaroscuro (Dark vs. Light): Goya would block in his paintings with a strong, stark underpainting, usually a mix of dark browns and blacks. This first step helps set up the main shapes and shadows right away, before any fine detail. You’re mapping out where the drama lives in the painting.
- Direct, Confident Brushwork: Instead of fussing over details from the start, he’d lay in big, clear forms with a solid hand. This helps shapes jump out, cuts down on muddiness, and keeps the energy of the scene alive.
- Layering with Glazes: Goya’s secret weapon was glaze—thin, see-through layers of color added on top once the underpainting dried. The glazes let light bounce through the paint, building up rich, deep shadows and lively highlights that almost glow.
- Limited Color Palette: Goya didn’t mess around with a hundred tubes of paint. He focused on a handful—think ochres, umbers, blacks, white, and maybe a red or yellow—so the mood stayed unified and nothing got chaotic.
- Expressive Details: Instead of tight, tiny strokes, Goya often hinted at details. This draws the viewer in, making the brain do some of the work and adding to that intense, sometimes haunting look.
When used right, these elements pull the eye where you want it to go and make regular scenes or faces feel loaded with emotion. Here’s a quick table showing what Goya typically used versus what a modern painter might pick up at the art store.
| Element | Goya's go-to | Modern Equivalent |
|---|---|---|
| Underpainting | Bitumen, bone black | Ivory black, burnt umber |
| Glazing medium | Linseed oil, natural resins | Alkyd medium, Galkyd, Liquin |
| Main colors | Earth tones (ochre, umber), lead white, vermilion | Titanium white, yellow ochre, burnt sienna, cadmium red |
Don’t get caught up chasing exact materials—it’s the method that matters. Start with these main moves in your own work, and you’ll see your paintings gain that Goya punch.
Step-by-Step: How to Paint Using the Goya Technique
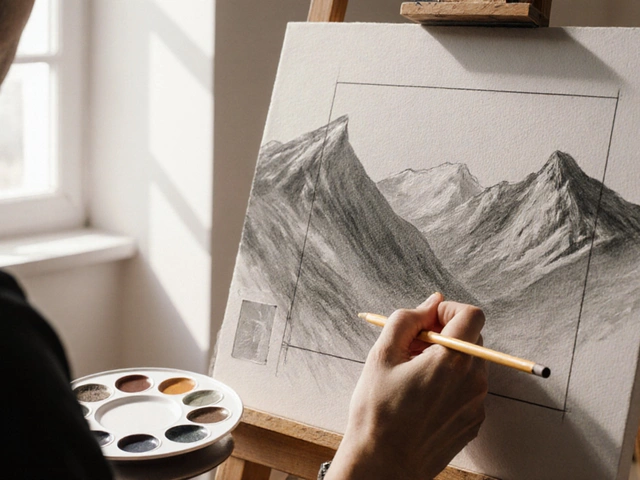
Nailing the Goya technique is easier when you break it into clear steps. You don’t need an art degree or a huge studio setup—just some decent oil paints, a sturdy canvas, and the guts to let things get dark and dramatic. Here’s how to roll up your sleeves and do it Goya-style:
- Pick Your Subject and Prep Your Surface
Start with a simple sketch using charcoal or a neutral pencil. Goya loved bold, simple forms—portraits, figures, or scenes with sharp lighting work best. Prime your canvas or board with a neutral or warm tone, like burnt umber, to add richness later. - Lay Down the Dead Color (Imprimatura)
Brush a thin wash of dark color across the whole canvas. Goya often used a brownish or grayish underpainting, which helps every highlight and color look brighter later. Think of this stage as mapping out your main shadows and shapes. Keep it thin—almost like tinted water. - Block in Big Dark Shapes (Chiaroscuro)
Using a bigger brush, lay in the deepest shadows right away. Don’t get caught up in detail. Goya wanted his darks deep—almost black in some areas. Map out the light vs. dark so you know where drama hits hardest. This stage sets the mood. - Bring in the Lights
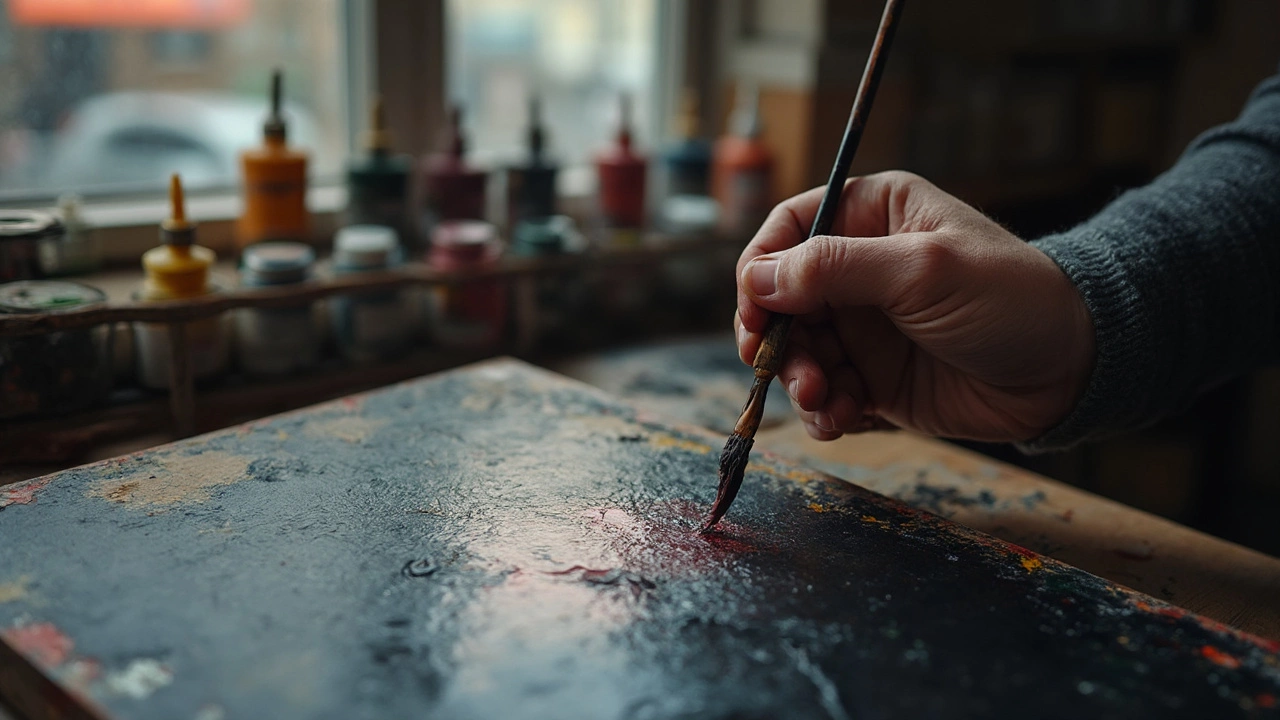
Start adding lighter tones over the darks. Mix in some titanate white with your colors, but keep it soft—this isn’t your final highlight. Goya built up to his brightest spots gradually, using thin layers at first. - Glazing for Color and Depth
Mix a little oil medium (like linseed) with your transparent colors. Brush these thin glazes over the dried base. Reds, yellows, and cool blues all pop over those brown/grey underlayers. Let each layer dry before you add more or the colors turn muddy. - Details and Punchy Highlights
Now you can sharpen up eyes, buttons, or whatever catches the light most. Use thicker, brighter paint for final zings—especially on faces or hands. Goya sometimes flicked pure white onto the canvas for extra punch at the end.
Want a quick visual of what happens at each step? Here’s a handy breakdown of drying times you can expect, since patience matters when layering oils:
| Stage | Recommended Drying Time (Hours) |
|---|---|
| Imprimatura (Dead color wash) | 6 - 8 |
| Chiaroscuro underpainting | 8 - 24 |
| Glazing layers | 24+ per layer |
| Finishing details and highlights | 6 - 12 |
Pro tip: Goya painted fast, but let each major layer set before going nuts with glazes. Rushing layers can really mess up the effect, leaving colors muddy or sticky. Set your piece where air moves, and walk away when needed. That’s when the drama really builds!
Common Mistakes and How to Dodge Them
Learning the Goya technique is easier if you know where painters usually go wrong. Even pros make these slips, but you can save a lot of frustration by knowing what to watch for right off the bat.
- Going too dark, too soon: The Goya method starts with a dark base, but some folks end up with straight-up black canvases. That kills any subtlety you’ll need later for lights and mid-tones. Stick with deep browns or cool grays—not pure black—so you have room for highlights.
- Muddying the colors: Goya’s glazes look clean because he let each layer dry before adding another. If you rush things and pile paint while it’s still wet, colors mix and turn to mud. Dry between layers, even if it means walking away for a day.
- Flat highlights: A lot of people slap on white for highlights, but skip the color. Goya used tinted whites or light yellows, not straight tube white, to make highlights look alive. Try mixing white with a touch of ochre or blue for a more natural effect.
- Overblending: Some painters get obsessed with smoothness and blend every edge. But Goya left bold brushstrokes in places, which gives energy. Let some strokes show where it matters, especially in backgrounds and clothing.
- Ignoring drawing basics: Strong drawing underpins Goya’s paintings. If you rush sketching or tracing, you’ll end up fighting weird proportions or wobbly anatomy. Slow down on your drawing before diving into paint.
| Mistake | How to Dodge It |
|---|---|
| Too dark too soon | Start with deep brown, not black; keep shadows a little transparent |
| Muddy glazes | Always let each layer dry fully; use thin oil glazes |
| Overblended edges | Blend only where needed; leave some edges bold and visible |
| Flat or chalky highlights | Mix color into your whites; avoid pure tube white |
| Weak drawing | Spend time on your sketch; check proportions before painting |
If you keep these points in mind, you’ll skip most of the classic beginner headaches. It’s normal to mess up now and then—seriously, most artists do. But these small fixes set you up for results that look sharper, cleaner, and way more intentional, right from your first try.
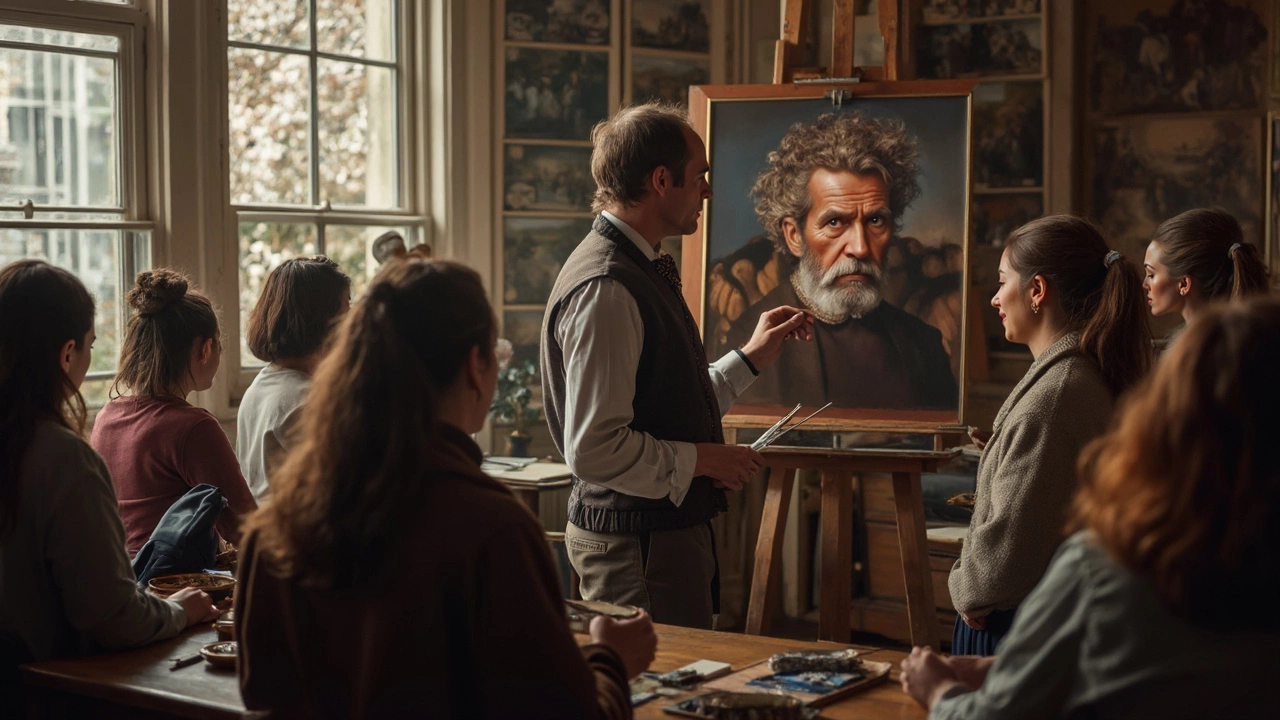
Modern Twists: Using Goya Today
Artists haven’t left the Goya technique in the past. You’ll find a ton of painters mixing old-school moves with new ideas. There are even Instagram accounts and YouTube channels dedicated to modern chiaroscuro, inspired straight from Goya’s bold contrasts. People crank up the drama for portraits, street scenes, or even sci-fi and fantasy art.
One trick that’s everywhere is mixing traditional darkness with neon colors or unexpected details. Instead of a classic palette, some artists will glaze over those signature dark underpaintings with electric blues or hot pinks. This makes things feel way more current and eye-catching.
If you want to try it, here’s what artists are up to right now:
- Digital painting apps: Goya’s way works just as well with digital brushes. Apps like Procreate and Photoshop let you layer and glaze, using the same steps, but with endless undos.
- Pop culture mashups: Some artists paint movie characters or celebrities in pure Goya style—sharp shadows, moody colors—but swap the costumes or backgrounds for something modern.
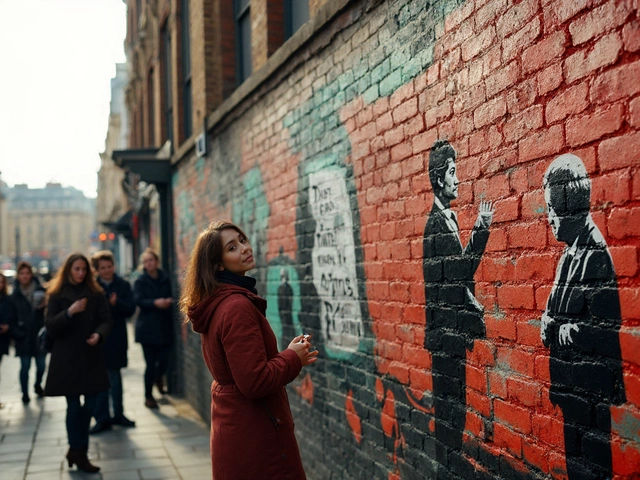
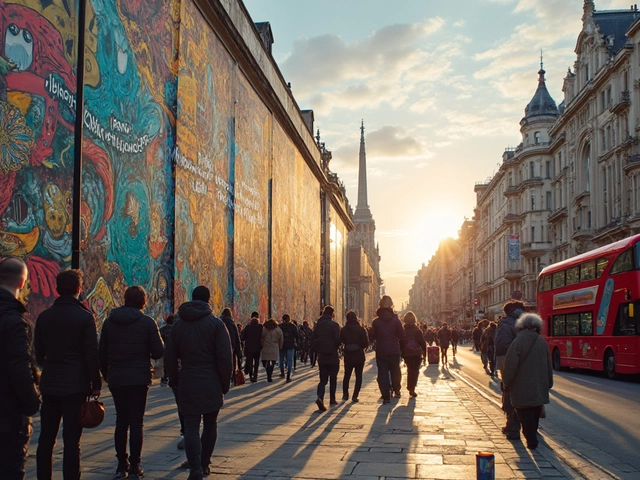
- Street art and murals: Bigger walls actually make sense for this technique. Glazed highlights and punchy shadows really stand out, day or night.
Here’s a quick peek at where the Goya-inspired look pops up across art scenes lately:
| Field | Common Goya Touches | Why It Works |
|---|---|---|
| Fine Art | Classic glazing, bold underpainting | Creates strong emotional punch |
| Digital Art | Layering with virtual brushes | Adapts the style fast and with new colors |
| Street Art | Monochrome with graphic shadows | Easy to see from a distance |
| Comics & Illustration | Chiaroscuro plus bright spot colors | Makes characters pop off the page |
Even beginners can steal Goya’s methods, just using different tools. The main thing? Keep those contrasts clear, layer up your lights and darks, and don’t be afraid to go way bolder than you think you should. You might surprise yourself with the results.