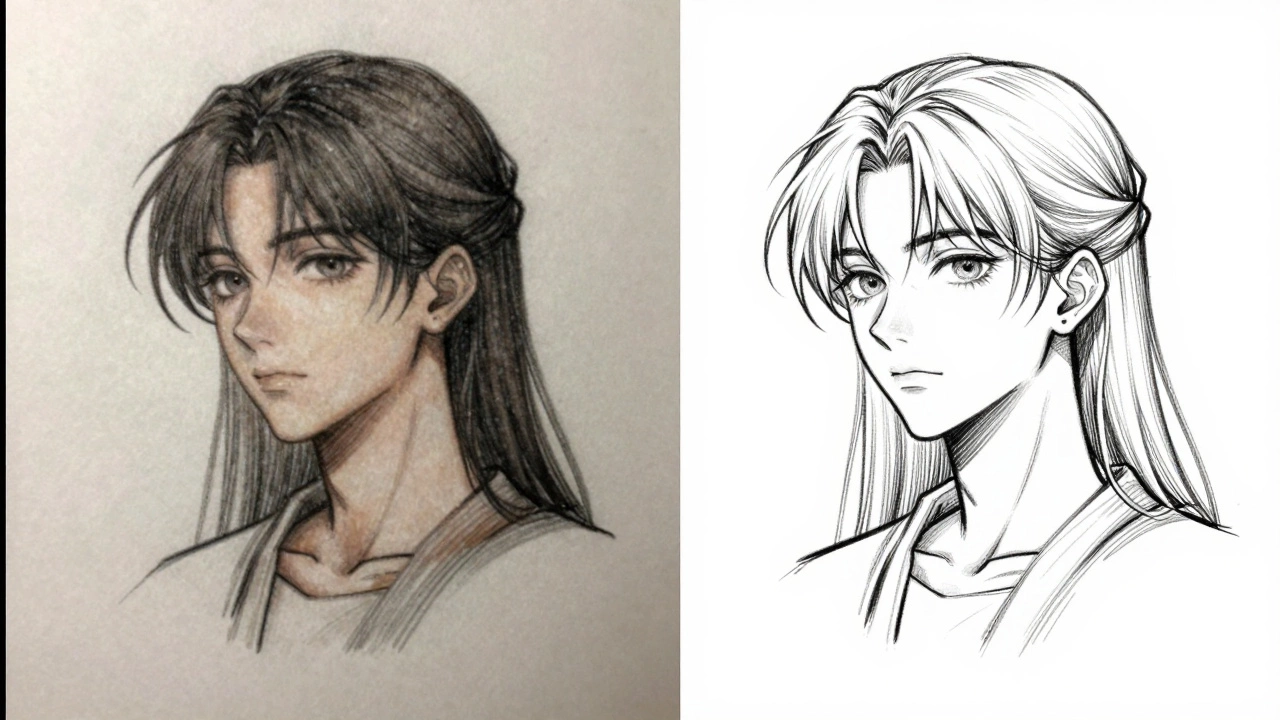
You’ve sketched something amazing-maybe a portrait, a landscape, or just a wild idea that popped into your head. Now you want to turn it into a digital file. Maybe you want to print it, share it online, or edit it in Photoshop. So you grab your phone, snap a photo, and ask: Can you take a picture of a drawing and make it digital? The short answer? Yes. But not all photos work the same. And if you do it wrong, you’ll end up with a blurry, warped mess that looks nothing like your original.
Why a Photo Isn’t Just a Scan
Most people think snapping a picture is the same as scanning. It’s not. A scanner uses a flatbed with even lighting and a fixed distance to capture every line at 300 to 1200 dpi. A phone camera? It’s a lens, a sensor, and a ton of variables. Shadows, glare, uneven lighting, perspective distortion-these all ruin the clean lines you worked so hard to draw.Take a pencil sketch on notebook paper. You hold your phone at an angle, tap the screen, and boom-you’ve got a file. But look closer. The paper’s texture might look like smudges. The shadow from your hand? It looks like a stain. The edges? Crooked. If you’re trying to turn this into a vector graphic or print it at high quality, that photo is going to cause headaches.
How to Take a Good Photo of a Drawing
If you’re going to use your phone, you need to control the environment. Here’s how to do it right:- Use natural light. Place your drawing near a window, but not in direct sunlight. Overcast days are perfect-soft, even light. Avoid lamps or phone flash. They create hot spots and shadows.
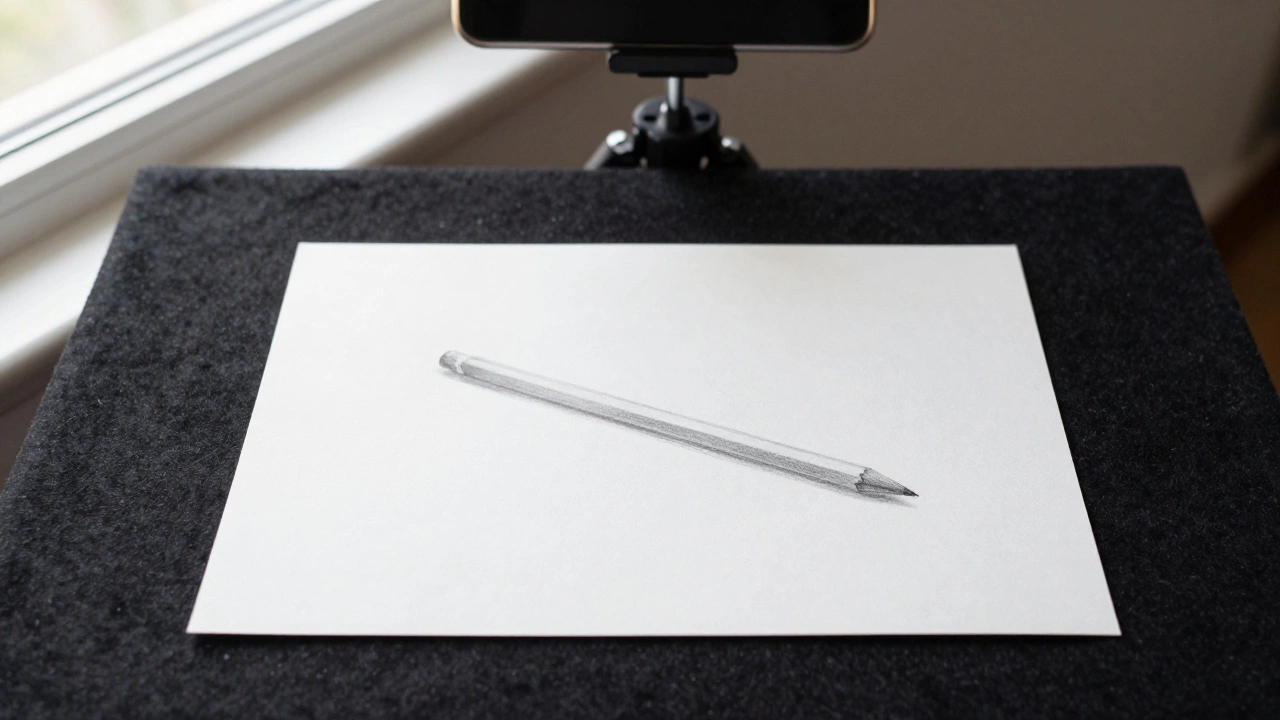
- Keep the camera parallel. Hold your phone directly above the drawing. If it’s tilted, the image will look warped. Imagine looking straight down at a piece of paper-your lens should be perpendicular to the surface.
- Use a dark background. Put the drawing on a black sheet, a dark table, or even a black poster board. This makes the white paper pop and cuts down on glare.
- Turn off auto-focus and lock exposure. Tap and hold on the drawing on your screen until you see “AE/AF Lock.” This stops your phone from adjusting brightness as you move.
- Shoot in high resolution. Use your main camera, not the selfie cam. Turn on “Pro” or “RAW” mode if you have it. Even if you’re not editing later, higher resolution gives you room to crop and clean up.
One photographer I know, based in Vancouver, digitizes street art for archives. He uses a tripod and a remote shutter. No shaking. No guesswork. If you’re serious about turning art into digital files, that’s the gold standard.
Apps That Turn Photos Into Digital Art
Once you’ve got your photo, you need software to clean it up. Here are the most reliable tools right now:- Adobe Scan (free): Turns photos into PDFs with auto-crop, contrast boost, and edge detection. Works great for pencil and ink.
- Microsoft Office Lens (free): Similar to Adobe Scan but optimized for paper. It removes shadows and straightens skewed images. Good for quick exports.
- Adobe Photoshop (paid): Use the “Image > Adjustments > Threshold” tool to turn your sketch into pure black and white. Then use the “Pen Tool” to trace over it and create clean vector paths.
- Autodesk Sketchbook (free): Has a “Photo Trace” feature that converts your photo into a line drawing you can edit. Great for artists who want to redraw digitally.
- Clip Studio Paint (paid): Popular with manga artists. Its “Convert Photo to Line Art” function removes shading and enhances contours. It’s built for this exact use case.
Try this: Take a photo of your sketch, open it in Adobe Scan, export as a PNG, then import into Clip Studio. You’ll get a crisp, clean line art version in under 2 minutes.
When You Need More Than a Photo
If your drawing is detailed-crosshatching, fine ink lines, watercolor washes-you might need a real scanner. A flatbed scanner like the Epson Perfection V600 or Canon CanoScan 9000F Mark II can capture textures and gradients your phone simply can’t. These cost $150-$300, but if you’re an artist who regularly digitizes work, it’s a one-time investment that saves hours of editing.Also, if you’re planning to print your art at 11x14” or larger, a photo taken with a phone will pixelate. Scanners capture 4800 dpi. Phone cameras max out at about 1200 dpi when zoomed in. That’s not enough for professional printing.
What Happens If You Just Use a Bad Photo?
I’ve seen this too many times. Someone sends me a photo of their drawing, taken in dim light, with their phone at a 45-degree angle. They ask, “Can you fix this?”Here’s what you get:
- Blurred lines because the camera focused on the wrong spot.
- Grainy textures from low light and high ISO.
- Distorted proportions-your circle looks like an oval.
- Shadows that look like ink smudges, making cleanup take 3x longer.
It’s not impossible to fix. But it’s a waste of time. You spent hours drawing. Why spend another two hours just trying to make it look like your original?
Pro Tips for Artists
- Keep a dedicated setup. Buy a $10 black felt cloth and a small LED light panel. Use it every time. No more guessing.
- Label your files. Name them “Sketch_03042026_v1.jpg” so you know what’s what later.
- Shoot in RAW if possible. It gives you more data to work with in editing. Even if you don’t edit now, you’ll thank yourself later.
- Backup your originals. Keep both the original sketch and the digital version. Digital files can get lost. Physical art can’t.
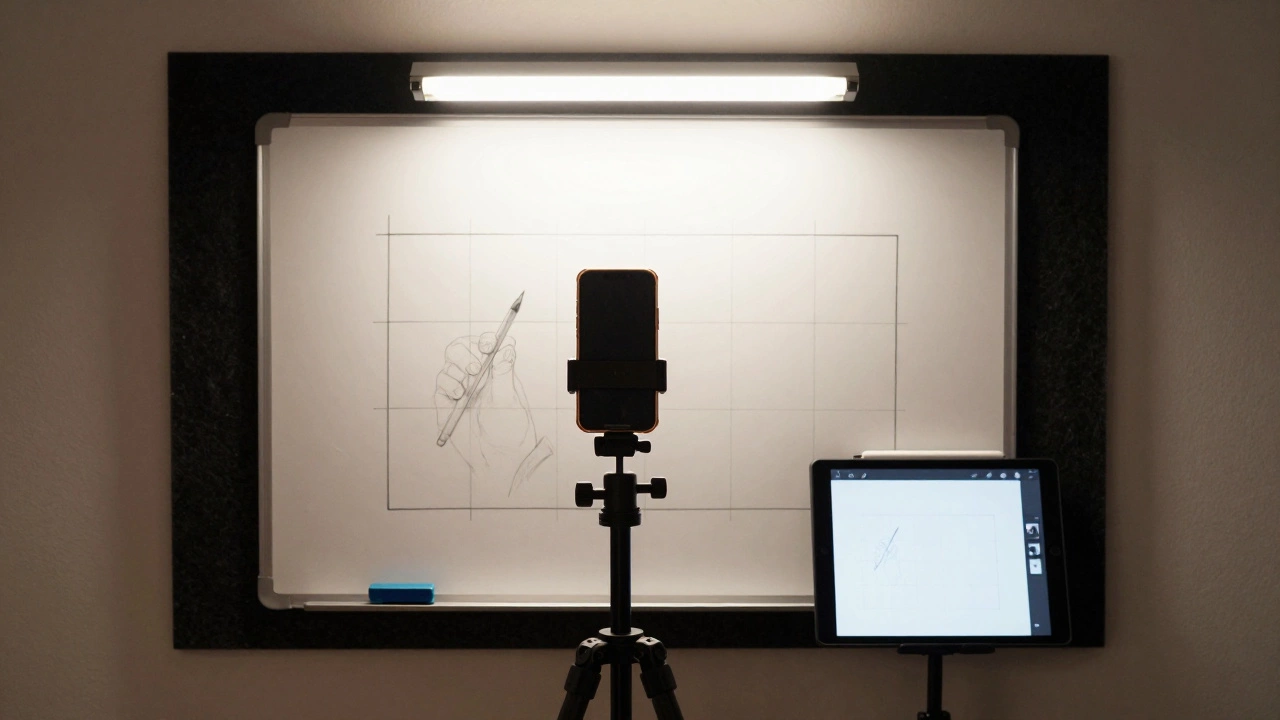
One artist I follow, based in Berlin, digitizes all her work using a simple setup: a phone, a tripod, and a whiteboard with a grid. She tapes her drawing to the board, takes the photo, and uploads it to a cloud folder. No fancy gear. Just consistency.
Final Answer: Yes, But Do It Right
Can you take a picture of a drawing and make it digital? Absolutely. But if you want it to look like your original-clean, sharp, true to your lines-you need to treat it like a professional job. Not a quick snap. Use good lighting. Hold your phone straight. Use the right app. And if you’re serious about your art, invest in a scanner.Digitizing your drawings isn’t just about saving them. It’s about giving them a second life-online, in print, in animation, in NFTs. But only if you start with a clean file.
Can I use my phone camera to digitize my drawing for printing?
Yes, but only if the photo is high-resolution, well-lit, and perfectly aligned. For prints larger than 5x7 inches, a scanner is far more reliable. Phone photos often lack the detail needed for professional printing, especially with fine lines or shading.
What’s the best free app to turn a photo of a drawing into clean line art?
Adobe Scan and Microsoft Office Lens are both free and excellent for basic cleanup. For converting photos into editable line art, Clip Studio Paint’s Photo Trace feature is the best free option for artists. It removes shading and enhances contours automatically.
Should I scan or photograph my artwork?
Scan if you want perfect detail, color accuracy, or plan to print large. Photograph if you’re in a hurry, don’t own a scanner, or are digitizing 3D artwork. For flat drawings on paper, scanning wins every time. For textured or layered pieces, photography might be the only option.
Why does my digital version look different from the original?
Mostly because of lighting and camera angle. Shadows make lines look thicker. Glare turns white paper gray. If your phone focuses on your hand instead of the paper, the drawing gets blurry. Always shoot with even, indirect light and keep the camera parallel to the surface.
Can I turn a pencil drawing into a vector image from a photo?
Yes, but it takes editing. Use Photoshop’s Threshold tool to make it black and white, then use the Pen Tool to trace over it. Apps like Illustrator’s Image Trace can help, but they often miss fine details. Manual tracing gives you the cleanest result.