Watercolor Troubleshooter
Encountering issues with your watercolor painting? Select the symptoms you are experiencing below to receive targeted advice on how to fix them.
You just bought a shiny new set of watercolor paints and a stack of cold-press paper, feeling ready to channel your inner Turner. But two hours later, you’re staring at a muddy brown blob where your sky was supposed to be, wondering if you’ve ruined the entire sheet. Sound familiar? It’s not bad luck; it’s physics. Watercolor is unforgiving because it relies on transparency and the natural flow of pigment, meaning there’s no hiding behind thick layers like in oil or acrylic.
The difference between a frustrating afternoon and a satisfying piece often comes down to avoiding three specific traps that catch almost everyone: using the wrong paper, mishandling water ratios, and overworking the surface. Let’s break down why these happen and how you can steer clear of them without throwing your brushes across the room.
Mistake #1: Ignoring Paper Quality and Texture
If you take one thing away from this article, let it be this: your paper matters more than your paint. Many beginners start with cheap wood-pulp paper from a craft store because it’s affordable. The problem? Wood pulp lacks the structural integrity to handle repeated washes. When you apply water, the fibers swell and buckle, creating those annoying ridges called "cockling." Worse, the sizing (the glue treatment on the paper) is often weak, so the paint sinks into the fiber rather than sitting on top. This kills the luminosity that makes watercolor special.
Cotton rag paper is the gold standard for serious work. It contains at least 50% cotton fibers, which are stronger and absorb water more evenly than wood pulp. If you’re serious about improving, switch to a 140lb (300gsm) cotton blend or 100% cotton paper. You’ll notice an immediate difference in how the pigment blooms and how easy it is to lift color off the page.
| Paper Type | Fiber Content | Best For | Durability |
|---|---|---|---|
| Wood Pulp | 100% Wood | Sketching, quick studies | Low (buckles easily) |
| Cotton Blend | 50% Cotton / 50% Wood | Practice, student work | Medium |
| 100% Cotton Rag | 100% Cotton | Final pieces, wet-on-wet | High (stable when wet) |
Mistake #2: Misunderstanding Water-to-Paint Ratios
Watercolor isn’t just paint with water added; it’s a study in control. A common error is treating every stroke with the same amount of water. You might load your brush heavily for a background wash, then try to use that same wet brush for fine details. The result? Blooms, backruns, and uncontrollable bleeding edges.
Think of your water ratio as a dial, not a switch. For large, smooth skies, you want a high water-to-pigment ratio-almost tea-colored consistency. For dark, opaque shadows, you need a low ratio-more like heavy cream. If you don’t adjust your brush load between sections, you’ll get "cauliflower" effects, where dry paint gets disturbed by fresh water, pushing pigment around unevenly.
Here’s a simple rule of thumb: test your mix on a scrap piece of the same paper before applying it to your artwork. If the edge dries hard and dark, you have too much pigment. If it bleeds out wildly, you have too much water. Adjust until the edge is soft but controlled.
Mistake #3: Overworking the Wet Surface
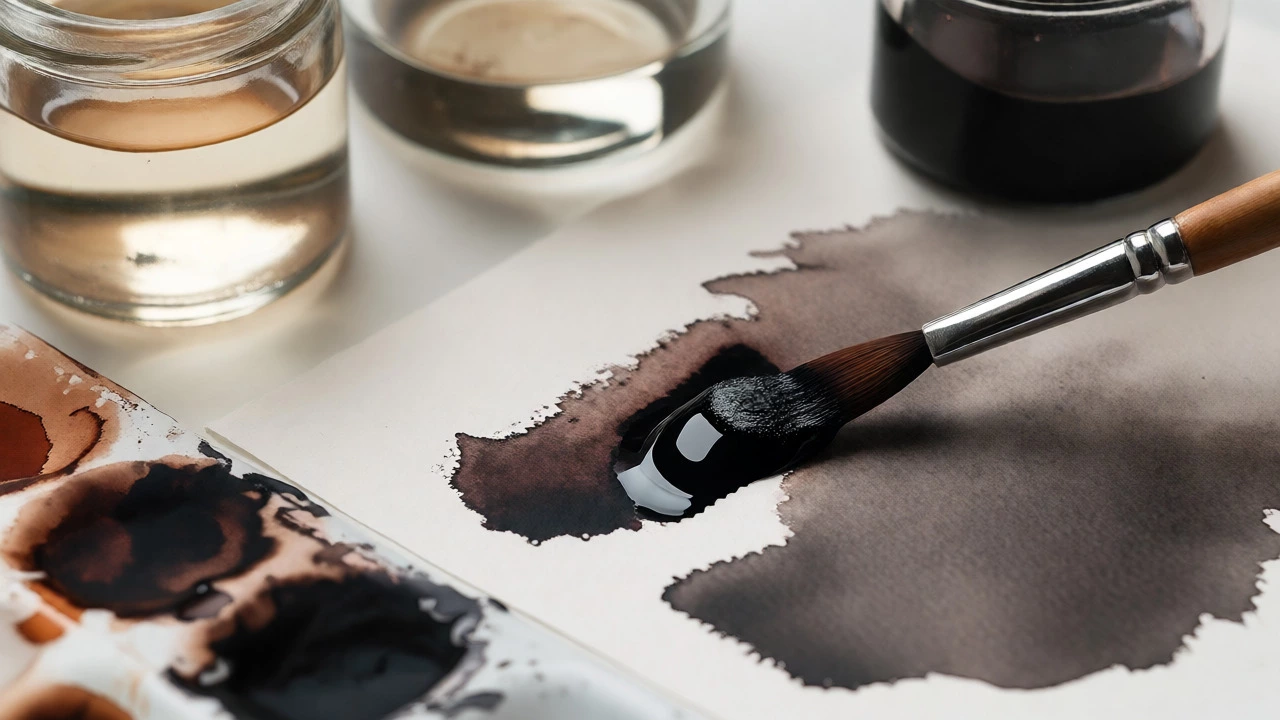
We’ve all been there. You lay down a beautiful wash, but it doesn’t look quite right. So you go back in with your brush to "fix" it while it’s still wet. Then again. And again. Suddenly, the vibrant blue has turned gray, and the paper is starting to fuzz up. This is overworking.
Watercolor is transparent. Once the pigment settles into the paper fibers, scrubbing it reactivates the paint underneath and mixes it with whatever is currently on the brush. Instead of blending cleanly, you create mud. Furthermore, excessive brushing breaks down the paper’s sizing, making future layers stick unpredictably.
The fix requires patience. Apply your wash, then walk away. Seriously, step back. Let the gravity and capillary action do their job. If you need to soften an edge, use a clean, damp brush gently once, then leave it alone. Remember, in watercolor, doing less is often doing more.
Bonus Tip: Color Mixing Discipline
While not one of the big three mechanical mistakes, poor color mixing ruins many paintings. Beginners often mix colors directly on the paper. While this can create interesting textures, it often leads to dullness if the pigments are incompatible. Some combinations, like ultramarine blue and cadmium red, make a great purple. Others, like certain greens mixed with alizarin crimson, turn brown quickly.
Try pre-mixing your complex colors on your palette first. Test them on a swatch card. Keep a record of what works. This saves you from accidental mud during the critical moments of painting.
Quick Fixes for Common Issues
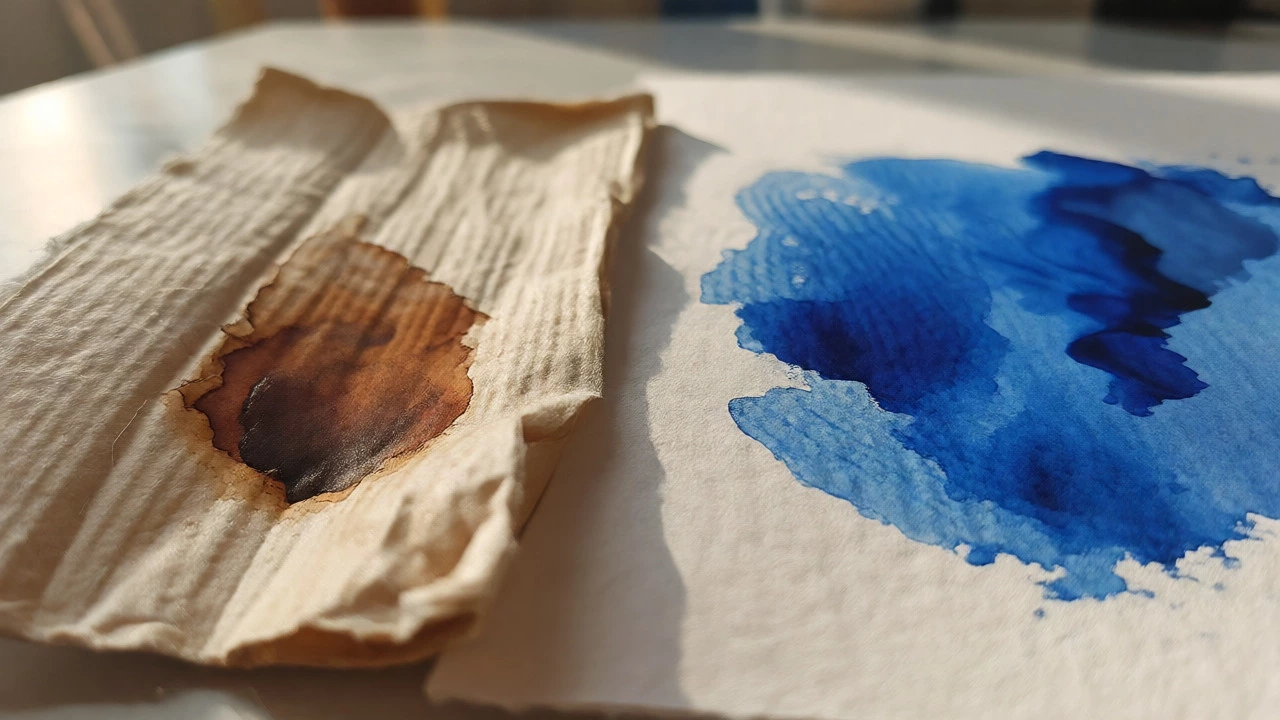
- Paint too dark? Wait until it’s completely dry, then use a clean, damp brush to gently lift the pigment. Blot with a tissue immediately.
- Paper buckling? Stretch your paper before painting. Tape all four sides to a board and let it dry flat. Paint while it’s taut.
- Colors looking chalky? You likely used too much water. Increase the pigment load on your next layer.
Frequently Asked Questions
Can I fix watercolor mistakes after they dry?
Yes, but only partially. Because watercolor is transparent, you cannot cover mistakes with white paint like in acrylics. You can lift light washes with a damp brush and blotting paper. For darker stains, you might need a specialized lifting medium or accept them as part of the texture. Prevention is always better than cure.
Is expensive paper really necessary for beginners?
Not necessarily for daily practice, but yes for learning proper technique. Cheap paper behaves differently than good paper. If you learn on bad paper, you develop habits that won't translate when you eventually upgrade. Start with mid-range cotton blends to balance cost and performance.
Why does my paint bleed outside the lines?
This usually happens if the paper is too wet or if you applied too much water to the brush. On wet paper, pigment travels freely via capillary action. To control bleeding, ensure the previous layer is dry to the touch before adding new details, or reduce the water content in your brush.
How do I prevent my whites from getting dirty?
Plan your composition carefully. In watercolor, white is the absence of paint. Map out your highlights early and avoid painting over them. Use masking fluid for small, intricate white areas. Also, keep your rinse water clean; cloudy water transfers grime to your lightest strokes.
What is the best way to stretch watercolor paper?
Soak the paper in water for 3-5 minutes, remove excess moisture with a sponge, and tape all four edges securely to a rigid board using gummed paper tape. Let it dry completely overnight. The paper will tighten like a drumhead, preventing cockling during painting.