Beginner Sculpting Project Selector
Not sure where to start? Select your comfort level with materials and desired outcome to find the perfect first project.
Pro Tips:
Please select a goal to see recommendations.
You stare at the block of clay or the lump of wire in your hands. The blank space is terrifying. You want to create something meaningful, but you’re paralyzed by the fear of ruining expensive materials or ending up with a lopsided blob that looks nothing like your vision. This is the classic beginner’s trap: trying to sculpt a realistic human face or a complex animal before understanding how material behaves under pressure.
Here’s the truth nobody tells you when you buy your first kit: you don’t need to be an artist to start. You need to understand physics. Sculpting is less about inspiration and more about gravity, structural integrity, and patience. If you pick the wrong project, you’ll quit in three days because your creation collapsed. If you pick the right one, you’ll learn why things fall apart and how to make them stay together. Let’s fix that paralysis right now.
Start With Simple Geometric Forms
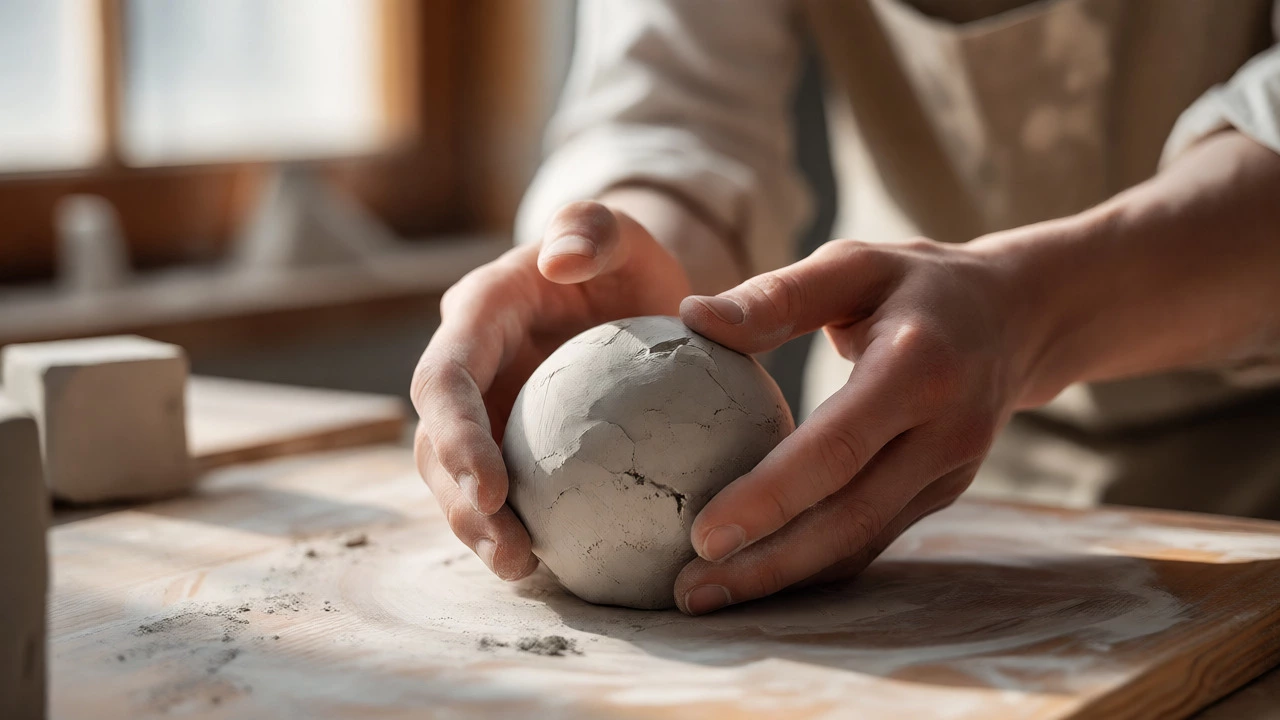
Before you attempt a nose or a finger, you need to master the sphere, the cube, and the cylinder. Why? Because every complex object in nature is just a combination of these shapes. A head is a sphere with a jaw attached. A tree trunk is a tapered cylinder. If you can smooth out a perfect sphere from a rough ball of clay, you have mastered the fundamental skill of compression and smoothing.
Grab some Air-Dry Clay. It’s forgiving, cheap, and doesn’t require a kiln. Make five balls. Then, try to turn one into a cube without it cracking. Try to flatten another into a disc. Notice how the edges resist you? That resistance is what you’ll fight for the rest of your life as a sculptor. Learning to manage that resistance on simple shapes saves you from heartbreak later.
- The Sphere Challenge: Roll a ball until it’s perfectly round. No dents, no flat spots.
- The Cylinder Test: Roll a snake of clay and connect the ends. Smooth the seam until it disappears.
- The Cube Experiment: Cut a square shape. Sharpen the edges with a knife. Round them slightly so they don’t crumble.
These aren’t boring exercises; they are diagnostic tools. If your sphere cracks while drying, you know your clay was too wet or dried too fast. If your cube collapses, you didn’t compress the corners enough. You’re learning the material’s limits, not just making shapes.
Nature’s Easiest Teachers: Fruits and Vegetables
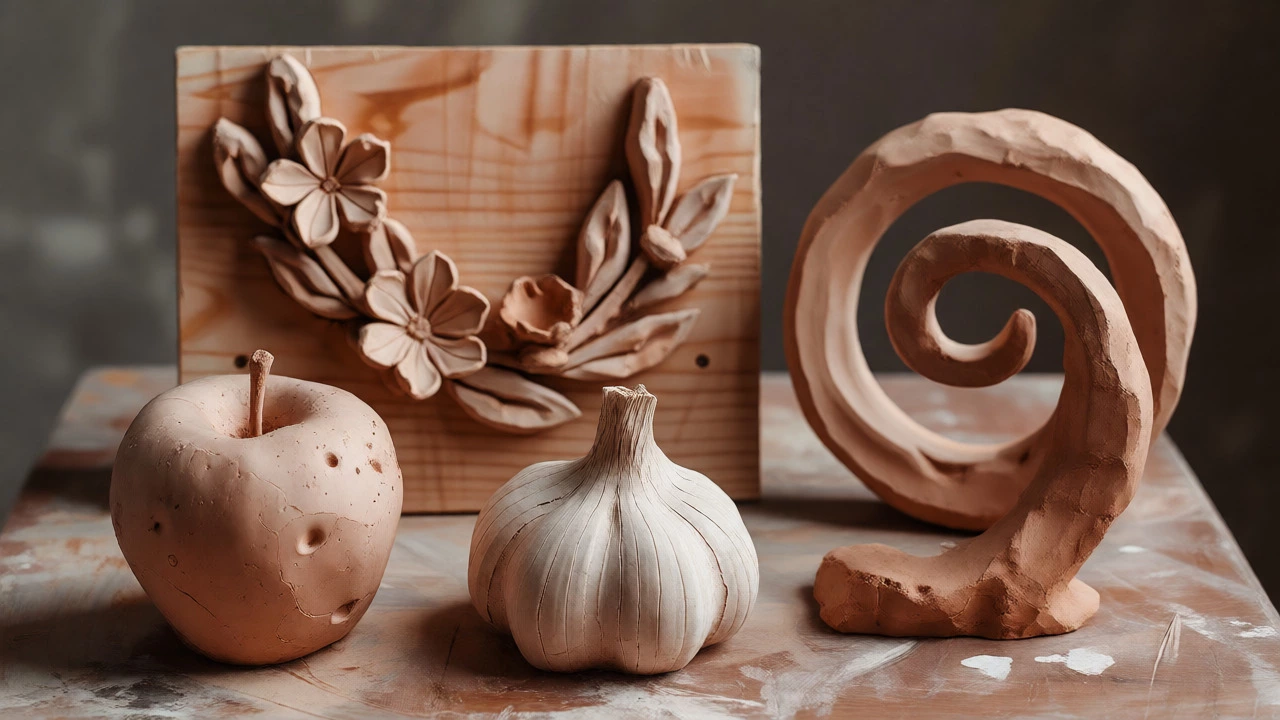
Once you’re comfortable with geometry, move to organic forms. But skip the animals for now. Animals have legs, tails, and ears-thin appendages that snap if you look at them wrong. Instead, sculpt fruits. An apple, a pear, or a lemon. These objects have volume, weight, and natural imperfections that hide beginner mistakes.
Why does this work? Because real fruit isn’t perfect. A potato has bumps. A banana curves unevenly. When you sculpt a potato, nobody expects mathematical precision. They expect "potato-ness." This gives you creative license to mess up. Plus, most fruits are solid masses. There’s no internal skeleton to worry about. You just build up mass and then refine the surface.
Try sculpting a garlic bulb. It’s composed of smaller spheres (cloves) wrapped around a central point. This teaches you subdivision-breaking a large form into smaller parts. It’s a crucial skill for anything larger than your fist. As you wrap the outer layers, pay attention to how the skin texture changes near the base versus the top. You’re practicing observation alongside manipulation.
The Power of Low Relief: Wall Decor
If you’re afraid of your sculpture falling over, stop worrying about balance. Work in Low Relief. This means building your design onto a flat backing plate, like a piece of cardboard or a wooden board. The background supports the sculpture, so you don’t need to worry about structural stability.
This is perfect for decorative pieces. Think of a wreath, a floral pattern, or a monogram letter. You add clay to the board, shaping it upward rather than outward. Since the clay is anchored to the board, it won’t collapse under its own weight. It’s also easier to store and display. You can hang it on a wall immediately after it dries.
| Project Type | Structural Risk | Detail Level | Best For Learning |
|---|---|---|---|
| Geometric Shapes | Low | None | Surface Smoothing |
| Fruit/Veg | Medium | Low | Organic Observation |
| Low Relief | Very Low | Medium | Composition & Layering |
| Small Animal | High | High | Anatomy Basics |
Notice the trend? As you move down the list, the risk increases. Start at the top. Master the low-risk projects before you tackle the high-risk ones. It’s not cheating; it’s engineering.
Abstract Expression: Letting Go of Realism
Some people hate realism. They find it stressful to match reality. If that’s you, go abstract. Abstract sculpture frees you from the rulebook. You don’t need to make it look like a dog; you just need to make it feel interesting. Use wire armatures or stacked stones. Play with negative space-the empty areas between the solid parts.
Try twisting a thick coil of clay into a spiral. Or stack irregular chunks of clay on top of each other until they balance. Abstract work teaches you about visual weight. Where does your eye go? What feels heavy? What feels light? These are artistic concepts, not technical ones, but they’re essential for good composition. Don’t worry about "getting it right." In abstract art, there is no wrong answer, only different answers.
Tools You Actually Need (And Ones You Don’t)
You don’t need a $500 toolset. You need a few basics. Most beginners buy fancy ribbon tools and never use them. Here’s the starter kit that actually works:
- Your Hands: Seriously. Your fingers are the best smoothers. Keep them clean and slightly damp.
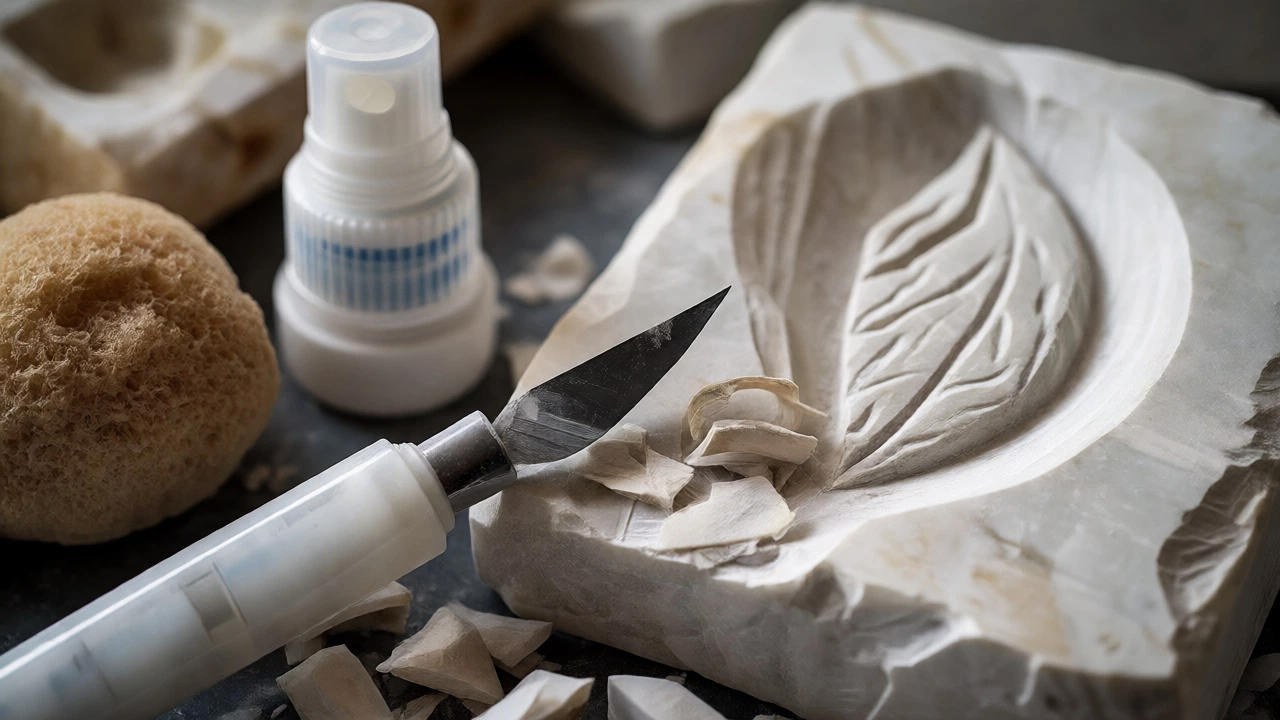
- A Plastic Knife: Not metal. Metal scratches soft clay. Use a plastic modeling knife for cutting and scraping.
- A Rolling Pin: Any cylindrical object works. A wine bottle, a PVC pipe, even a rolling pin from the kitchen (if you keep it separate from food).
- A Sponge: Natural sea sponges are great for blending seams and adding texture.
- Water Spray Bottle: To keep the clay moist while you work.
Skip the expensive calipers and loop tools for now. You can measure thickness with a ruler. You can cut loops with a thread. Spend your money on better clay quality instead of fancy gadgets. Good clay makes bad tools look good; bad clay makes good tools useless.
Pitfalls That Kill Beginner Motivation
Why do most beginners quit? It’s usually not lack of talent. It’s poor process management. Here are the three biggest killers:
- Working Too Big: Large sculptures take weeks to dry. Cracks happen during drying. If you haven’t learned to control moisture yet, stick to palm-sized projects. Small dries fast, and mistakes are cheap.
- Ignoring Armatures: If you sculpt a long neck or a thin tail without support inside, it will sag. Use wire or aluminum foil for internal structure. Think of it as the skeleton before the skin.
- Drying Too Fast: If you put your clay in direct sunlight or near a heater, the outside dries while the inside stays wet. The outside shrinks, the inside pushes out, and boom-crack. Dry slowly. Cover loosely with plastic wrap for the first day.
Avoiding these traps is half the battle. If you keep your projects small, supported, and slow-dried, you’ll finish more pieces than you ever imagined.
From Clay to Stone: Thinking About Material
Eventually, you might want to carve. Wood, soapstone, or alabaster. Carving is subtractive-you remove material rather than adding it. It’s unforgiving. Once you cut away stone, it’s gone forever. So, practice your additive skills first. Understand how forms interact before you start chopping them away.
If you jump to carving, start with soap bars. Yes, actual bathroom soap. It’s soft, cheap, and comes in blocks. Carve a simple spoon or a leaf. If you ruin it, you just wash your hands with it. It removes the financial fear. Once you’re comfortable removing material, move to softer stones like alabaster. Save the hard granite for when you have calluses on your thumbs and years of experience.
Next Steps: Building a Portfolio
You’ve made a sphere, a potato, and a relief panel. Now what? Document everything. Take photos from multiple angles. Write down what went wrong. Did the ear crack? Note it. Did the color fade? Note it. This journal becomes your teacher.
Then, pick one theme and repeat it. Sculpt ten apples. Ten leaves. Ten spirals. Repetition builds muscle memory. By the tenth apple, you won’t think about where to press your thumb. You’ll just do it. That flow state is where the joy lives. Don’t rush to complexity. Depth beats breadth every time.
What is the easiest type of clay for beginners?
Air-dry clay is generally the easiest starting point because it requires no firing equipment. Polymer clay is another excellent option, especially if you prefer baking in a home oven. Both allow you to focus on shaping techniques without worrying about kiln temperatures or shrinkage rates associated with traditional ceramic clays.
How big should my first sculpture be?
Keep it small, ideally fitting within the palm of your hand or slightly larger. Small projects dry faster, reducing the risk of cracking. They also require less material, meaning mistakes are inexpensive. Once you master structural integrity on small scales, you can scale up to larger pieces with confidence.
Do I need an armature for every sculpture?
Not for every sculpture. Solid, compact forms like spheres or cubes often stand alone. However, any project with protruding elements like limbs, tails, or long necks needs an internal support structure called an armature. Wire, aluminum foil, or even toothpicks can serve as armatures to prevent sagging and breakage.
Why does my clay crack while drying?
Cracking usually happens when the surface dries faster than the interior. This causes uneven shrinkage. To prevent this, dry your sculpture slowly in a cool, shaded area. Loosely covering it with plastic wrap for the first 24 hours helps maintain consistent moisture levels throughout the piece.
Can I paint my sculpture after it dries?
Yes, most beginner-friendly clays accept acrylic paints well once fully cured. Air-dry clay typically takes 24-72 hours to cure depending on thickness. Ensure the piece is completely dry to the touch and feels room temperature before painting, otherwise trapped moisture can cause the paint to bubble or peel.