Watercolor Mastery Challenge
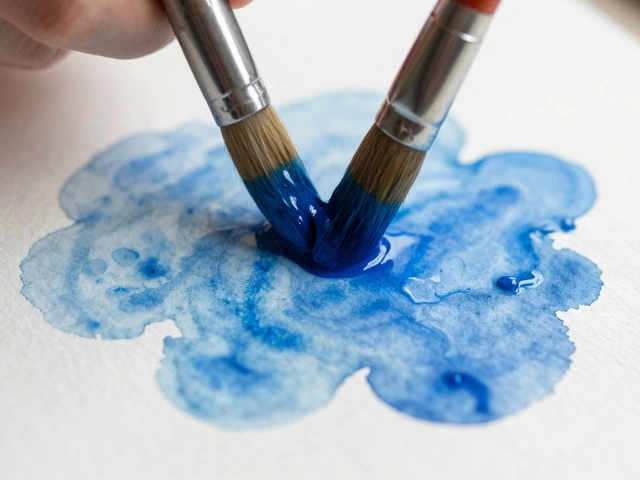
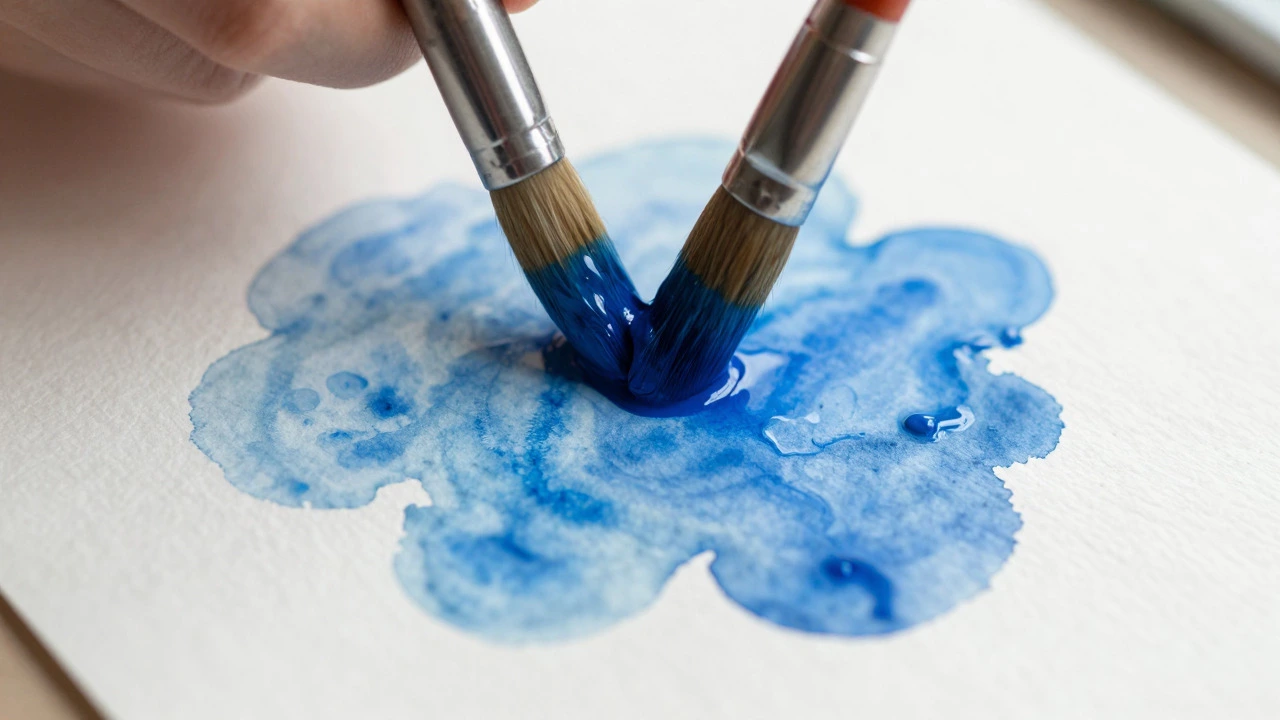
You dip your brush into a puddle of vibrant blue, lay it gently on the paper, and watch in horror as it blooms into a muddy, uncontrollable blob. You try to fix it by adding more paint, but instead of covering the mistake, you just make the stain darker and messier. If this sounds familiar, you are not alone. Watercolor painting has a reputation for being the most frustrating medium for beginners, yet it remains one of the most beloved by professionals. Why is there such a massive gap between expectation and reality?
The short answer is that watercolor refuses to behave like other paints. Unlike oil or acrylic, which sit on top of the surface and allow you to scrape off errors, watercolor sinks into the fibers of the paper. It demands trust, timing, and a surrender of control that feels counterintuitive to anyone used to digital art or opaque mediums. But once you understand the physics behind the pigment and water, the "difficulty" transforms from a barrier into a feature.
The Myth of Opacity: Why You Can't Fix Mistakes
The biggest shock for new artists is the realization that watercolor is transparent. In acrylic or oil painting, if you paint a red apple over a green background, the red covers the green. This is called opacity. Watercolor works differently. When you apply a second layer of color over a first layer, the light passes through both layers, reflects off the white paper, and comes back up through the pigments. This creates luminosity, but it also means you cannot hide what is underneath.
If you make a mistake in watercolor, you cannot simply paint over it with a lighter color. Adding more water to lighten an area often results in a "bloom" or a "cauliflower edge," where the pigment pools unevenly. Adding more paint only darkens the value. This forces you to think in reverse. Instead of starting with details and building up, you must start with the lightest values and work toward the darkest. You have to plan your painting before your brush even touches the paper because the white of the paper is your brightest highlight. Once you cover it with paint, that brightness is gone forever.
Can I paint light over dark in watercolor?
Generally, no. Because watercolor is transparent, painting a light color over a dark one will result in a murky, darker mixture. To keep colors bright, you must leave areas white (resist) or paint them while the underlying layer is still very pale. Some advanced techniques use masking fluid or opaque gouache for highlights, but traditional watercolor relies on preserving the white paper.
The Three Variables: Water, Pigment, and Paper
To master watercolor, you have to stop thinking about just "painting" and start thinking about chemistry. There are three main variables interacting at every moment: the ratio of water to pigment, the absorbency of the paper, and the time elapsed since application. Most beginners struggle because they treat these variables as static, when they are actually dynamic and constantly changing.
Cold-pressed watercolor paper is a textured paper made primarily from cotton or cellulose, designed to hold significant amounts of water without buckling. The texture, or "tooth," holds the pigment in the valleys of the paper. If you use cheap printer paper, the water soaks through instantly, causing warping and bleeding. Professional artists use 100% cotton paper because the long fibers swell when wet, creating a reservoir that allows the paint to move and blend smoothly. Without the right paper, even the best technique will fail.
Then there is the pigment load. A highly concentrated pigment, like Quinacridone Magenta, can be diluted ten times and still look vibrant. A staining pigment, like Phthalo Blue, binds tightly to the paper fibers and is nearly impossible to lift out once dry. Understanding whether your paint is granulating (settling into the texture), staining (binding permanently), or lifting (easily removable) changes how you approach each stroke. You aren't just applying color; you are managing the flow of liquid across a porous surface.
Wet-on-Wet vs. Wet-on-Dry: Controlling the Chaos
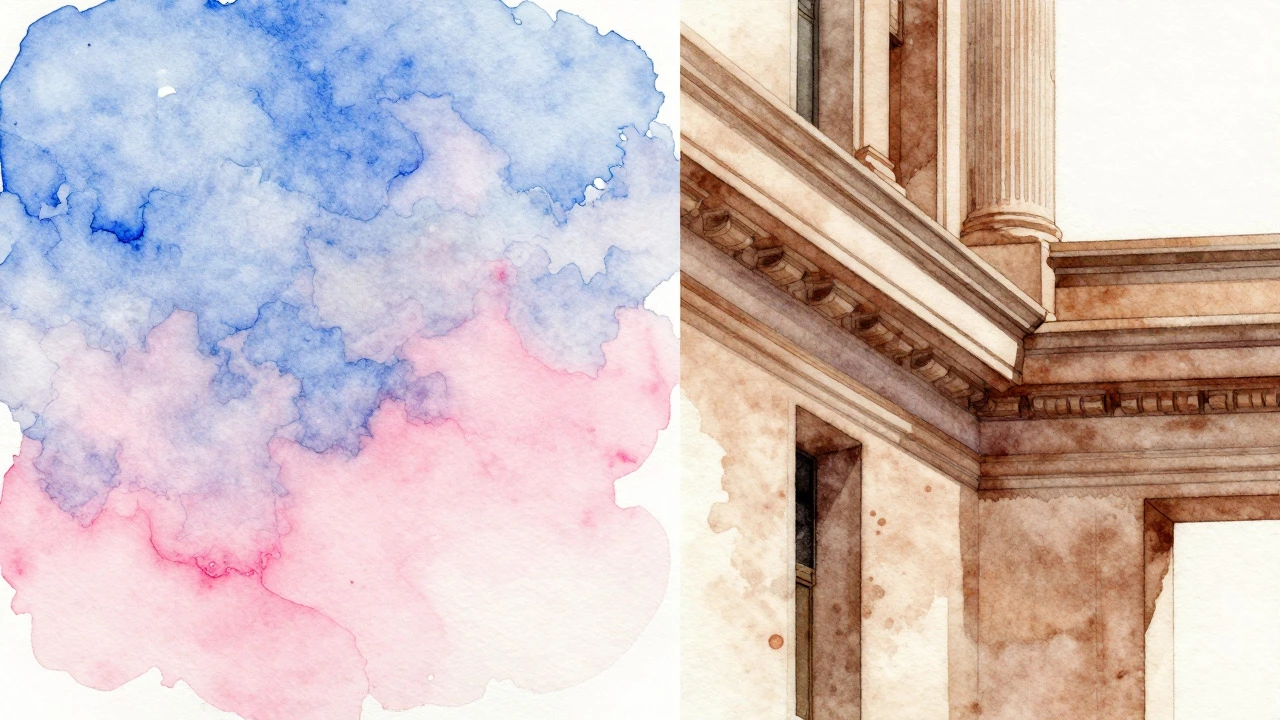
The core mechanic of watercolor difficulty lies in the state of the paper when you apply the paint. There are two primary modes: wet-on-wet and wet-on-dry. Confusing the two is the source of most beginner frustration.
In wet-on-wet technique, you wet the paper first with clean water, then drop pigment onto the damp surface. The paint spreads rapidly, creating soft edges and gradients. This is beautiful for skies, backgrounds, and organic forms. However, it is unpredictable. You cannot force the paint to stay within a specific line. It wants to flow. If you try to control it too much, you create hard edges where you wanted soft ones.
In wet-on-dry technique, you apply wet paint to dry paper. This gives you sharp, defined edges and precise control. It is ideal for details, architecture, and foreground elements. The challenge here is maintaining enough moisture in the brush to blend smoothly. If the brush is too dry, the paint will drag and scratch the paper. If it is too wet, it might pool and create unintended blooms.
The skill isn't just knowing which technique to use, but knowing exactly when the paper transitions from one state to the other. A paper that looks dry might still be damp underneath. Applying wet paint to this "damp-dry" surface causes the pigment to scatter unpredictably, often resulting in the dreaded "back-run" or "cauliflower" effect, where water pushes pigment away from the center, leaving a hard ring of color.
| Technique | Paper State | Edge Quality | Best For | Risk Level |
|---|---|---|---|---|
| Wet-on-Wet | Damp/Wet | Soft, Diffused | Skies, Backgrounds, Blends | High (Unpredictable) |
| Wet-on-Dry | Completely Dry | Sharp, Defined | Details, Lines, Textures | Low (Controlled) |
| Dry Brush | Dry | Broken, Textured | Bark, Grass, Highlights | Medium (Requires Timing) |
The Value Problem: Thinking in Grayscale
Many beginners focus too much on hue (the name of the color) and not enough on value (how light or dark the color is). In watercolor, value is king. A painting with perfect color harmony but flat values will look dull and unconvincing. Conversely, a painting with strong value contrast but mixed-up hues can still read clearly as a composition.
Because watercolor is transparent, achieving deep, rich darks requires multiple layers, known as glazing. You cannot just squeeze a tube of black paint onto the canvas. You build darkness by laying down thin, transparent layers of complementary colors. For example, to darken a yellow leaf, you don't add black; you add a thin layer of purple or burnt sienna. This preserves the luminosity of the yellow while deepening the shadow. Getting this balance right takes practice. If you rush the process and apply thick paint, it becomes muddy and loses its glow.
Try this exercise: take a grayscale photo of a landscape and try to paint it using only one color, like Burnt Sienna. Focus entirely on getting the light, mid-tone, and dark tones correct. If the values are right, the image will be recognizable. Then, try adding color. You will find that the structure of the painting holds together because the values support it. This shifts the focus from "what color is this?" to "how dark is this?", which is the fundamental question in watercolor design.
Embracing the Accident: The Mental Shift
Perhaps the hardest part of watercolor is psychological. We live in a world of undo buttons and erasers. Watercolor offers neither. Every mark is permanent. This permanence induces anxiety, causing painters to stiffen their grip and hesitate. Hesitation leads to muddy paint because you keep going over the same area, trying to "get it right."
The solution is to embrace the accident. If a bloom happens, incorporate it. Does it look like a cloud? A shadow? A texture in the bark? Watercolor rewards spontaneity. Artists like John Singer Sargent and Winslow Homer didn't fight the medium; they danced with it. They allowed the water to do the work, guiding the flow rather than dictating it.
Start small. Don't try to paint a masterpiece on your first day. Paint a single cup. Paint a leaf. Focus on one technique at a time. Spend a week just doing wet-on-wet washes. Spend another week practicing sharp lines. By isolating the variables, you reduce the cognitive load. You stop worrying about the whole picture and start mastering the interaction between brush, water, and paper.
Tools Matter More Than You Think
While talent helps, equipment plays a surprisingly large role in the difficulty curve. Cheap student-grade paints often contain fillers and extenders that make them chalky and hard to blend. They require more water to activate, which increases the risk of over-wetting the paper. Professional-grade paints, though expensive, have a higher pigment load. A little goes a long way, giving you more control and richer colors.
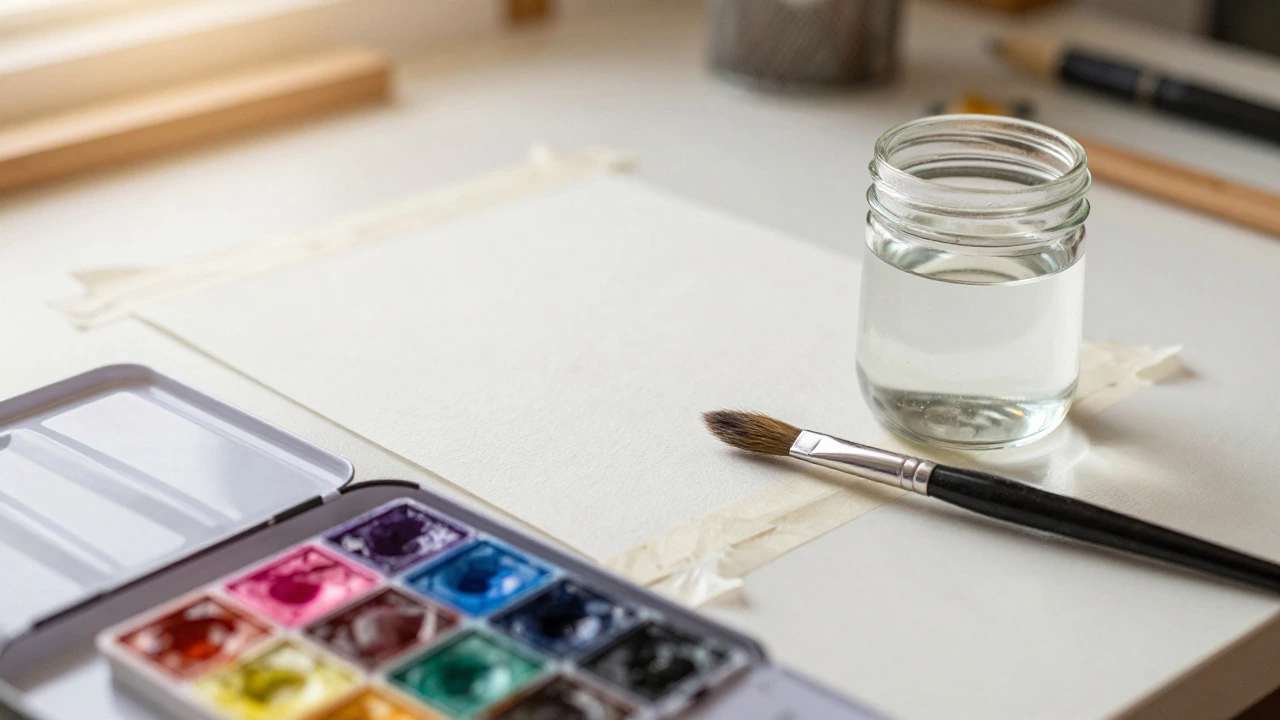
Brushes are equally important. Synthetic brushes are improving rapidly and are excellent for beginners. Look for a round brush with a good snap (the ability to return to a point after being splayed). A brush that holds too much water will flood your paper; one that holds too little will run dry before you finish a stroke. Paper tape is also essential. It keeps the paper flat while it dries, preventing the cockling (wrinkling) that makes it impossible to apply subsequent layers evenly.
What is the hardest thing about watercolor for beginners?
The hardest aspect is usually controlling water ratios and understanding that mistakes cannot be painted over. Beginners often struggle with "muddy" colors caused by mixing too many pigments or working over wet layers incorrectly. Learning to preserve white highlights and work from light to dark is a significant mental shift from other painting mediums.
How long does it take to get good at watercolor?
There is no set timeline, but consistent practice yields results. Many artists see significant improvement in basic control within 3-6 months of regular painting. Mastery of complex techniques like glazing and controlled wet-on-wet blends can take years. The key is frequent, short practice sessions focused on specific skills rather than infrequent, long painting attempts.
Do I need expensive supplies to start?
You do not need professional-grade tubes immediately, but avoid the cheapest student sets. Mid-range pan sets or half-pans offer a good balance of quality and cost. The most critical investment is in 100% cotton watercolor paper. Using poor-quality paper will hinder your progress regardless of how good your paint is, as it affects water absorption and drying time.
Why does my watercolor look muddy?
Muddiness usually occurs from mixing more than two or three pigments together, especially complements (like red and green). It can also happen if you scrub a dry layer of paint, lifting underlying colors and mixing them on the surface. To avoid this, mix colors cleanly on your palette before applying them, and let layers dry completely before adding new ones unless intentionally blending wet-on-wet.
Can I learn watercolor online?
Yes, online tutorials are highly effective for learning watercolor. Video content allows you to see the speed of the brush, the amount of water used, and the timing of layers, which are crucial elements difficult to convey in text. Look for instructors who emphasize fundamentals like value studies and water control rather than just copying finished paintings.
Watercolor is hard because it exposes every hesitation and error. But that is also why it is rewarding. It teaches patience, observation, and adaptability. When you finally achieve that perfect, glowing wash that seems to emit its own light, you realize the struggle was worth it. The medium doesn't forgive, but it does inspire.