Nov 27, 2025
What Two Colors Did Vincent Van Gogh Most Often Use in His Paintings?
When you dive into Repainting Advice, practical guidance for refreshing any surface with paint. Also known as paint makeover tips, it helps homeowners, renters and DIY enthusiasts achieve a professional look without hiring a contractor. Paint Types, the families of latex, oil‑based, chalk and specialty paints define what you’ll need for durability and finish. Surface Preparation, cleaning, sanding and priming steps that ensure paint adhesion is the foundation of any successful repaint. Finally, picking the right Color Selection, hues and palettes that match your style and lighting can transform a room’s mood instantly.
Repainting advice encompasses several interlocking elements. First, understanding paint types lets you match the product to the surface – latex for walls, oil‑based for trim, and chalk paint for furniture that needs a matte, vintage feel. Next, Surface Preparation involves removing dust, filling holes, and applying primer to seal pores; skipping this step leads to flaking or uneven colour. Then comes Color Selection, where you consider room size, natural light and existing décor to choose hues that expand or cozy up a space. Lastly, the right Painting Tools, such as angled brushes, high‑quality rollers and drop cloths, makes the application smoother and reduces mess.
Each of these entities interacts directly with the others. The choice of paint type influences how much primer you need; a glossy oil‑based finish may require a finer sand‑paper grit before the next coat. Color selection affects the number of coats – dark shades often need a primer to prevent bleed‑through, while light colours may hide imperfections better. Good tools speed up the job, reducing the time spent on surface prep and improving the final appearance. In short, mastering repainting advice means seeing the whole workflow as a chain of cause‑and‑effect steps.
Beginners often ask whether they can skip priming when using a high‑coverage latex. The short answer: only if the surface is already sealed and colour‑matched. In most cases, primer acts as a bonding agent and a colour‑neutral base, which is especially critical when transitioning from dark to light hues. For furniture that already has a finish, a light sanding followed by a chalk‑paint primer creates a matte look without the need for multiple coats. These nuanced decisions are at the heart of solid repainting advice and can save both time and money.
Seasonal factors also play a role. Painting in high humidity can cause slower drying, leading to brush marks or tacky finishes. Conversely, very low temperatures may prevent latex from curing properly, resulting in cracking later. When planning a repaint, check the manufacturer’s recommended temperature range and aim for a stable environment. If you’re stuck indoors during a cold snap, consider using a low‑VOC oil‑based paint that tolerates lower temps, but always ventilate the space well.
Safety shouldn’t be an afterthought. Proper ventilation, protective gloves, and eye protection are essential, especially when working with oil‑based paints or primers that contain stronger solvents. Many modern latex paints are low‑odor, but abandoning the habit of opening windows can still lead to buildup of fumes. This is another piece of repainting advice that often gets overlooked until someone feels light‑headed. A quick glance at the product’s safety data sheet (SDS) will tell you what precautions are needed.
Budgeting is another practical concern. High‑quality paints cost more upfront but often cover better and require fewer coats, offsetting the expense. Cheaper brushes may shed bristles, ruining the finish and forcing a redo. Investing in a few key items – a good roller frame, a reliable brush set, and a decent primer – pays off in the long run. Knowing where to splurge and where to save is a hallmark of seasoned repainting advice, and it helps you plan a realistic project timeline and cost.
Finally, after the paint dries, proper cleanup ensures your tools last for the next job. Water‑based paints clean up with soap and warm water, while oil‑based products need mineral spirits. Storing brushes flat prevents bristle deformation, and rolling cans upright keeps the paint from settling. These post‑paint steps close the loop on repainting advice, turning a one‑off project into a repeatable, efficient process.
Below you’ll find a curated list of articles that dive deep into each of these topics. Whether you’re tackling a single room, reviving an old table, or planning a whole‑home refresh, the collection offers step‑by‑step guidance, product recommendations and real‑world examples to help you apply the repainting advice we’ve outlined. Explore the practical insights ahead and start turning those dull surfaces into standout spaces.
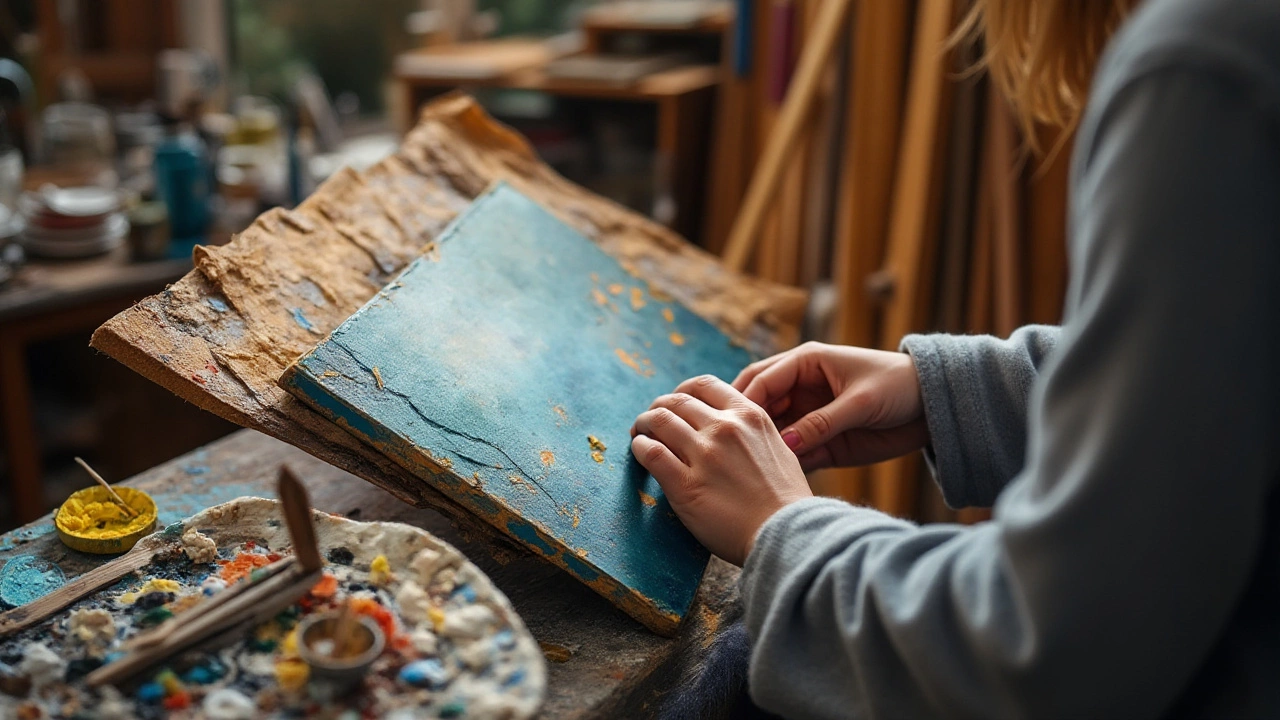
Repainting an old canvas can be a challenge if you are unsure whether to strip the old paint first. Understanding the benefits and drawbacks of removing aged paint is crucial for achieving the best results. This article delves into various oil painting techniques, while also offering practical guidance for preserving the original texture and quality of your artwork. Discover key considerations for effective repainting, ensuring your new layer stands out beautifully.