Jul 21, 2025
Highest Paid Digital Artist: The Record-Breaking Earnings of Beeple and His Rivals
When working with oil painting setup, the process of arranging tools, materials, and workspace so you can paint efficiently and safely. Also known as oil painting preparation, it lays the groundwork for any painter who wants consistent results.
One of the first steps is canvas preparation, stretching, priming, and sanding the surface to create a stable base for oil layers. A well‑prepped canvas prevents cracking and absorbs the first thin washes without warping. Use a plain‑white gesso, sand lightly after each coat, and let it cure for at least 24 hours. The result is a reliable surface that lets the paint adhere evenly, which is essential for a smooth oil painting setup workflow.
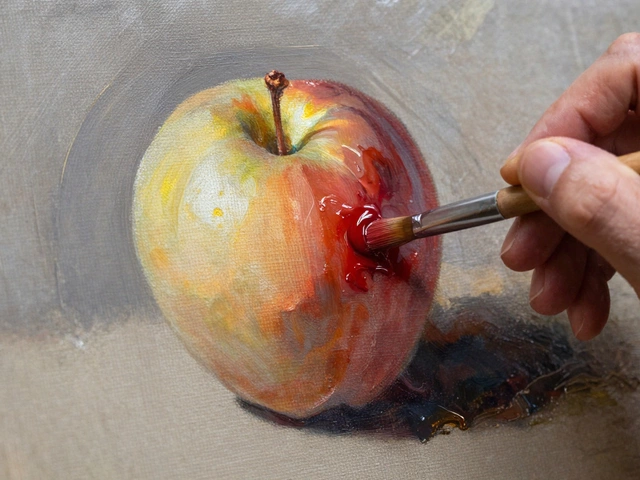
Next, pay attention to brush cleaning, the routine of removing excess oil, solvents, and pigment from brushes after each session. A clean brush retains its shape, extends its lifespan, and avoids contaminating colors. Work with a jar of odorless mineral spirits for the fast‑drying brushes, then finish with a mild soap and warm water. Store brushes upright to keep bristles from bending. Proper brush hygiene directly supports a consistent painting process and reduces unwanted texture in final layers.
Color mixing is another pillar of a solid setup. palette organization, arranging primary and secondary pigments so you can create a wide range of hues quickly, saves time and helps maintain color harmony. Start with the three primaries—cadmium red, ultramarine blue, and lemon yellow—then add a few earth tones and a black and white. Use a glass or ceramic palette for easy cleaning, and keep a small amount of linseed oil on the side for smooth blending. Mastering palette management lets you focus on composition rather than hunting for the right shade.
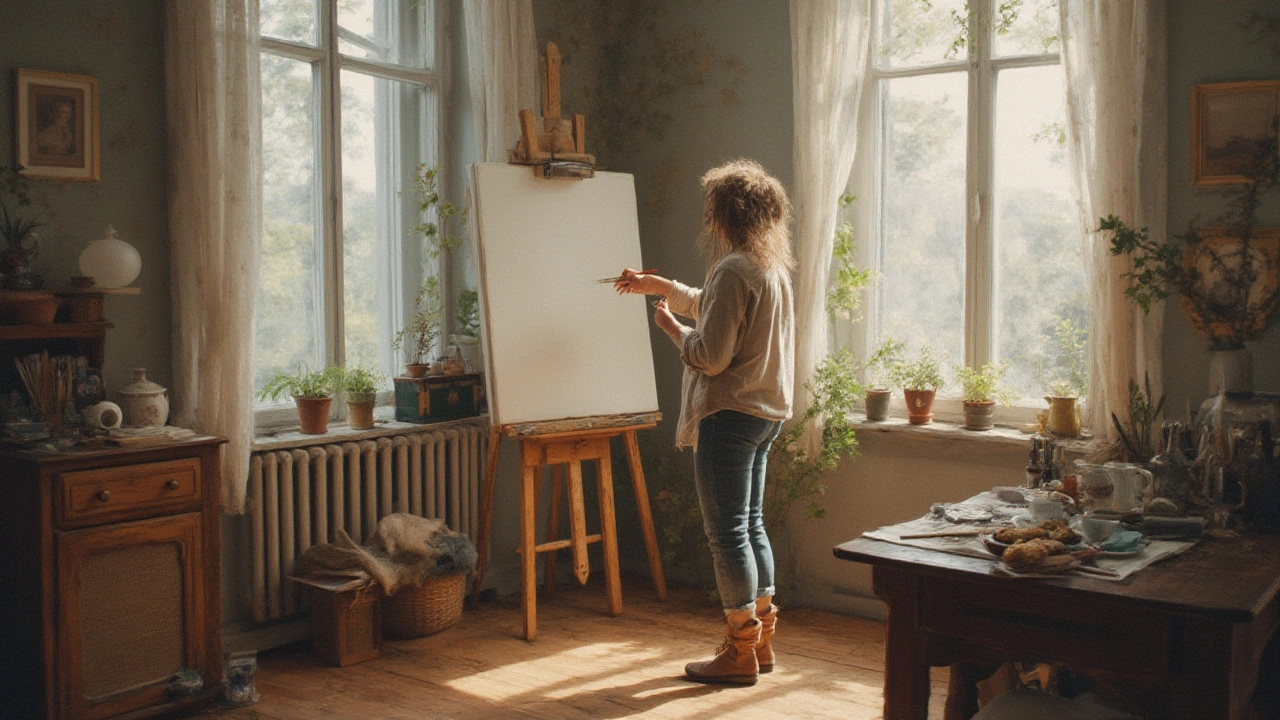
Lighting and ventilation often get overlooked, yet they shape every other step. Natural, north‑facing light offers a neutral color temperature that reveals true pigment values, while adjustable LED panels can fill in shadows on cloudy days. Good airflow clears fumes from solvents and prevents the studio from getting too warm, which can alter drying times. Position a small fan or open a window across from the easel, and keep a fire‑proof container for oily rags. A well‑ventilated, well‑lit space protects both the artwork and the artist.
Historical techniques still inform modern setups. The Goya technique, a method that mixes a dark underpainting with light glazes to create dramatic contrast, relies on a disciplined setup. Artists who adopt this approach often start with a thin, ochre‑based grisaille, then layer transparent colors using linseed oil medium. The technique demands careful brush control, meticulous drying intervals, and a clean palette to avoid muddying the glazes. Incorporating Goya’s method can add depth to your work while reinforcing good studio habits.
All these elements—canvas prep, brush care, palette order, lighting, ventilation, and even classic methods like Goya’s—form a cohesive oil painting setup. By treating each piece as a step in a chain, you create a reliable workflow that lets creativity flow without technical hiccups. Below you’ll find articles that dive deeper into each of these topics, from mastering glazing to choosing the right medium. Explore the guides and start building a studio that works for you.
Curious about starting oil painting? This in-depth guide covers preparing materials, sketching your composition, mixing paints, and essential beginner tips for a confident first step.