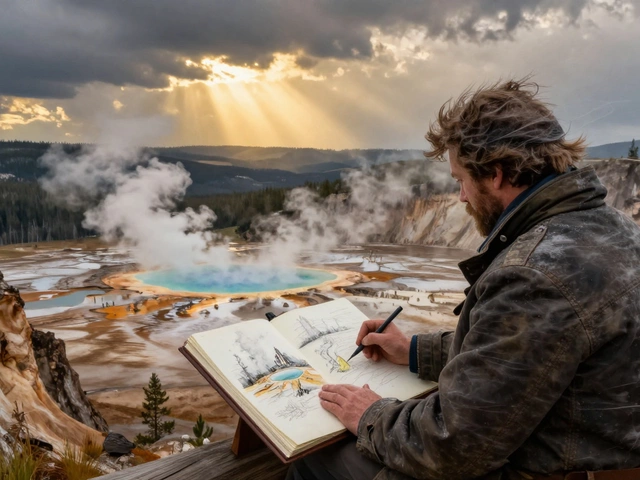
You ever stare at a blank canvas and just freeze up? Whether you’re in your basement or a sun-filled studio loft, the first swipe of oil paint comes with equal parts excitement and terror. No one tells you the real truth: oil painting is easy to overthink, especially when everyone online seems to have a perfect palette or fancy gear. But here’s the thing: everyone, and I mean everyone, starts with that first, slightly shaky step. The only way forward is… well, forward. Today, we’re skipping the vague stuff and getting our hands messy—how to get started in oil painting, straight up, no frills.
Choosing Your Materials: The Real Deal About Supplies
Let’s kill the myth right away: you don’t need an art store’s worth of supplies to kick off your oil painting journey. Most pros will tell you they stick to just a handful of essentials. Here’s what actually matters and why.
- Paints: You can do a ton with just primary red, yellow, blue, plus white and maybe burnt umber or black. Brands matter less than you think, especially for beginners—Winton (by Winsor & Newton) is student grade and affordable, and you’ll learn mixing faster if you limit choices.
- Brushes: Grab a mix of bristle and soft hair brushes—think flats, filberts, and rounds. Three or four will handle almost any technique. Size 6 or 8 is a sweet spot for most canvas sizes.
- Surface: Stretched canvas is classic, but pre-primed canvas boards are way cheaper and less intimidating. For the super-thrifty, even gesso-primed cardboard works for early experiments.
- Mediums: For a start, skip fancy mediums. Refined linseed oil and odorless mineral spirits will cover both thinning paint and cleaning brushes. Don’t use hardware store turpentine—those fumes will clear the apartment faster than you’d like.
- Palette & Palette Knife: Wooden palettes feel a bit pro, but a simple glass or disposable paper palette works. A metal palette knife (not plastic, they snap) lets you mix colors and scrape off “oops” moments before they dry.
- Easel: Floor or table easel, or no easel at all if you’re painting flat on a desk. Serious artists sometimes paint on their lap or even pin paper to a wall.
- Rags and Gloves: Old t-shirts beat paper towels for cleaning brushes, and thin disposable nitrile gloves are a lifesaver—literally, because oil pigments aren’t 100% safe for skin contact.
- Ventilation: This is huge. Open windows, use a portable fan—long hours with oil painting fumes make for splitting headaches, and no painting is worth that.
People in Vancouver sometimes mention the muggy air makes oils dry slower—totally true. In drier places, your layers will set up quicker, so watch the weather. Honestly, the biggest beginner trap? Spilling expensive paint or thinner. So tossing a cheap drop cloth under your setup isn’t a bad insurance policy.
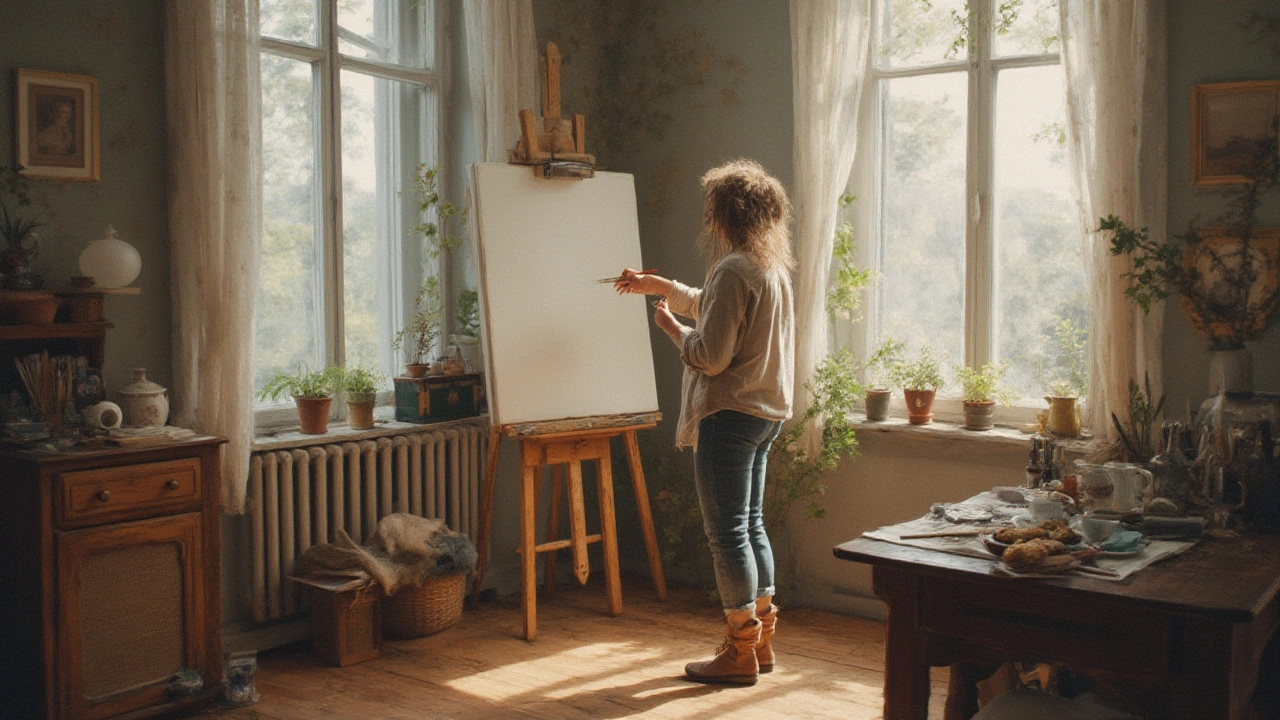
Setting Up Your Space and Prepping the Canvas
Where you paint actually affects how you paint. You don’t need an Instagram-ready studio, but you do want enough table space to keep paints, brushes, and palette handy. Natural light, if possible, beats yellow overhead bulbs—colors look truer and shadows don’t play tricks. If it’s a typical rainy day in Vancouver, go for a daylight-balanced LED lamp.
Start by priming your canvas if it isn’t already. Most commercial canvases come pre-gessoed, but if you’re not sure, touch the surface. If the weave is super rough, it might need a coat or two of acrylic gesso. A quick sanding between layers with cheap sandpaper gives you a nice, smooth base. Don’t skip this, or the oil will seep in and age poorly. Here’s how the pros check: press a damp finger against the canvas—if it feels raw, prime it.
Tack your canvas or board to your easel. Keep your paints and tools on your dominant hand side, with paper towels/rags nearby for cleanup. Some folks sketch standing up for a freer arm movement, so try both sit and stand to see what fits your body best. You want to be able to step back every few minutes—details make sense from distance, not just up close.
If you’re the organized type, lay out paints from lightest to darkest. Not just for efficiency—the unexpected mixes from random dabs are how a lot of new artists stumble on “happy accidents.” Bob Ross never lied about that. Don’t squeeze out more paint than you’ll need in one sitting; oil paint stays soft for days, so it’s tempting to overdo it and waste money.
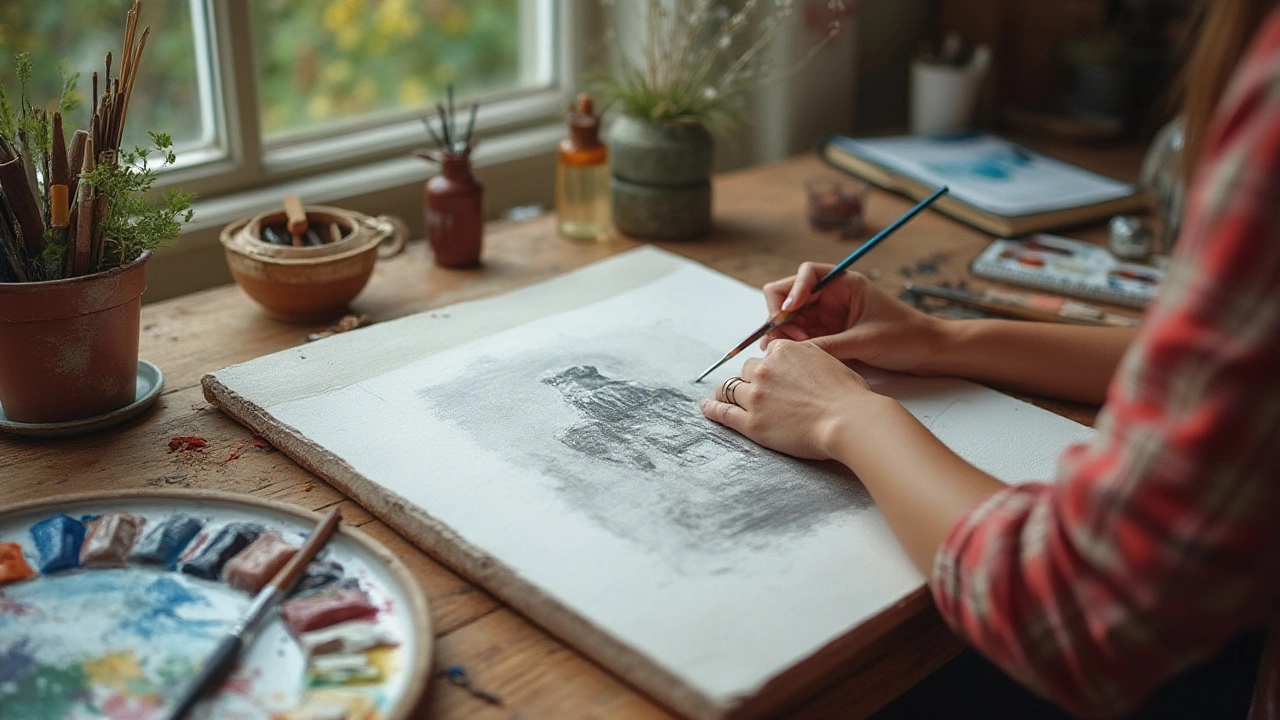
Making Your First Sketch: The Backbone of Great Paintings
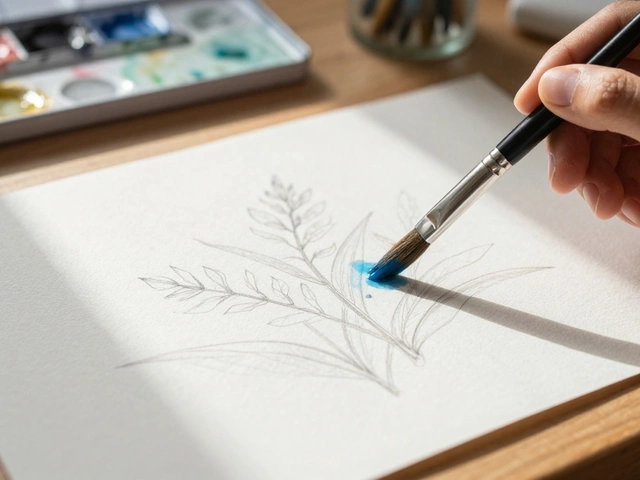
Here’s a surprising truth—even ultra-famous painters like Van Gogh or Sargent always started with a sketch. No shame in drawing in regular pencil or, even better, with a thin brush and diluted paint (called an underdrawing). If you’re worried about erasing, charcoal is easy to brush off, but don’t press too hard or it’ll smudge into your paint later.
Keep things simple—draw key shapes and placement of objects, don’t fill in every little detail yet. Try holding the brush at the end, not like a pencil. That helps stay loose. Spend more time on this than you think, because a lopsided face or crooked vase will only become harder to fix later. The old saying goes: “A good painting stands on the bones of a good drawing.”
If you’re worried about accuracy, use the “sight-size” trick—hold your brush at arm’s length, mark off lengths with your thumb, and compare shapes with what’s on your canvas. Super classic, even used in Paris art schools for centuries. If your hand shakes, that’s normal. You can rest your pinky on the canvas edge for support (old-school trick called a ‘mahl stick’ does the same thing on a bigger scale).
A lot of beginners skip the sketch because they want to get straight to the juicy part—the color. But take five minutes to block in the layout, and you’ll thank yourself later. Ever notice how a professional’s first draft looks shockingly rough, almost ugly? That’s on purpose. Loose sketches leave room for changes, and you’ll avoid the heartbreak of completely painting over something three hours later. Messy start, confident finish.
Mixing Colors and Laying Down the First Layers
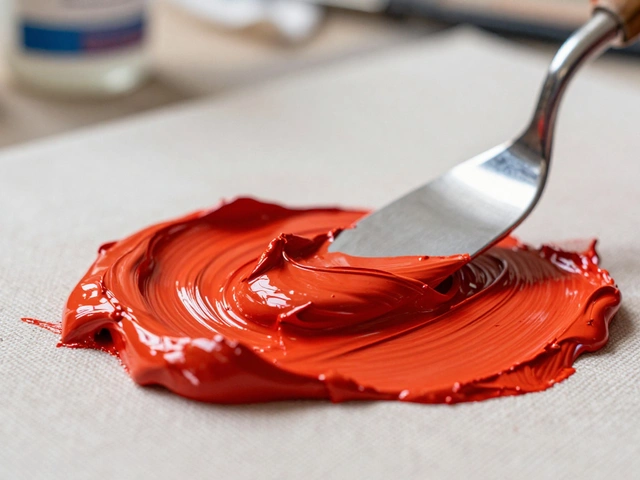
This is where oil paint wins over almost every other medium. You have time—anything you lay down today can be adjusted tomorrow. But start with thin, transparent layers (called ’lean’), and save thick, buttery paint for last. This “fat over lean” rule keeps your masterpiece from cracking a decade later. Think of it as building a burger—lettuce first, sauce last.
Squeeze only small dabs onto your palette. Use a palette knife to mix, not your brush, so you don’t waste bristles or muddy up paint. There’s a weird thrill to mixing a color you’ve never seen before. Want a killer skin tone? Try three parts yellow ochre, one part cad red, and a pinch of ultramarine blue, then tweak with white depending on the lighting.
Most pros use a split-primary palette: warm and cool versions of each primary. This gives crazy mixing power without buying every color you see at Opus Art Supplies. Sure, there’s a learning curve, but it’s easier than memorizing fifty tubes. If you get stuck, cheat a little—swipe a free color mixing chart online, or snap a photo of your favorite painting and try to match it.
First, block in the big shapes with thinned paint. Some folks use straight linseed oil to dilute, but a hint of odorless mineral spirits works faster. Don’t outline every single thing; squint and paint only the shapes of light and shadow. Step back. If your painting still reads as a scene from three meters away, you nailed it. Only when you’re really happy with these first layers should you come in with tidier, thicker, more opaque paint.
Dry time is funky in Vancouver—humid days may keep paint tacky for a week, while a sudden heat wave dries it overnight. If you want to pick up tomorrow where you left off, cover your palette in plastic wrap or slide it into the freezer (seriously, this tricks the paint into lasting days longer). If you go in too thick, try scraping off the excess with your palette knife while it’s still soft—that’s how the pros avoid muddy, overworked messes.
Finishing Touches and Making It Your Own
The temptation to fuss over every detail is real. But often what separates amateurs from confident painters is knowing when to stop. The best oil paintings usually have a few perfectly placed highlights or sharp edges—your eye fills in the rest. Look at Rembrandt’s self-portraits sometime—up close, they’re wild blurs of color, but from two steps back, you swear he’s looking right at you. Wild, right?
Start popping in bold colors or highlights near your focal point. Use thicker paint (straight from the tube, or mixed with a little extra linseed oil—never go thinner in your later layers). Don’t sweat tiny errors—cool effects often happen when you let brushstrokes show. Try adding some texture by dabbing paint on with a palette knife. Even if you don’t “nail it” this first time, you’ll be miles ahead by learning through action.
Want your painting to dry with a glossy finish? Wait a few weeks, then apply a thin varnish made for oils. But hang tight: oil paint dries “touch dry” in one to two weeks, but can take up to six months before it’s totally cured inside. That’s why experts wait before varnishing. If you’re impatient, just frame it under glass for now.
Cleaning up is less glamorous but crucial. Wipe your brushes with a rag before rinsing in mineral spirits—saves on the solvent, which isn’t cheap. Then wash with soap and warm water. Store paints airtight if you’re coming back soon, otherwise, clean your palette so tomorrow’s colors stay true.
Embrace the mess. No one painting will define you. The process beats the result, and the stories you gain through every smudge and fix are what really set your art apart. There’s a cool kinship among oil painters—when you smell just a hint of linseed and see that glassy shine, you know exactly what went into it. Welcome to the club.