Jan 2, 2025
Vertical vs Horizontal: The Art of Landscape Photos and Paintings
When working with Drawing to Digital, the process of turning hand‑drawn sketches into screen‑ready artwork using software and tools. Also known as digitizing drawings, it bridges the gap between traditional media and modern creation. Digital Art, art made or edited with computers relies on Image Conversion, transforming a photo or scan into a layered, editable file. An effective Illustration Workflow, the step‑by‑step method artists follow from concept to final piece often includes a mix of scanning, tracing, coloring, and adding effects.
The first step in any drawing to digital project is getting a clean source image. A smartphone scan or a flatbed scanner gives you enough detail to work with, and most free apps can export a PNG or JPEG that keeps the line work sharp. Once you have the file, you’ll choose a software platform. Popular choices include Adobe Photoshop for its robust brush engine, Procreate for its iPad‑centric workflow, and free options like Krita or GIMP for budget‑friendly creators. Each program offers layers, masks, and blending modes that let you build color and texture without ruining the original sketch.
After importing the scan, most artists start by cleaning up the lines – erasing stray marks, adjusting contrast, and setting the line layer to “multiply” so the white background disappears. From there, the illustration workflow can split into two paths: vector‑based or raster‑based. Vector tools like Adobe Illustrator or Inkscape keep the artwork infinitely scalable, which is great for logos or printable designs. Raster tools let you paint with realistic brushes, add textures, and simulate traditional media such as watercolor or oil. Knowing which path suits your end goal helps you decide which Digital Painting, the act of applying color and detail using digital brushes techniques to apply.
1. Keep your original sketch on a separate layer so you can toggle visibility while you color. 2. Use short, dynamic strokes to mimic real brushes – most programs let you adjust size, opacity, and flow on the fly. 3. Save frequently and use versioning; a single “undo” won’t rescue a lost layer. 4. Experiment with layer effects like “overlay” or “soft light” to add depth without repainting. 5. When you finish, export a layered PSD for future tweaks, and a flattened PNG or JPEG for sharing. These habits turn a simple scan into a professional‑grade piece that works on websites, prints, or merch.
Whether you’re a hobbyist looking to share your doodles online or a professional preparing client‑ready assets, the drawing to digital process gives you endless flexibility. Below you’ll find a curated list of articles that dive deeper into each step – from choosing the right software to mastering advanced brush techniques – so you can pick up the exact skill you need right now.
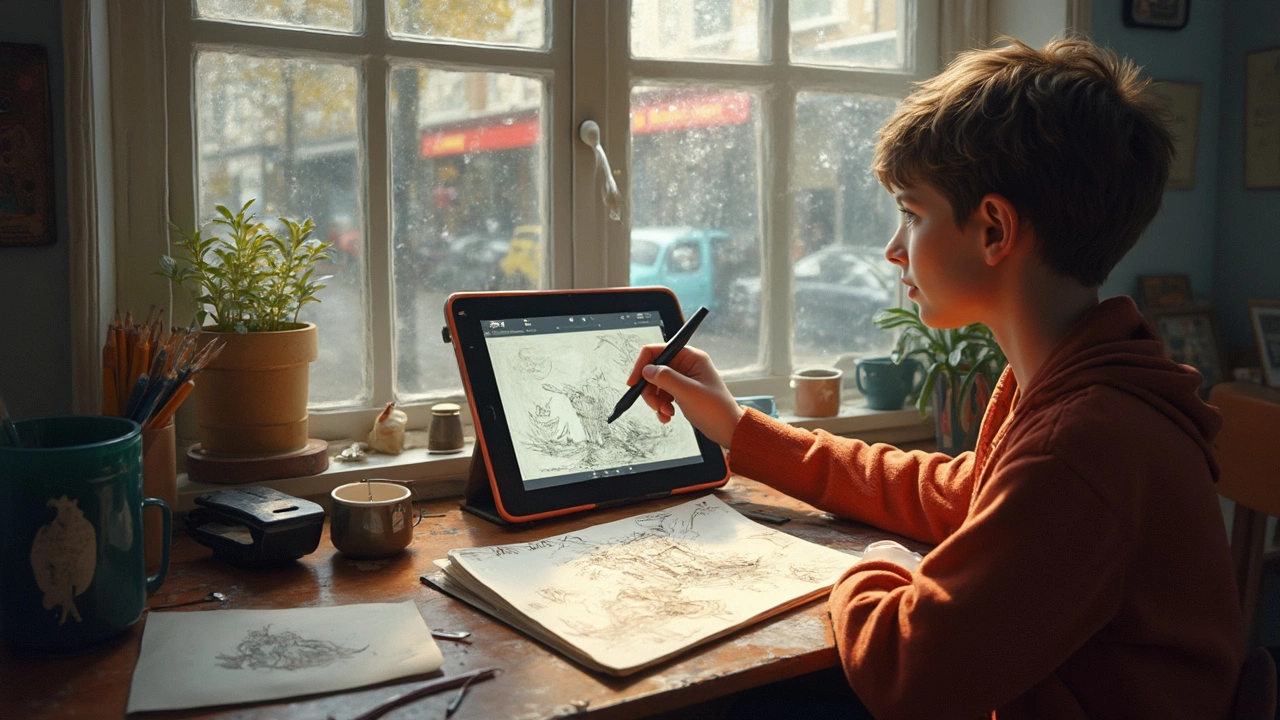
Curious about how to turn your drawings into digital art? This guide breaks down the process into simple, actionable steps—from scanning your sketch to final digital polish. Learn what tools you really need, how to avoid beginner mistakes, and discover cool tips that make your art stand out. It doesn't matter if you're using a smartphone, tablet, or fancy scanner—this article covers them all. Start turning your paper imagination into pixel magic.