Jan 7, 2025
Discovering the Ultimate Musical: What Makes a Show Unforgettable
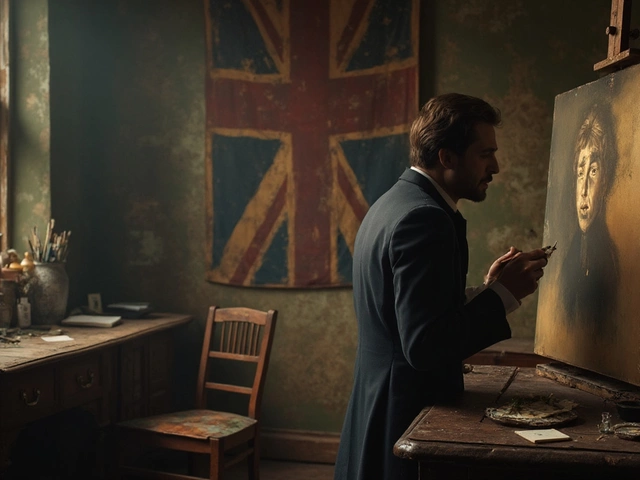
When working with art scanning, the process of converting physical artwork into digital files, the goal is to keep every brushstroke and hue intact. A reliable digital scanner, a device that captures high‑resolution images of flat media or a good camera is the first tool you need. Choosing the right image file format, such as TIFF for lossless archiving or JPEG for quick sharing determines how the artwork will look later. Proper color calibration, adjusting your monitor and scanner to match original colors ensures the digital copy mirrors the original palette. Art scanning therefore encompasses digitizing physical artworks, requires suitable equipment, and relies on accurate color management to produce trustworthy results.
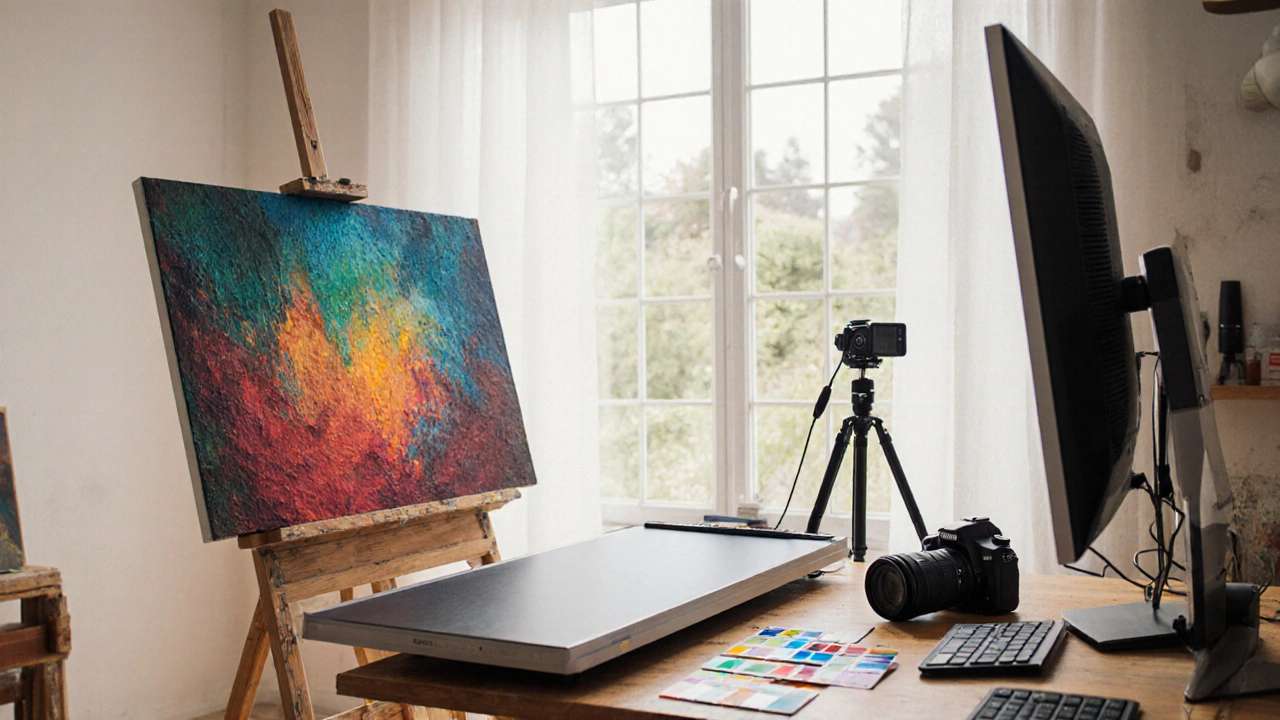
Digitizing your pieces does more than create a backup; it opens a world of possibilities. Once an image is saved as a high‑resolution file, you can upload it to an online portfolio, sell prints, or even explore NFT marketplaces. Museums and galleries use scanned files for catalogues, provenance records, and loan documentation, so a clean, color‑accurate scan can become part of an artist’s official record. For personal collections, a digital archive protects against fire, humidity, or accidental damage, letting you view every work on a screen without handling the original. The workflow usually starts with cleaning the artwork, positioning it on a flatbed scanner or filming it under even lighting, then capturing multiple exposures if the piece is textured. After capture, you’ll crop, straighten, and adjust exposure in software like Photoshop or free alternatives such as GIMP. Saving a master file in a lossless format preserves the data, while derivative JPEGs or PNGs serve for social media, email, or quick client previews. This split‑file strategy balances quality with convenience.
When you move from capture to post‑processing, attention to file naming and folder structure saves hours later. A good practice is to include the artist’s name, title, date, and version in the filename (e.g., "Smith_Sunset_2023_v01.tif"). Storing the master files on a RAID‑configured external drive or a reputable cloud service adds another layer of security. Metadata is your silent ally: embed EXIF or XMP tags that record the scanner model, resolution, color profile (Adobe RGB or sRGB), and any creative adjustments you make. These details help future users verify authenticity and reproduce colors accurately, especially if the work ends up in a printed catalog. If you plan to print large‑scale reproductions, consider creating a separate high‑resolution print‑ready file with CMYK conversion and bleed margins. Many printers request 300 dpi at final size; preparing that file in advance avoids last‑minute surprises.
Beyond the technical steps, art scanning invites you to think about how your audience will experience the digital version. For online galleries, compressing images for faster loading while maintaining visual fidelity is crucial—tools like TinyPNG or Adobe’s Export As let you fine‑tune size versus quality. If you’re sharing on social platforms, cropping to square or portrait formats can boost engagement. Interactive options, such as 360° rotation for sculptural work or zoomable deep‑zoom viewers for detailed paintings, add a layer of immersion that static photos can’t match. Finally, keep an eye on emerging trends: AI‑driven upscaling, automatic background removal, and blockchain‑based provenance are reshaping how scanned art is stored and sold. By mastering the core steps of art scanning today, you’ll be ready to adopt those innovations when they become mainstream.
Now that you understand the why and how, the articles below will walk you through each stage—choosing equipment, setting up your workspace, scanning techniques, file management, and ways to showcase your digitized art. Whether you’re a hobbyist looking to archive a few sketches or a professional painter preparing a full‑size catalogue, the guidance ahead will help you turn paper and canvas into crisp, shareable digital assets.
Learn how to convert your paintings into museum‑quality digital prints, from scanning or photographing to color‑management, file formats, printing methods, and selling tips.