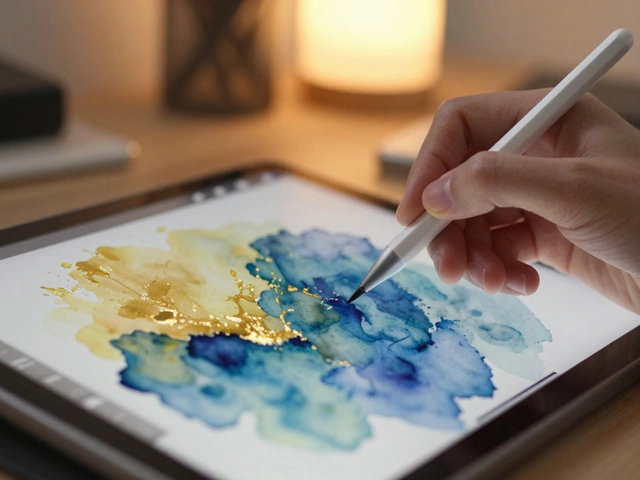
Ever tried adding a splash of texture and depth to your artwork without overcomplicating things? Sponging is a fantastic technique that can transform your oil paintings. It's not just about dabbing a sponge on a canvas; it's about creating layers, patterns, and a sense of movement that brushes alone might not achieve.
The beauty of sponging lies in its simplicity and versatility. Whether you're a total newbie or a seasoned artist, it offers endless possibilities. All you need to start are some basic materials—a sponge, your favorite oil paints, and a canvas. But don't limit yourself; different types of sponges can produce different effects, from soft, subtle textures to bold, dramatic strokes.
Now, picture this: you can create different moods in your painting just by changing the pressure you apply or the angle of the sponge. Need a cloudy sky? Use a light, circular motion. Want to mimic the roughness of tree bark? Try a firmer touch with a more angular sponge. See where we're going with this? Experimenting with sponging can bring unexpected and delightful surprises to your artwork.
- Understanding Sponging
- Materials You Need
- Basic Sponging Techniques
- Advanced Tips and Tricks
- Common Mistakes to Avoid
Understanding Sponging
So, what exactly is sponging in the art world? In simple terms, it's a technique that artists use to apply or remove paint using a sponge. It’s a hands-on method that adds texture and depth to paintings, making them more dynamic and interesting. This is super handy in oil painting, where you might want to create intricate details or layered effects without picking up a brush.
Now, why a sponge? Well, the sponge's porous nature means it can hold a decent amount of paint, allowing for a smooth application. Plus, its flexibility means you can bend and press it in various ways to achieve different effects. This flexibility is what makes sponging a popular choice among artists who love adding a bit of their own flair to oil paintings.
The History Behind Sponging
Believe it or not, sponging isn’t new. Artists have been experimenting with various tools for centuries, and natural sponges were one of the early tools used for creating texture in paintings. Fast forward to today, and you've got a variety of sponges—synthetic and natural—that each offers unique results.
Types of Sponges to Use
- Natural Sea Sponges: Known for their uneven texture, these sponges are great for creating organic, random patterns.
- Synthetic Sponges: These are uniform in texture and perfect for more controlled effects.
- Household Sponges: Yes, those kitchen sponges can be repurposed for art! They offer a mix of textures and are easily available.
Each sponge type can create a specific mood or effect, so it’s worth experimenting to find which one suits your style best.
When to Use Sponging
Sponging can be used at multiple stages in the painting process. Whether you're just starting out to lay down background colors or adding final touches for textured details, sponging can come in handy. Its flexibility makes it an excellent technique for both adding and lifting paint to adjust colors and highlights. So next time you're thinking about adding an interesting element to your oil painting, give sponging a try.
Materials You Need
Before diving into the world of sponging, it's crucial to gather the right materials. While it might seem like a basic technique, having the right tools can really make a difference in the outcome of your artwork.
Sponges
The star of the show! Not all sponges are created equal. You want to opt for natural sponges if you're looking for a more varied texture because their irregular surfaces can add a really interesting pattern to your painting. Synthetic sponges, on the other hand, offer more uniform textures. It's worth experimenting with both to see which one you prefer.
Oil Paints
Of course, you'll need oil paints. The color choice is up to you, but make sure you have a palette ready to mix different shades. The more colors you play with, the more visually dynamic your piece will be. Don't shy away from bold choices!
Canvas
Your canvas is literally the backdrop of your creative masterpiece. While any canvas will do, consider the texture. A rougher canvas might interact differently with the sponge, offering another layer of texture.
Palette Knife
This might sound weird for a sponging technique, but a palette knife can be super helpful. Use it to mix colors on your palette or even clean excess paint from the sponge, giving you more control over how the paint spreads.
Protective Gear
- Apron: When you’re sponge painting, paint can fly everywhere. An apron will save you from getting your clothes messy.
- Gloves: Especially handy if you prefer not to get paint on your hands. Plus, it makes cleanup easier.
With these essential materials, you're ready to start exploring the world of sponging in art. Don’t be afraid to tweak the list and add your unique spin. The right materials are the foundation, but your creativity will make those sponges dance!
Basic Sponging Techniques
Starting with sponging can seem a bit like diving into a new world of playing with color and texture. The good news is, you don't need to be an expert to try it. Let's walk through some core techniques that'll have you sponging like a pro in no time.
Choosing the Right Sponge
First things first, not all sponges are created equal. Different textures offer different effects, so here's what you need to know:
- Natural sea sponges: Great for achieving random, organic patterns. They're super absorbent and can hold quite a bit of paint.
- Synthetic sponges: Usually offer a more consistent pattern, ideal for beginners trying to get an even texture.
- Household cleaning sponges: Perfect for those just starting and experimenting without making a trip to the art store.
Prepping Your Sponge
Before you dip that sponge into your favorite oil paint, remember to prep. Wet the sponge slightly so it doesn't soak up too much paint. You want it just damp enough to spread the paint smoothly.
Basic Techniques
Now the fun part - let’s get sponging:
- Dabbing: Lightly press the sponge onto the canvas and lift. Perfect for creating clouds or foliage.
- Swiping: Drag the sponge across the canvas for a more abstract feel. This can mimic wind or water when used creatively.
- Twisting: Apply the sponge with a slight twist to introduce a bit more complexity and rhythm in your textures.
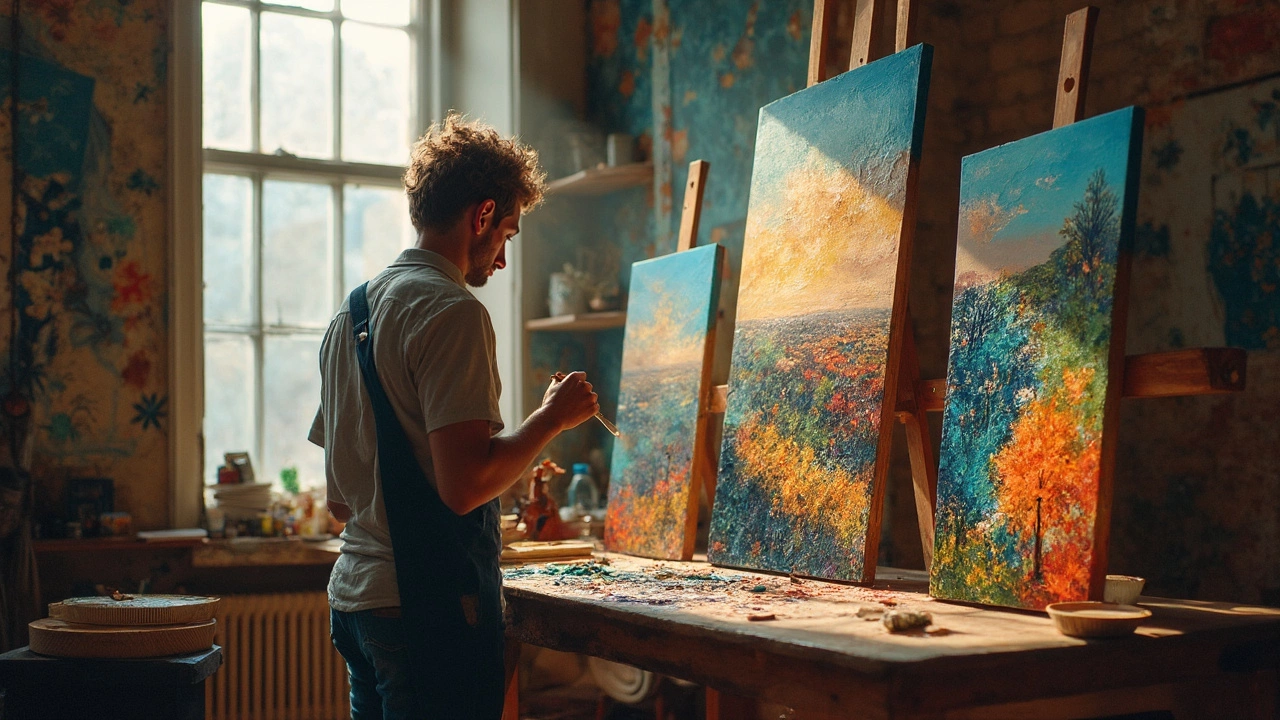
Layering for Depth
Want to add some depth to your painting? Layering is key. Start with lighter colors and gradually build up to darker tones. This helps create a sense of depth and dimension, making your art pop!
Sponging isn’t just for the background; it can be the star of the show. By mixing and matching different techniques, your canvas becomes a playground of textures.
Advanced Tips and Tricks
Once you've got the basics of sponging down, it's time to level up your game! This is where the real fun begins. Diving into some advanced techniques can take your oil paintings from cool to absolutely stunning. Let's walk through how you can push the boundaries with sponging.
Layering for Depth
One of the best ways to add complexity is by layering. Start with a base layer of color using the sponging technique, then let it dry. Once it's set, you can add another layer on top with a different color. This method not only enhances depth but also creates intriguing textures.
- Tip: Use contrasting colors to make the layers pop. This contrast enhances the overall visual impact.
- Try This: Mix a bit of glaze with your oil paint to create translucent layers. This can make the underlying layers shine through beautifully.
Mix and Match with Other Techniques
Don't hesitate to blend sponging with other oil painting techniques. Incorporate brushwork or palette knife strokes with your sponge patterns to bring in some diversity. You'll find that combining techniques can lead to unexpected and delightful results.
Choosing the Right Sponge Type
The kind of sponge you choose can significantly affect the texture and look of your painting. Natural sea sponges, for example, offer organic patterns, while synthetic sponges might provide more uniform shapes.
| Type of Sponge | Effect |
|---|---|
| Natural Sea Sponge | Organic, uneven textures |
| Synthetic Sponge | Consistent patterns |
| Household Sponge | Soft, broad strokes |
Experiment with various sponge types to find what works best for your specific project.
Playing with Pressure
Adjust how hard you press down on the sponge to alter the texture. Light pressure will give you a soft, airy feel, while heavy pressure results in more pronounced marks. This control over pressure can help you achieve a wide range of effects in your painting.
So, get creative with these advanced sponging tips and watch your art evolve into mesmerizing pieces! Remember, every painting is an opportunity to explore and express—enjoy the journey!
Common Mistakes to Avoid
Diving into sponging can feel like a wild ride, but hey, even the best artists stumble. Avoiding typical pitfalls can really up your oil painting game. Let’s dive into what you should watch out for when using this technique.
Overloading Your Sponge
This one’s a classic. Loading too much paint onto your sponge can lead to a blobby disaster. It’s like trying to write with a pen that’s leaking ink. Go easy on the paint. Instead, build layers gradually.
Ignoring Your Sponge Type
Don’t just grab whatever sponge you find. Kitchen sponges are one thing, but artist sponges add magic. Experiment with different textures and shapes to see how they'll impact your art. Each type can give you different effects.
Forgetting About Cleaning
Think of sponges like your favorite brush. If you don't clean them, they turn into a gunky mess. Clean them regularly to prevent hard paint buildup and keep them effective for future projects.
Skipping Surface Prep
Bet you've been tempted to skip some steps when you're in the zone. But prepping your canvas isn't one of them. Even when sponging, a poorly prepped surface can lead to unexpected absorption and uneven texture.
Missing out on Practice
Sounds cliché, but practice really does make perfect. Spend time understanding pressure and motion with your sponges before diving into a final piece. Small swatches can reveal a lot.
| Mistake | Tip |
|---|---|
| Overloading sponge | Use less paint and layer |
| Wrong sponge type | Test textures and shapes |
| Skipping cleaning | Regular washing |
| Poor surface prep | Prepare canvas properly |
| No practice | Experiment your technique |
Keep these tips in mind, and your sponging technique will become far more enjoyable and effective. Happy painting!