Oil Painting Workflow Decision Tool
How long do you plan to work on this painting?
Select the option that best describes your project timeline.
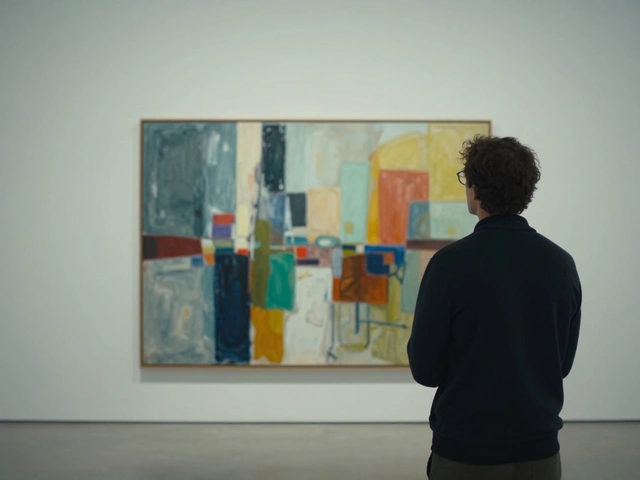
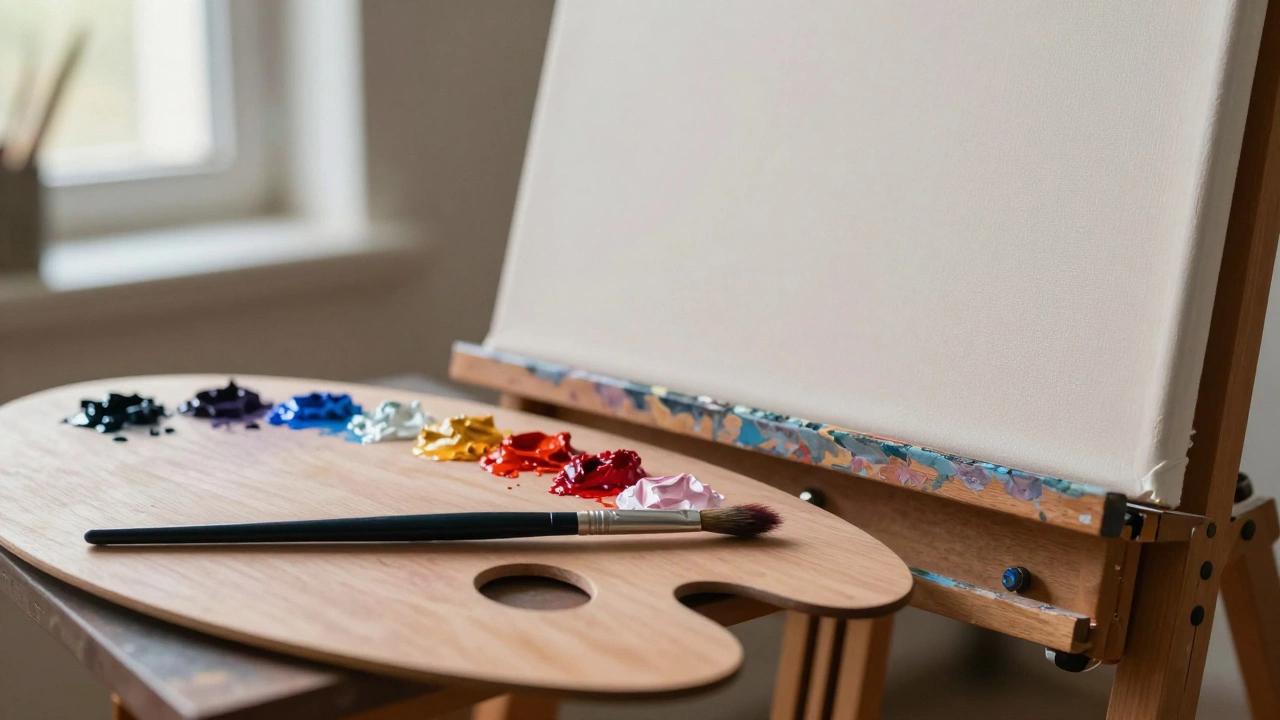
You stand before a blank canvas, palette in hand, and face the most common dilemma for beginners: where do you start? Do you mix that deep blue sky first, or do you block in the subject standing right in front of you? The short answer is yes, usually you paint the background first. But in oil painting, "usually" comes with a massive asterisk. Depending on your style, the rules change completely.
If you are aiming for a crisp, realistic portrait, you almost certainly need to lay down the background while it’s still wet. If you are trying to capture a moody, textured landscape in one sitting, you might do the exact opposite. Let’s break down why the order matters, how the chemistry of oil paint is pigment suspended in drying oil like linseed or walnut oil affects your choices, and which method will actually save you from ruining your work.
The Case for Painting the Background First
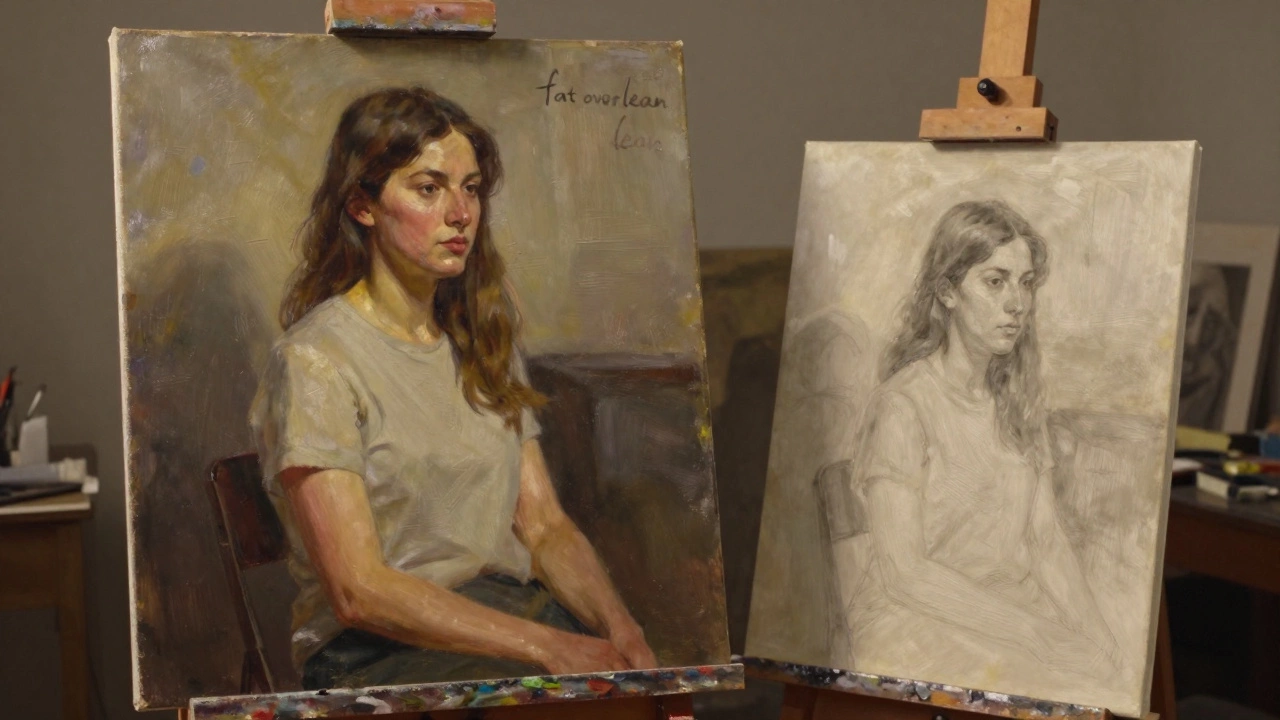
For most painters, especially those working in a traditional or academic style, painting the background first is the safest bet. This approach relies on the principle of fat over lean. Your underlayers should be thinner (more solvent, less oil) so they dry faster. Your top layers-the details of your subject-should be thicker and oilier so they stay flexible as they cure. If you paint a thick, oily subject first and then try to cover it with a thin, watery background, the background will crack as it shrinks during drying. That is a structural failure, not just an aesthetic one.
Painting the background first also helps with spatial depth. Think about how we see the world. Distant objects are cooler, lighter, and less distinct. By establishing these tones early, you create a visual bed for your foreground elements to sit on. When you place your main subject against this established space, it naturally pops forward. It creates immediate contrast without you having to fight the canvas.
This method is particularly effective if you are using a glazing is a technique involving thin, transparent layers of paint applied over dried layers to build luminosity technique. Glazes require a perfectly smooth, dry surface underneath. If you leave the background messy and wet, you cannot glaze effectively. You need that flat, dry backdrop to let the light bounce back through the translucent layers of your subject.
When You Should Ignore the Rule
Art is full of exceptions, and the biggest exception to the "background first" rule is Alla Prima is an Italian term meaning 'at first attempt', referring to finishing a painting in one session, often called wet-on-wet painting. If you are working fast, capturing a fleeting moment, or enjoying the tactile joy of moving paint around with a knife, you might start with the focal point.
In Alla Prima, speed is everything. You don't have time to wait for a background to dry. You might block in your darkest darks and lightest lights across the entire canvas simultaneously. You could start with the face of a portrait, establish the eyes, and then work outward into the hair and finally the clothes and background. Why? Because the face is the hardest part. If you get tired halfway through, at least you have the most important part done. Also, by keeping everything wet, you can blend edges softly. A hard edge between a subject and background looks cut out; a soft, blended edge feels integrated. Wet-on-wet allows you to blur those boundaries organically.
Consider the artist John Singer Sargent was an American expatriate artist known for his masterful portraits and loose brushwork. He rarely painted backgrounds meticulously first. He would often slap down broad strokes of color for the environment and then carve the figure out of it. The background wasn't a separate step; it was part of the same energetic gesture as the subject. If you emulate this style, starting with the background might actually kill the energy of the piece.
The Chemistry of Oil: Why Order Matters
To understand why you shouldn't just guess, you have to look at what oil paint actually is. It is pigment particles held together by a binder, typically refined linseed oil. This oil oxidizes when exposed to air, turning from liquid to solid. This process takes days, weeks, or even months depending on the thickness and the specific pigment.
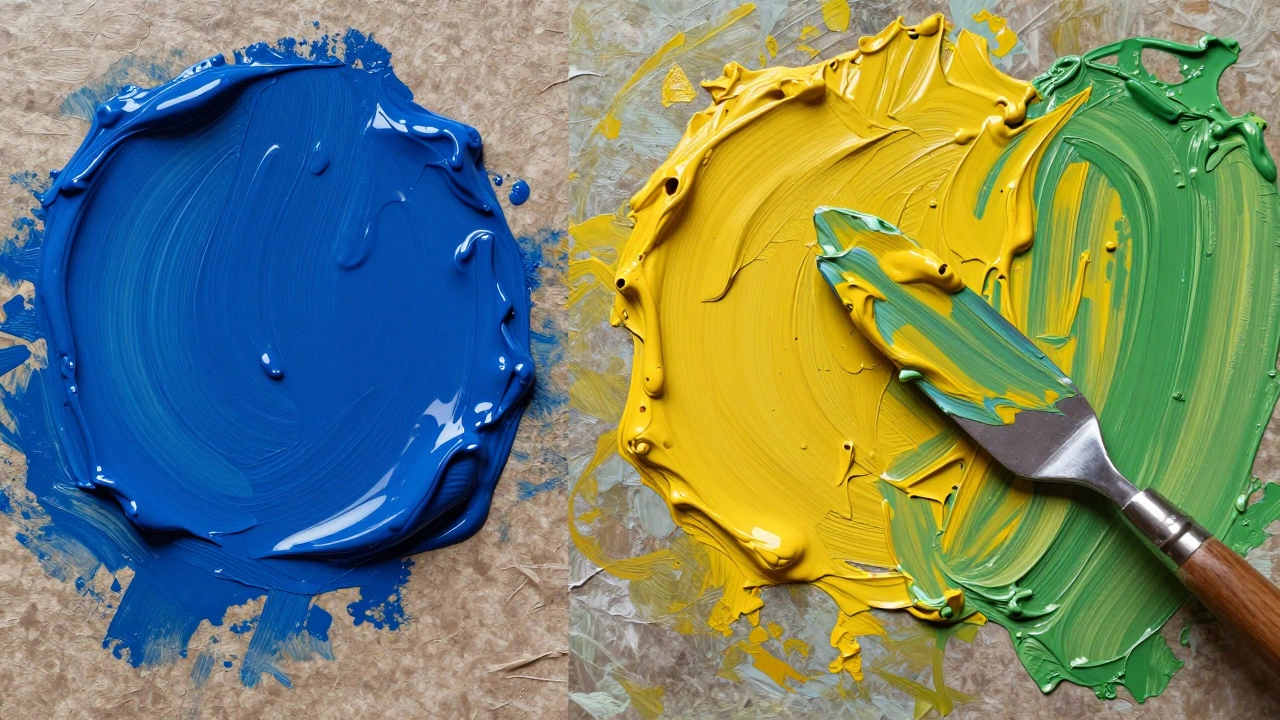
Some pigments dry faster than others. Ultramarine blue dries relatively quickly because its particle size is large and it absorbs oil well. Yellow ochre dries slower. Cadmium red can take forever. If you paint a slow-drying yellow subject against a fast-drying blue background, and you try to fix a mistake in the blue later, you might drag the wet yellow up into the dry blue, creating muddy messes. Conversely, if the blue is still wet and you paint over it with dry yellow, you risk cracking.
This is where the concept of drying times becomes a practical tool. You want your underlying layers to be stable before you add detail on top. This doesn't always mean waiting weeks. It means managing the viscosity. A thin wash of paint (lean) dries in hours. A thick dollop of pure paint (fat) dries in weeks. Always put the lean stuff down first, regardless of whether it's background or foreground.
Practical Workflow: How to Decide Today
So, how do you decide for your current project? Ask yourself three questions:
- How long do I plan to work on this? If it’s a one-day session, go wet-on-wet. Start with the focal point or block in all major shapes simultaneously. Don't worry about perfect edges yet. If it’s a multi-week project, paint the background first, let it dry, and then move to the subject.
- What is my level of confidence? Beginners often feel safer painting the background first because it removes the pressure of getting the subject "right" immediately. It allows you to adjust the lighting and mood of the scene before committing to the hero of the painting. Experts often start with the subject because they trust their ability to integrate it later.
- What kind of edges do I want? Hard, graphic edges? Paint the background, let it dry, then carefully paint the subject next to it. Soft, atmospheric edges? Keep both wet and blend them together while the paint is fresh.
A great middle-ground strategy is the grisaille or underpainting method. You paint the entire image-background and subject-in monochrome (grays, browns, or raw umber). This establishes your values (lights and darks) without worrying about color harmony. Once this layer is dry, you can glaze color over it. In this scenario, you technically paint the background first, but only as a value map, not as a finished color layer.
| Approach | Best For | Risks | Drying Time Needed |
|---|---|---|---|
| Background First | Realism, Glazing, Multi-session work | Losing spontaneity, flat appearance | High (wait for dryness) |
| Subject First | Portraits, Focal emphasis | Hard to integrate edges, cracking if fat-over-lean violated | Medium |
| Simultaneous (Alla Prima) | Landscapes, Sketches, Loose styles | Muddying colors, lack of depth | None (finish in one sitting) |
Common Mistakes to Avoid
Even if you choose the right order, execution matters. One huge mistake is making the background too bright. If your background is a vibrant electric blue and your subject is wearing a white shirt, the eye gets confused. It doesn't know where to rest. Generally, you want your background to be lower in contrast and saturation than your focal point. Push the colors, keep the background muted. This creates hierarchy.
Another error is neglecting the horizon line. If you paint a landscape background, ensure your vanishing points and perspective lines are correct before you paint the trees or buildings. Fixing perspective after the fact is nearly impossible in oil paint. Use a pencil lightly to mark these guides. They disappear once covered by paint.
Also, watch your brush cleanliness. If you paint a lush green forest background and then switch to painting a warm skin tone without cleaning your brush thoroughly, you will introduce subtle greens into the flesh. This makes the subject look sickly. Dedicate separate brushes for background and foreground work, or clean rigorously between switches.
Tools That Influence Your Decision
Your choice of tools can dictate your workflow. If you use a palette knife is a metal tool used for mixing paint or applying thick impasto textures, you are likely leaning toward impasto. Impasto works best when applied directly to the canvas or over a slightly tacky layer. You might block in the background with a brush, let it set for an hour, and then sculpt the subject with a knife. The texture of the knife marks contrasts beautifully with the smooth background.
If you use synthetic brushes versus natural bristle, the handling changes. Natural hog bristles hold more paint and create visible brushstrokes, ideal for textured backgrounds. Synthetic filberts hold less paint and offer more control, better for detailed subjects. Matching your tool to the task reinforces the decision of what to paint first.
Final Thoughts on Composition
Ultimately, the order you paint in is a compositional choice. It determines how the viewer’s eye travels across the canvas. By painting the background first, you invite the viewer into the world before introducing the character. By painting the subject first, you demand attention on the individual before revealing their context. There is no wrong answer, only intentional ones. Experiment with both. Ruin a few canvases intentionally to learn the limits of wet-on-wet blending versus layered glazing. Your hand will learn what your head already knows: flexibility is the key to mastery.
Can I paint the background after the subject is dry?
Yes, you can. This is often done in portraiture where the face is completed first. However, you must ensure the background paint is "leaner" (less oil, more solvent) than the subject to prevent cracking. Blending the edges between the dry subject and wet background will be difficult, resulting in harder, more defined edges.
How long should I wait for the background to dry?
It depends on the thickness. A thin wash might dry to the touch in 24-48 hours. A thick application can take weeks. To speed this up, you can use a heat gun cautiously or place the painting in a warm, ventilated area. However, never rush the curing process if you plan to glaze over it, as trapped solvents can cause bubbles later.
What is the "Fat Over Lean" rule?
This is a fundamental principle in oil painting. Each subsequent layer of paint should contain more oil (or be thicker) than the layer beneath it. This ensures that the outer layers remain flexible as they dry, preventing cracks. If you put a lean (dry fast, brittle) layer over a fat (slow drying, flexible) layer, the top layer will crack as it shrinks.
Is it better to use a gray or black underpainting?
Neither is strictly better, but they serve different moods. Gray underpaintings (grisaille) tend to result in softer, more luminous final paintings because they don't absorb as much light. Black underpaintings (verdaccio or dead layer) can provide high contrast and drama but may mute the vibrancy of subsequent glazes if not managed carefully. Many artists prefer a neutral mid-tone gray.
Can I mix wet-on-wet with glazing techniques?
Yes, many advanced painters combine these methods. You might use wet-on-wet to establish the initial forms and values of the subject, let it dry, and then apply glazes to refine the color and depth. This hybrid approach offers the spontaneity of direct painting with the richness of layered transparency.