Ask anyone who's tried watercolor: it hardly ever goes the way you imagine. You put the brush to paper, watch the paint bloom out, and suddenly your carefully planned flower looks like a muddy puddle. Why is this so common, even for people who can sketch or paint in other styles?
The answer comes down to control. Unlike acrylic or oil paints, watercolor doesn't wait for you. The water and pigment have a mind of their own—flowing, merging, and drying faster than you can think. Mess up a section, and fixing it? Forget it. There's no 'undo' button and layering more paint just leads to odd stains or dull chaos. It's not about being bad at art; it's just a sneakier beast.
Now, here's something that catches beginners off guard: watercolor dries lighter than it looks when wet—sometimes a lot lighter. You think you've nailed that shadow and then the next morning it looks like a ghost of what you wanted. This shift throws off color choices and makes planning tricky. The only way out is to do practice swatches and stay ready for surprises.
- Why Watercolor Acts So Unpredictably
- Traps Beginners Fall Into
- Pro Tips from Real Artists
- How to Embrace the Mess and Improve Fast
Why Watercolor Acts So Unpredictably
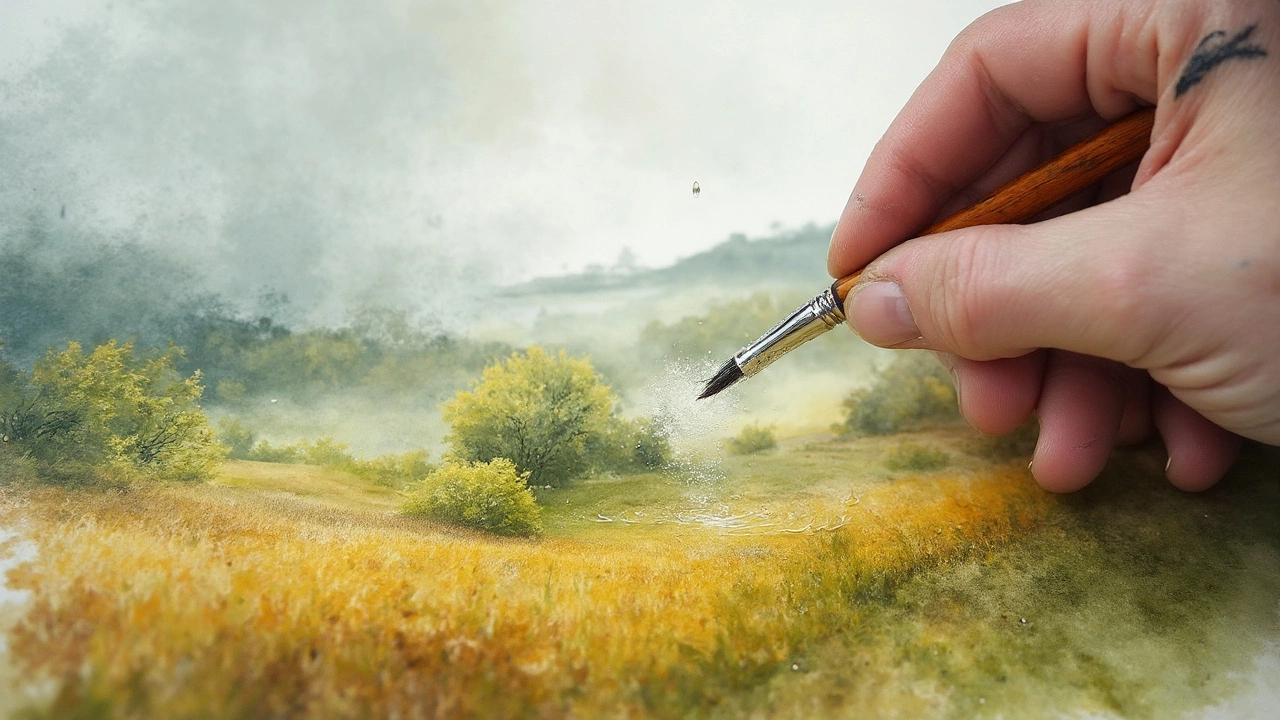
Watercolor looks simple—a little pigment, some water, and paper. But the science behind it makes things wild. The paint doesn’t sit on top of the paper like acrylic; it soaks right in. That means every tiny detail matters, from the paper you pick to the amount of water on your brush. One wrong move and you get blooms, streaks, or colors bleeding in ways you didn’t expect.
It all comes down to what’s called the “wet-on-wet” effect. If your paper is too wet, colors blur and smash into each other. Too dry, and you can’t blend at all; you just end up with harsh lines. This isn’t user error—it’s built into how watercolor works. Even a small change in humidity has an impact. Painting in July with the air conditioner on can make your paint dry way faster than expected. That’s not just annoying, it can completely change your painting.
Paper quality also messes with predictability. Some brands soak up water instantly, others barely absorb, so your results jump all over the place. Here’s a quick look at how a few key factors affect watercolor behavior:
| Factor | What Changes | Impact |
|---|---|---|
| Paper Thickness | Thin or thick (measured in gsm) | Thinner curls and buckles easily; thicker stays flat |
| Surface Texture | Rough, cold press, hot press | Rough paper gives texture, smooth paper lets colors flow clean |
| Water Amount | More water or less | More water gives softer blends but less control, less water gives hard edges |
| Paint Quality | Professional vs. student grade | Professional paints give richer color, student paints fade or lift off too easy |
Even something as simple as how you rinse your brush can throw things off. Tap water in some places actually messes with how the paint dries because of minerals in it—seriously, London and New York artists talk about this online. So, if your paints aren’t acting like a YouTube tutorial, don’t beat yourself up; they’re probably just acting like real watercolors in a real world where control is an illusion.
Traps Beginners Fall Into
If you’re new to watercolor, you’ll probably stumble into at least a few classic mistakes that make painting feel like a nightmare. The trick is knowing what they are so you don’t waste hours wondering why stuff keeps going sideways.
- Watercolor needs less paint than you think. People put too much pigment on the brush and end up with blotchy, dark patches that are hard to fix. Lighter, watered-down layers work better—you can always add more, but you can’t take color away once it’s dry.
- Avoid cheap paper. The thin stuff warps, pills, and soaks up paint in ugly ways. That dollar-store pad isn’t made for wet media. Look for papers labeled at least 140lb/300gsm if you want your painting to stand a chance.
- Too much scrubbing. When people try to "fix" a mistake by scrubbing with their brush, they shred the paper and make a bigger mess. Watercolor paper fibers only take so much abuse.
- Ignoring drying times. Rushing to add new colors or details before previous layers dry makes everything bleed. A little patience between steps pays off every time.
- Using black paint out of the tube. Most beginners grab the black paint straight off their set, but it usually looks flat or dirty. It’s better to mix darks from a combo of blues, browns, or purples for richer shadows.
Here’s a quick look at common issues and how often they frustrate newcomers, based on a survey of workshops in 2024:
| Beginner Trap | Percentage of Beginners Who Struggle |
|---|---|
| Paper quality problems | 67% |
| Too much pigment | 58% |
| Layer bleeding | 61% |
| Over-scrubbing | 42% |
| Flat-looking shadows | 71% |
One more thing: lots of beginners try to copy opaque painting techniques from acrylic or oils, expecting the same forgiveness. It’s just not how watercolor works. Think more about letting water do its thing and planning ahead, instead of fighting the flow.
Pro Tips from Real Artists
If you want to skip some heartbreak, listen to folks who’ve wrangled watercolors for years. The difference between a muddy mess and a painting that pops often comes down to a few battle-tested habits.
Watercolor pros always talk about how important it is to control the water. Sounds boring, but here’s the truth: controlling your water-to-paint ratio is like knowing when to brake and when to hit the gas. Too much water and colors bleed everywhere. Too little and your strokes look scratchy or dull. The workaround? Test your mix on a scrap piece of paper before you touch your painting. This simple step saves you from most rookie mistakes.
Another smart move is working from light to dark. Once you slap on a deep color, there’s no going back. Legendary artist Jean Haines teaches her students to start with very watery washes (almost like tinted water), then slowly add stronger colors in layers. This gives you room to adjust and avoid weird stains.
- Always let each layer dry before adding detail. Rushing turns clean lines into blurry blobs.
- Keep two jars of water—one for cleaning, one for fresh painting. This avoids “mystery mud.”
- Invest in real watercolor paper (like 100% cotton). Cheap paper buckles and soaks up pigment wrong, wrecking all your work.
- Use bigger brushes than you think. Tiny brushes make streaks and just slow you down.
Here’s a trick many artists swear by: stand up, or at least step back every few minutes. It helps spot wonky shapes or bad color patches before it’s too late. Watercolor legends like David Poxon also talk about setting up test strips on the side of your painting so you can check how a color looks dry, not just wet.
Don’t be afraid to practice single shapes or single colors over and over. Even famous watercolorists do “wash drills” before big artworks. Small, focused practice on technique beats just churning out full paintings and hoping for the best.
How to Embrace the Mess and Improve Fast
The real trick with watercolor is that you have to let go of the idea things will go perfectly. Embracing the mess actually speeds up learning. The best artists in watercolor start out just as frustrated as you, but they lean into the chaos instead of fighting it. Here’s how you can do the same and see progress faster.
First, keep your paintings small and quick. Studies show that practicing with many fast attempts, instead of one detailed piece, shaves hours off the learning curve. For example, the Urban Sketchers community often shares how five-minute sketches give them more insight than laboring over one piece for hours.
Another big game changer: use quality paper. Cheaper paper—like the kind in school notebooks—makes everything harder. It buckles fast, soaks unevenly, and can mess up your paint flow. Switch to 100% cotton watercolor paper, even just for small practice pieces. It might sting the wallet, but pros swear by it because it responds better to layering, lifting, and blending. Check the comparison below:
| Paper Type | Water Handling | Blending | Price (per sheet) |
|---|---|---|---|
| Notebook Paper | Poor | Terrible | $0.05 |
| Student Watercolor Paper | OK | Decent | $0.50 |
| 100% Cotton Paper | Excellent | Great | $2+ |
Let’s talk process. Don’t stick with your first try—do warm-ups. One pro tip is to take a throwaway piece of paper and do splashy test runs for color mixes or brush motions before jumping onto your real painting. It’s what expert watercolorists still do, even after years of experience.
And remember, mistakes aren’t failures—they’re good signs. Every weird bloom or backrun (when the paint forms odd shapes) teaches you something about timing, water ratio, or brushwork. Some people even keep a "fail pile" as a badge of progress. Looking back at these after a few weeks makes your improvement obvious.
Practice smarter, not harder. Here are some practical tips to see better results, faster:
- Set a timer for 10 minutes and complete a tiny painting, start to finish.
- Try painting the same subject three times in one session to spot what improved and what still bugs you.
- Use way more water than you think you need to get juicy, bright colors—don’t be shy.
- Take progress photos; they’ll remind you how messy beginnings turn into competence.
At the end, the best progress happens once you’re okay with losing control sometimes. Most of the cool textures and glowing edges in watercolor come from letting the paint do its thing. Give yourself permission to mess up, and you’ll notice every painting gets a bit better, even if half the time it looks wild. That’s just the way watercolor is wired.