Spatula Technique Readiness Checker
Select any problems you are currently experiencing:
Analysis Results
Select your options and click "Analyze My Setup" to get personalized advice based on the spatula technique guide.
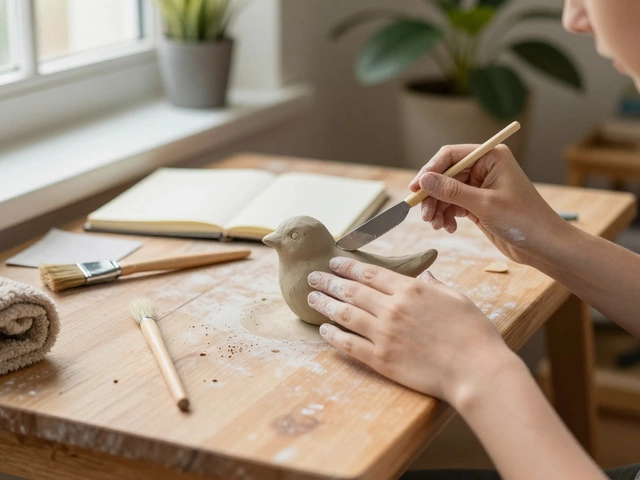
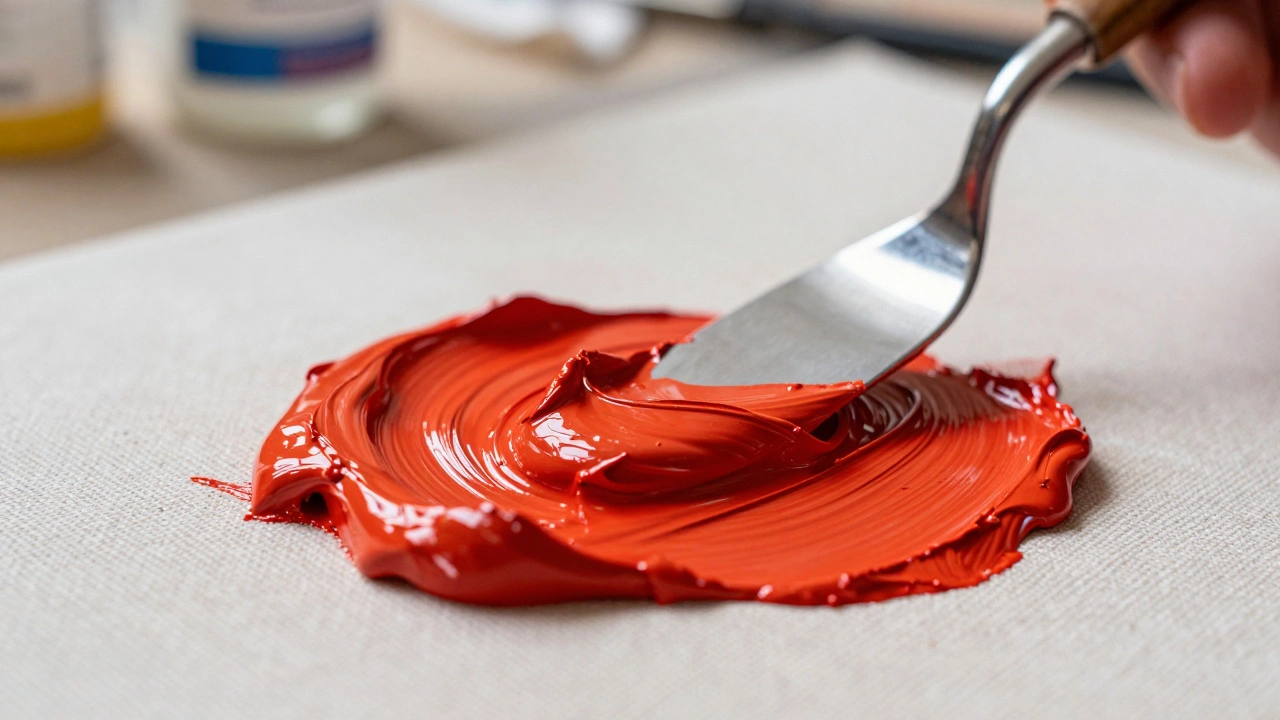
You’ve seen those paintings that look almost sculptural. The paint isn’t just sitting on the canvas; it’s piled up, carved out, and textured in a way that catches the light dramatically. You might have wondered how an artist achieves such bold, three-dimensional effects without using a traditional brush. The answer often lies in one simple tool: the palette knife, also known as a spatula. This technique transforms flat surfaces into tactile landscapes.
The spatula technique, widely recognized as palette knife painting, is a method of applying paint directly from the tube or palette onto the support surface using a flexible metal blade instead of bristles. Unlike brushes, which blend and soften edges, a spatula deposits paint in distinct, sharp layers. It creates what artists call impasto, a style characterized by thickly applied paint that stands out from the surface. This approach changes not just the look of the work, but how you physically experience it.
Why Artists Choose the Spatula Over Brushes
Brushes are versatile, yes, but they have limits. When you want crisp, geometric shapes or heavy texture, a brush can feel like fighting against its own nature. Bristles naturally round off edges and mix colors unintentionally. A metal spatula, however, holds its shape. It allows for precise control over the thickness and direction of the paint.
Consider the difference in edge quality. With a brush, even a dry-brush stroke tends to leave some feathering at the margins. With a spatula, you get hard, clean lines that mimic architectural forms or sharp foliage. This makes the technique particularly effective for urban landscapes, abstract expressionism, and modern interpretations of nature where clarity and impact matter more than subtle blending.
Another reason painters love this method is speed. You don’t need to load a brush slowly or worry about maintaining tension in your wrist. You scoop, spread, and scrape. The physicality of the process engages different muscles and encourages a more direct, spontaneous connection between hand and canvas. Many artists find this liberating when they’re stuck in a rut with traditional methods.
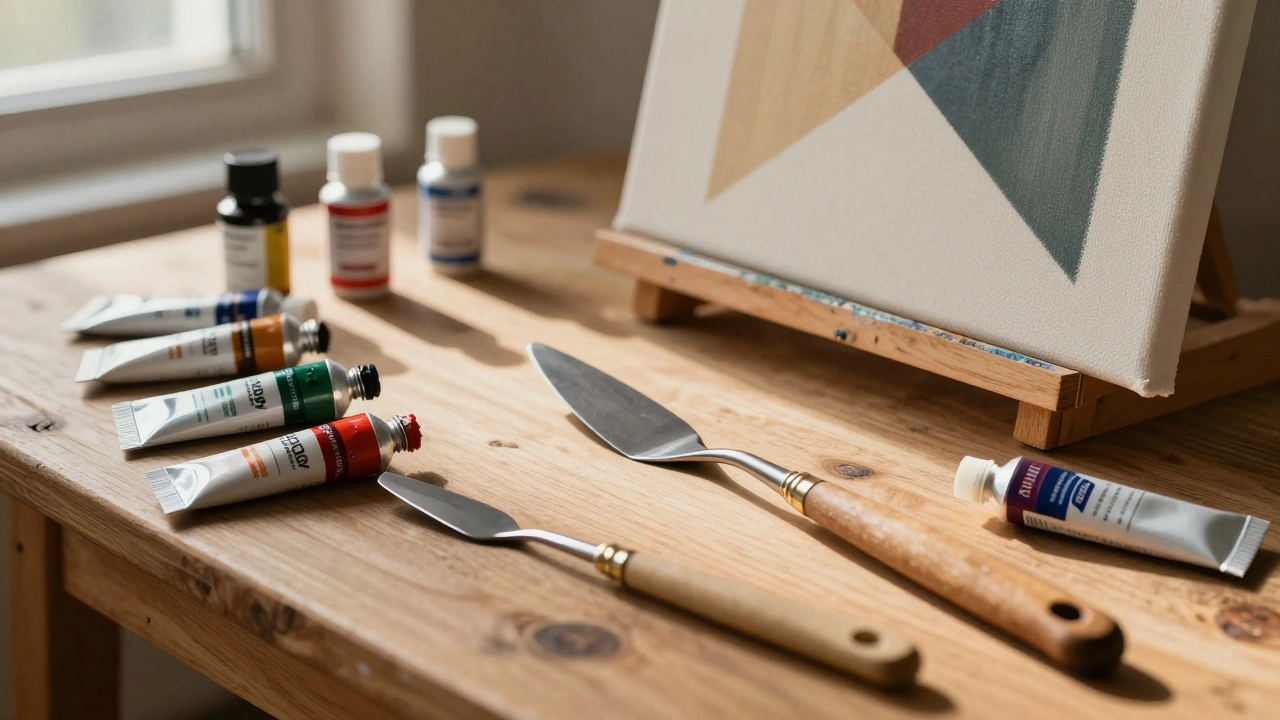
Essential Tools for Spatula Painting
To master this technique, you don’t need expensive gear, but you do need the right tools. Using the wrong equipment can lead to frustration, damaged canvases, or uneven results. Here’s what you actually need:
- Flexible Steel Blades: Look for knives with varying degrees of flexibility. Stiffer blades hold more paint and create sharper peaks, while softer ones allow for smoother spreading. Brands like Rosemary & Co. or Da Vinci offer reliable options.
- Sturdy Handles: Since you apply significant pressure, a flimsy handle will snap or twist. Wooden handles provide good grip, while ergonomic plastic designs reduce hand fatigue during long sessions.
- Heavy-Body Paints: Thin paints won’t hold their shape. Use oils labeled as “heavy body” or acrylics with gel mediums added to increase viscosity. Without thickness, the spatula slips rather than builds.
- Rigid Support Surface: Canvas stretched over wood works best. If the fabric sags under pressure, your textures will collapse. Consider mounting your canvas on a rigid board or using a wooden panel for maximum stability.
A common mistake beginners make is trying to use old, worn-out knives. Dull edges smear paint instead of cutting through it. Keep several knives handy-some for mixing on the palette, others dedicated solely to applying paint to the canvas.
Step-by-Step: How to Apply the Spatula Technique
Learning to use a spatula takes practice, but the core mechanics are straightforward. Follow these steps to build confidence and control:
- Prepare Your Surface: Prime your canvas thoroughly. Unprimed surfaces absorb too much pigment, making it harder to lift and move paint later. An acrylic gesso base provides excellent tooth for gripping thick layers.
- Load the Knife: Scoop a generous amount of paint onto the center of the blade. Don’t overload it-you want enough to cover your area but not so much that it slides uncontrollably.
- Angle Matters: Hold the knife at a shallow angle (about 15-30 degrees) relative to the canvas. Too steep, and you’ll dig into previous layers. Too flat, and you’ll spread the paint too thinly.
- Pull, Don’t Push: Drag the knife toward you or sideways. Pulling gives you better control over the edge and prevents gouging. Think of it like frosting a cake, but with intention and precision.
- Vary Pressure: Light pressure creates smooth gradients; heavy pressure leaves ridges and peaks. Experiment with both to add depth and rhythm to your composition.
- Scrape Back: One of the most powerful moves is scraping back into wet paint. Use the edge of the knife to remove excess color, revealing underlying layers or creating negative space.
Practice these motions on scrap paper first. Feel how the paint responds to different angles and pressures before committing to your main piece.
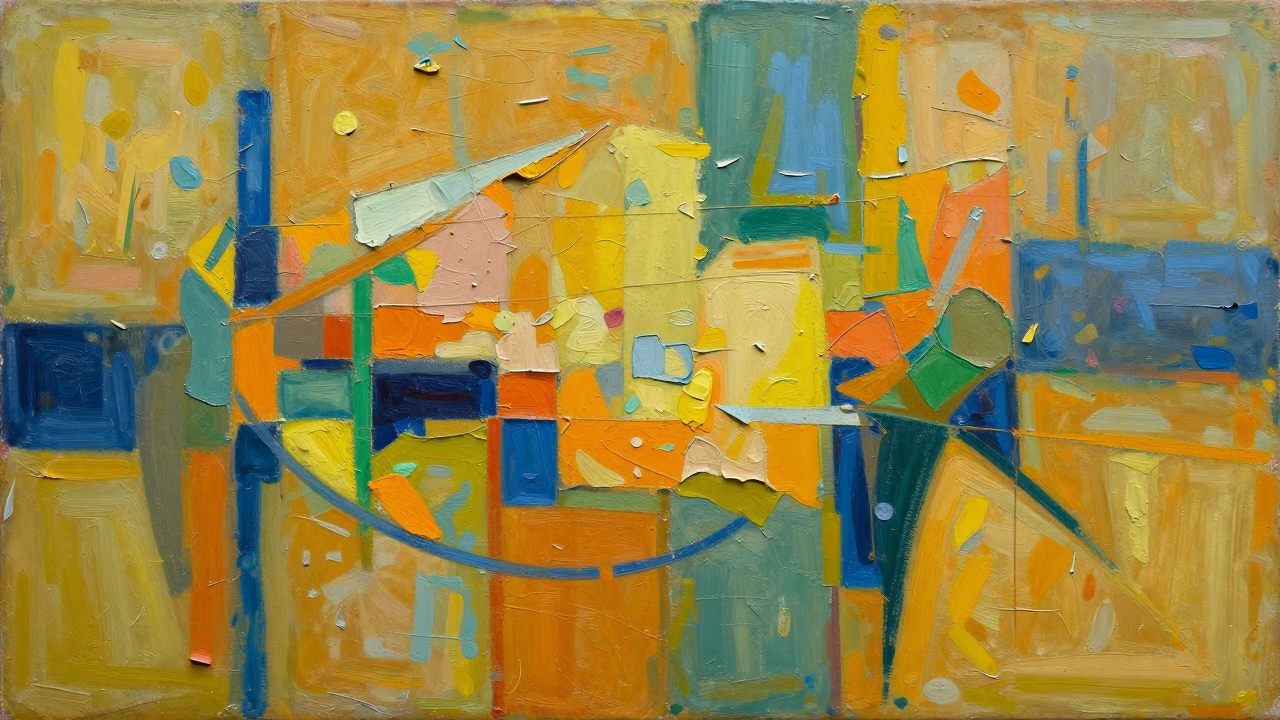
Building Texture and Depth with Impasto
The magic of the spatula technique lies in its ability to create impasto, a term derived from Italian meaning “dough-like.” This effect adds physical dimension to your artwork, casting tiny shadows that change depending on the viewer’s position. But achieving true impasto requires strategy.
Start with a thin underpainting. Lay down basic shapes and values using diluted paint or washes. Once dry, begin building up thicker layers on top. This layering approach prevents cracking because each subsequent coat has something solid to adhere to. Jumping straight into thick applications on bare canvas often leads to structural failure over time.
Use contrasting temperatures within your palette. Warm yellows and oranges seem to advance visually, while cool blues and greens recede. By placing warm, thick strokes next to cooler, thinner areas, you enhance the illusion of depth without relying solely on perspective tricks.
Don’t forget about negative space. Leaving parts of the canvas exposed-or lightly glazed-allows the eye to rest among the dense textures. Balance is key. Too much impasto overwhelms; too little loses the point entirely.
Common Mistakes and How to Avoid Them
Even experienced painters stumble when switching to spatulas. Here are the most frequent pitfalls and practical solutions:
| Problem | Cause | Solution |
|---|---|---|
| Paint slides off canvas | Surface too slick or paint too thin | Add medium to thicken paint; roughen surface with sandpaper if needed |
| Cracking after drying | Layers too thick or applied too quickly | Allow each layer to cure fully; alternate thick and thin passages |
| Muddy colors | Over-mixing on palette or canvas | Clean knife frequently; apply fresh dabs side-by-side rather than blending excessively |
| Gouged holes in canvas | Knife held too vertically or excessive force | Reduce angle; let the weight of the tool do the work, not your arm strength |
| Uneven edges | Dull blade or inconsistent pressure | Sharpen knives regularly; maintain steady hand motion throughout stroke |
Patience solves most issues. Rushing leads to mistakes that require repainting. Take your time observing how the paint behaves. Each session teaches you something new about material behavior.
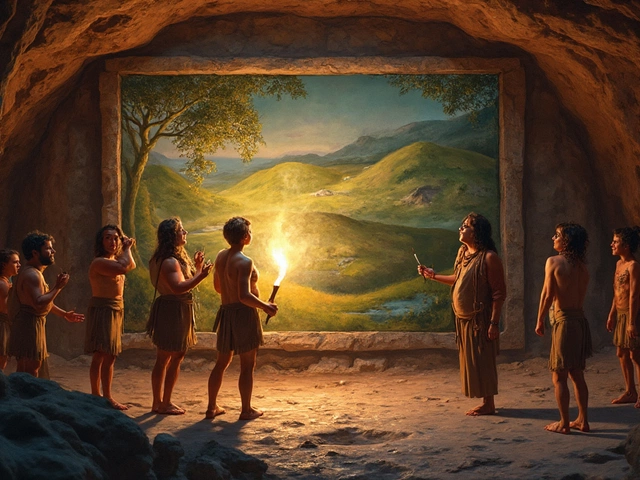
Artists Who Mastered the Spatula Technique
Understanding history helps refine your own voice. Several renowned painters elevated the spatula from mere tool to central artistic statement.
Vincent van Gogh famously used palette knives alongside brushes to create swirling skies and textured fields. His letters reveal he valued the immediacy and emotional rawness the tool provided. Later, Jackson Pollock experimented with knives during his drip period, using them to manipulate pools of paint on the floor. More recently, contemporary artists like David Hockney employ spatulas in large-scale collages and prints to achieve graphic clarity.
Studying their work shows diversity within the technique. Van Gogh sought movement and emotion. Pollock explored chance and gravity. Hockney prioritized design and color relationships. None followed a single rule-they adapted the tool to serve their vision.
When Not to Use the Spatula
Not every subject benefits from heavy texture. Portraits requiring delicate skin tones usually demand fine brushwork for subtlety. Realistic still lifes with reflective glassware may lose believability if covered in thick ridges. Abstract backgrounds meant to fade into distance should remain smooth to push spatial recession.
If your goal is photorealism, soft transitions, or intricate detail, stick to brushes. The spatula excels in expressive, gestural, or stylized contexts where energy and presence outweigh precision. Know your intent before picking up the tool.
Final Thoughts on Embracing Texture
The spatula technique invites you to think beyond two dimensions. It challenges conventional notions of what paint can be-not just color, but form, shadow, and touch. As you experiment, remember there are no wrong ways to apply paint, only discoveries waiting to happen. Try combining spatula marks with brush details. Mix media. Break rules intentionally. The best artworks come from curiosity, not perfection.
Is spatula painting suitable for beginners?
Yes, absolutely. In fact, many find it easier than brush painting because it forgives imperfections. Thick layers hide shaky hands, and mistakes can simply be scraped away. Start with small studies to build muscle memory before tackling larger pieces.
Can I use watercolor with a spatula?
Technically yes, but practically no. Watercolor relies on transparency and flow, which contradicts the opaque, heavy nature of spatula application. For similar effects, try gouache or acrylic ink mixed with modeling paste.
How do I clean my palette knives properly?
For oil paints, wipe immediately with a rag soaked in odorless solvent, then wash with mild soap and water. Acrylics require prompt rinsing under running water before they dry hard. Never soak metal blades in harsh chemicals-they corrode easily.
Will thick paint crack over time?
It depends on application. Properly layered impasto rarely cracks if allowed to dry slowly and evenly. Avoid stacking ultra-thick piles on top of unfinished layers. Use slow-drying mediums like linseed oil sparingly to extend working time without compromising integrity.
What type of canvas works best for spatula painting?
Heavy-duty cotton or linen canvas mounted on stretcher bars with cross-bracing performs best. Lightweight canvases sag under pressure, distorting your textures. Alternatively, use MDF boards or aluminum panels for ultra-rigid support ideal for extreme impasto.
Do I need special paints for spatula technique?
You don’t need exotic brands, but you do need high-viscosity formulas. Standard tube oils already contain sufficient binder. For acrylics, add retarder or gel medium to prevent quick drying and improve spreadability. Avoid student-grade paints-they tend to separate and lack cohesion.
Can I combine spatula and brush techniques in one painting?
Absolutely. Many professional artists switch tools mid-process. Use spatulas for background textures and foreground elements, then switch to brushes for refined details like eyes, lips, or lettering. Just ensure compatible drying times between layers.
How long does spatula-applied paint take to dry?
Oil-based impasto can take weeks to months depending on thickness and humidity. Thicker sections retain moisture longer, slowing oxidation. Acrylics dry faster-usually within hours-but full curing still takes days. Plan accordingly when scheduling varnishing or framing.