There is a specific kind of heartbreak unique to watercolor painting, which is a transparent painting medium where pigments are suspended in a water-based solution. You start with a brilliant, luminous sky. The colors sing. Then you add one more layer to fix a small mistake. And another. Suddenly, the sky looks like mud. The light is gone. The paper feels stiff and scratched. You have created what artists call an overworked painting.
If you have ever stared at a piece of art that feels heavy, dull, or chaotic, you likely know this feeling. But what exactly makes a watercolor "overworked"? Is it just about adding too much paint? Not quite. It is about losing control of the medium’s most powerful feature: transparency.
The Anatomy of an Overworked Painting
To understand how to avoid an overworked look, we first need to define it. An overworked watercolor is not necessarily a painting with many layers. Some masterpieces have dozens of glazes. Instead, an overworked painting suffers from a loss of clarity, vitality, and intention. It happens when the artist fights the medium rather than working with its natural flow.
You can spot an overworked painting by looking for three main symptoms:
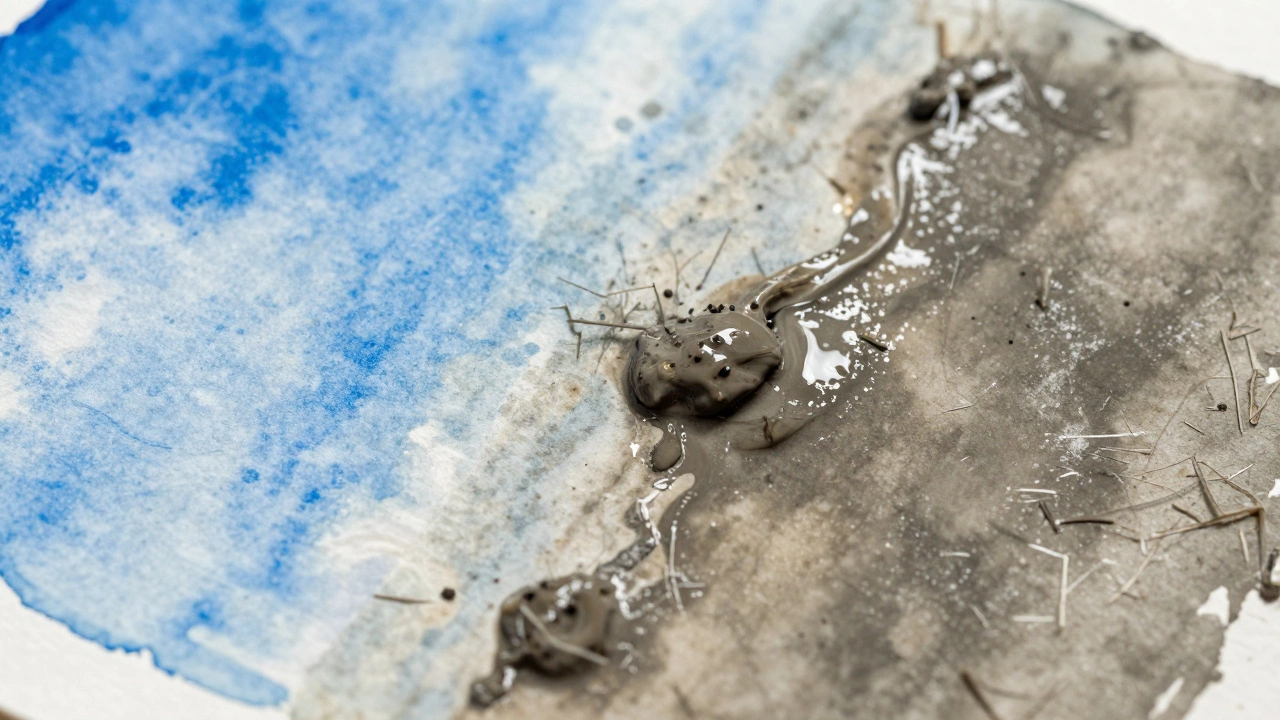
- Muddy Colors: This is the most common sign. When you mix too many pigments on the palette or layer incompatible colors on the paper, they lose their individual identity. Blue mixed with orange might turn brown, but if you keep scrubbing that brown area with more blue and orange, it becomes a flat, lifeless gray-brown sludge. The vibrancy dies because the light cannot pass through the thick, mixed layers.
- Loss of Edge Control: Watercolor relies on hard edges (sharp lines) and soft edges (blended transitions). In an overworked piece, these distinctions vanish. Everything looks fuzzy or scratchy. This usually happens when you go back into a dry area with a wet brush repeatedly, causing the pigment to lift unevenly and create a "cauliflower" texture around the edges.
- Stiff Paper Surface: Watercolor paper has a "tooth," a slight roughness that holds the pigment. If you scrub the same spot with a brush ten times, you flatten that tooth. The surface becomes shiny and slick. New paint won't stick properly; it beads up or slides off, making further corrections impossible without damaging the paper fibers.
Think of it like editing a photo. A little adjustment makes it pop. Too many filters, contrast tweaks, and sharpening steps make it look artificial and noisy. Watercolor is similar. Every time you touch the paper, you change the relationship between the water, the pigment, and the fiber. Do it too many times, and that relationship breaks down.
Why We Overwork Our Paintings
Understanding the cause is half the battle. Most artists do not overwork their paintings out of ignorance, but out of anxiety. Here are the psychological and technical traps that lead to muddying your work.
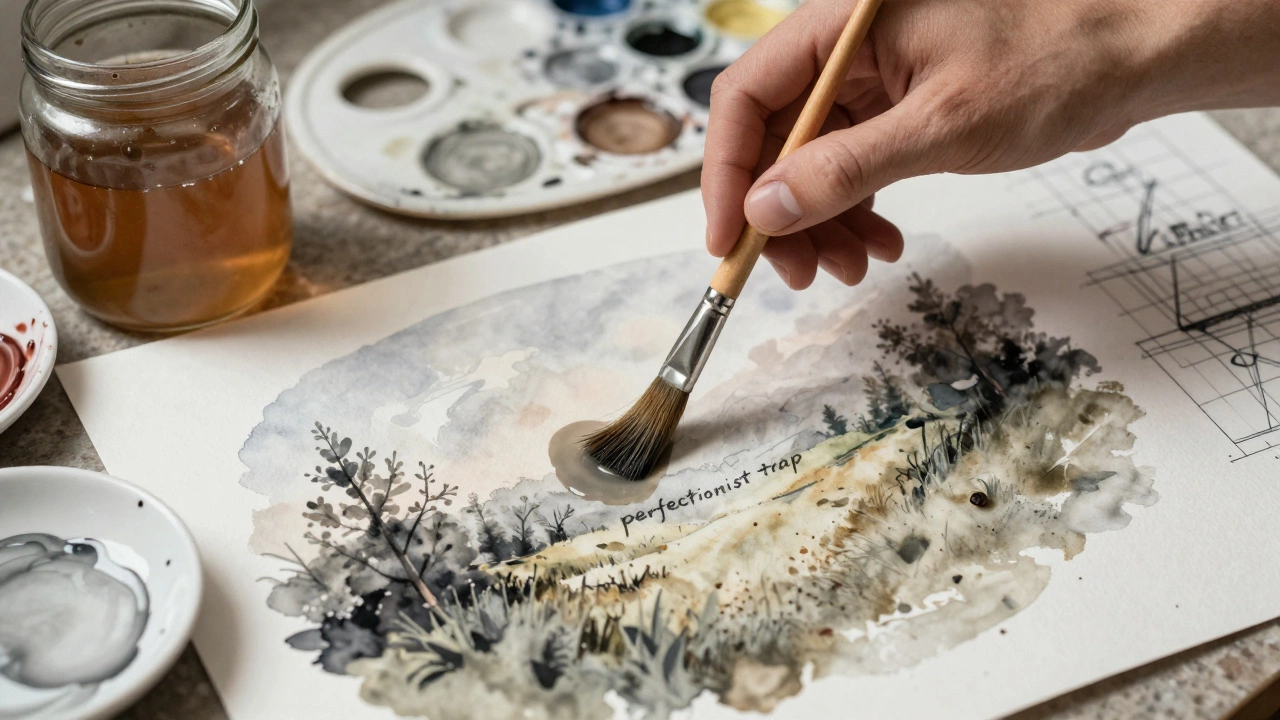
The Perfectionist Trap Many beginners believe that a good painting must be smooth and uniform. They see a tiny white speck of paper showing through a shadow and feel compelled to cover it. So they add another layer. Then another. They forget that watercolor is inherently imperfect. The beauty lies in the blooms, the granulation, and the subtle variations. Trying to force a plastic-like smoothness onto watercolor is like trying to make a whisper sound like a shout. It never works.
Lack of Value Planning Value refers to how light or dark a color is. If you do not plan your values before you start, you will constantly try to "fix" the darkness levels as you go. You paint a leaf green, realize it needs to be darker, so you add more green. It doesn’t get darker enough, so you add black. Now it’s muddy. If you had planned the value structure first, you would have used a darker green from the start, or layered a transparent dark glaze intentionally. Guessing leads to overworking.
Fighting the Medium Watercolor is unforgiving. Once the paint dries, it is permanent. Unlike oil or acrylic, you cannot easily paint over a mistake with opaque white. When artists panic about a mistake, they often scrub at it with a wet brush, hoping to lift the error. This usually spreads the pigment into surrounding clean areas, creating a new, larger mess. This reactive cycle-mistake, panic, scrub, spread-is the fastest way to ruin a painting.
Technical Mistakes That Lead to Mud
Beyond psychology, there are specific technical errors that guarantee an overworked result. Let’s look at the mechanics of why this happens.
| Error | What Happens | The Result |
|---|---|---|
| Using Dirty Brushes | Dipping a brush loaded with blue into a jar of water, then into red, without rinsing thoroughly. | All subsequent colors become grayish and dull. The entire painting loses saturation. |
| Mixing Complementary Colors on Paper | Wetting an area that already contains red, then adding green (its complement) while both are still wet. | Instant neutralization. The colors cancel each other out, creating a brownish-gray mud. |
| Over-Scrubbing Dry Paint | Aggressively brushing over dried pigment to darken it or blend it. | Paper fibers are damaged. The surface becomes shiny and rejects new paint. Texture becomes scratchy. |
| Too Many Layers Without Drying | Adding a new wash before the previous one is completely bone-dry. | Uncontrolled blooms and lifting. The underlying layer reactivates and mixes unpredictably with the new layer. |
One of the biggest culprits is using low-quality paints. Student-grade paints often contain fillers and less pigment concentration. To get a strong color, you might use a lot of paint, which can cake on the paper. Professional-grade paints are highly concentrated. A tiny amount goes a long way. Using cheap paints forces you to apply more material, increasing the risk of muddiness and stiffness.
Another issue is the choice of pigments. Some pigments are staining, meaning they bond tightly to the paper and cannot be lifted. Others are granulating, settling into the texture of the paper. If you mix a staining pigment with a granulating one incorrectly, you can get a messy, unpredictable result. Knowing your materials is key. For example, Alizarin Crimson is a staining pigment, while Ultramarine Blue is granulating. Mixing them requires care.
How to Save an Overworked Painting
So, you’ve made the mistake. The sky is muddy, the leaves are gray, and the paper is scratched. Can it be saved? Sometimes yes, sometimes no. Here is your troubleshooting guide.
1. Stop Immediately The hardest step is also the most important. Put the brush down. Walk away. Drink some water. Look at the painting from a distance. Often, the urge to fix something is emotional, not logical. Giving yourself space allows you to see the real problem, not just the symptom.
2. Assess the Damage Is the paper physically damaged? If the surface is shiny and torn, you cannot paint over it effectively. In this case, you have two options: embrace the texture by turning the area into a rough, dark shadow (like bark or stone), or accept it as a study and start over. If the paper is intact but the color is wrong, you can proceed.
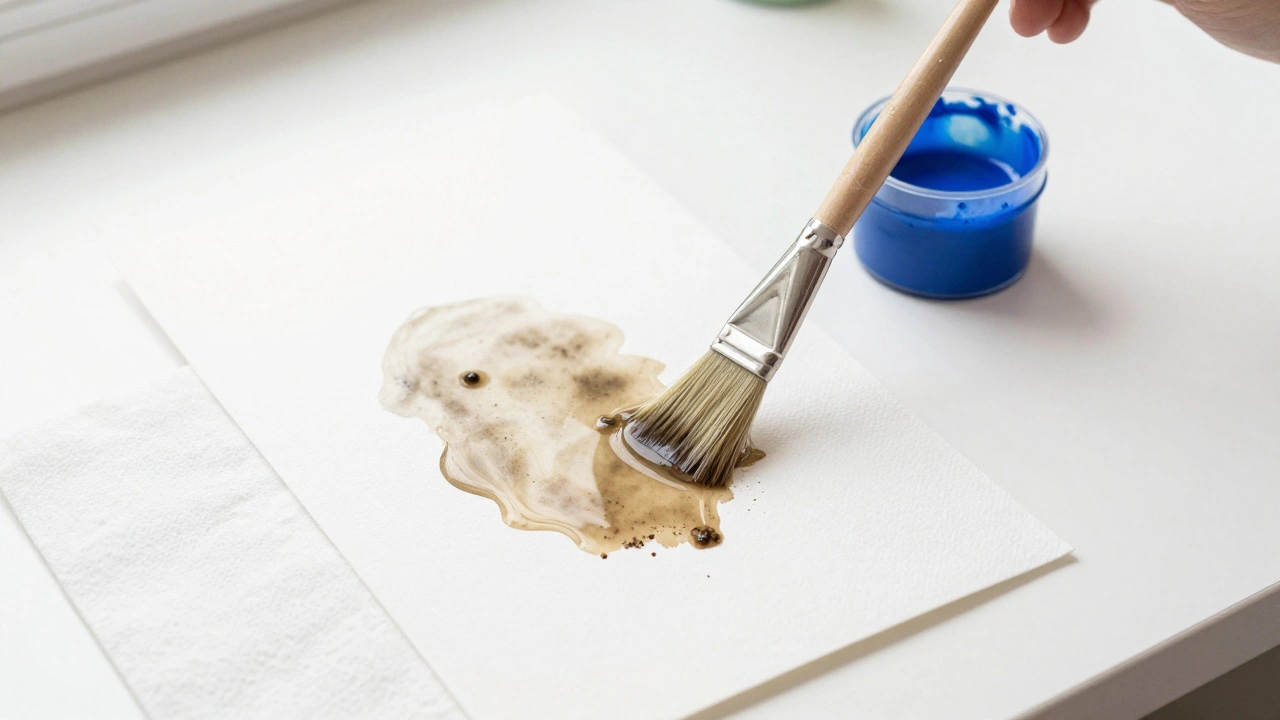
3. Lift the Pigment If the paint is still slightly damp, you can blot it with a clean, absorbent paper towel. If it is dry, use a clean, stiff brush (like a hog bristle) dipped in clean water. Gently tap the area to loosen the pigment, then blot it up with a paper towel. Do not scrub. Repeat this process gently. You may not get all the color out, especially if it is a staining pigment, but you can lighten it enough to glaze over it with a cleaner color.
4. Glaze to Correct Instead of mixing colors on the palette, try glazing. Wait until the lifted area is completely dry. Then, apply a thin, transparent layer of a single, pure color. For example, if the sky is muddy gray, glaze a very dilute layer of Cerulean Blue over it. The transparency of the new layer can brighten the underlying mud without covering it up completely. This restores some luminosity.
5. Change the Composition If a section is beyond repair, consider changing the composition. Maybe that muddy patch can become a tree trunk, a rock, or a shadowed corner. Use dark, staining colors like Paynes Gray or Burnt Umber to define a new shape that covers the error. Turning a mistake into a deliberate design element is a hallmark of experienced artists.
Prevention: Building Good Habits
The best way to avoid overworking is to build habits that respect the medium. Here are five rules to live by.
- Plan Your Values First: Before touching the paper, sketch your subject and decide where the lights, mid-tones, and darks will go. Stick to this plan. If you planned a dark shadow, paint it dark from the start. Don’t try to darken a light area later.
- Keep Your Brushes Clean: Rinse your brush thoroughly between every color change. Use two jars of water: one for rinsing brushes (which gets dirty quickly) and one for fresh water to load your brush. This prevents accidental cross-contamination of colors.
- Work Wet-on-Wet Intentionally: Only wet the paper when you want soft, blended edges. If you want sharp details, wait for the paper to be bone-dry. Do not try to blend hard edges into soft ones after the fact; it rarely works well.
- Limit Your Palette: Start with three primary colors (Red, Yellow, Blue) and maybe one earth tone. Limiting your colors forces you to mix carefully and reduces the chance of creating accidental mud. You can always expand your palette as you gain confidence.
- Embrace Imperfection: Accept that watercolor will bloom, granulate, and leave white spaces. These are not mistakes; they are characteristics of the medium. Try to incorporate them into your style rather than fighting them.
Remember, watercolor is a dance with water and gravity. You cannot control every drop. The goal is not perfection; it is expression. An overworked painting is a sign that you are trying to control the uncontrollable. Relax your hand, trust your planning, and let the water do its job.
When to Start Over
Not every painting can be saved. There comes a point where the effort to fix outweighs the value of the piece. If the paper is torn, if the image is unrecognizable, or if you are frustrated to the point of anger, it is time to stop. Tear the page out of your sketchbook or set it aside. Starting a new painting is not a failure; it is a learning opportunity. Analyze what went wrong, note the lesson, and begin again with fresh eyes and a clean sheet. The joy of watercolor lies in the process, not just the final product.
Can I paint over a muddy watercolor area?
You can try to glaze over it with a transparent color, but it will not fully hide the mud. Watercolor is transparent, so the underlying color will show through. It is better to lift the pigment first if possible, or accept the mud as a dark shadow and build around it.
Why does my watercolor look gray?
Grayness usually comes from mixing complementary colors (like red and green) or using dirty brushes. It can also happen if you use too much water, diluting the pigment strength. Ensure your brushes are clean and mix colors deliberately on your palette, not on the paper.
How do I fix a shiny spot on watercolor paper?
A shiny spot means the paper fibers are flattened and damaged. You cannot restore the tooth. Your best option is to turn that area into a dark, textured part of the painting, such as a shadow or a rough surface. Avoid applying more paint directly to the shiny spot, as it will bead up.
What is the difference between staining and non-staining pigments?
Staining pigments bond strongly to the paper and cannot be lifted once dry. Non-staining pigments sit on top of the paper and can be lifted with water. Knowing which you are using helps you decide whether you can correct a mistake. Examples of staining pigments include Alizarin Crimson and Phthalo Blue.