Jul 6, 2025
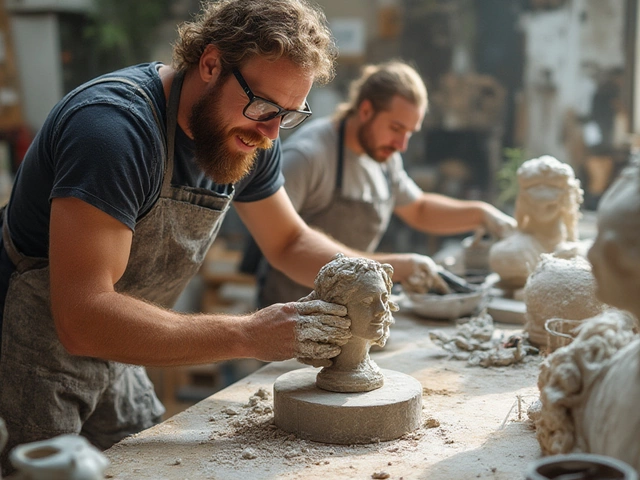
Four Essential Sculpture Techniques: Carving, Modeling, Casting, and Assembling Explained
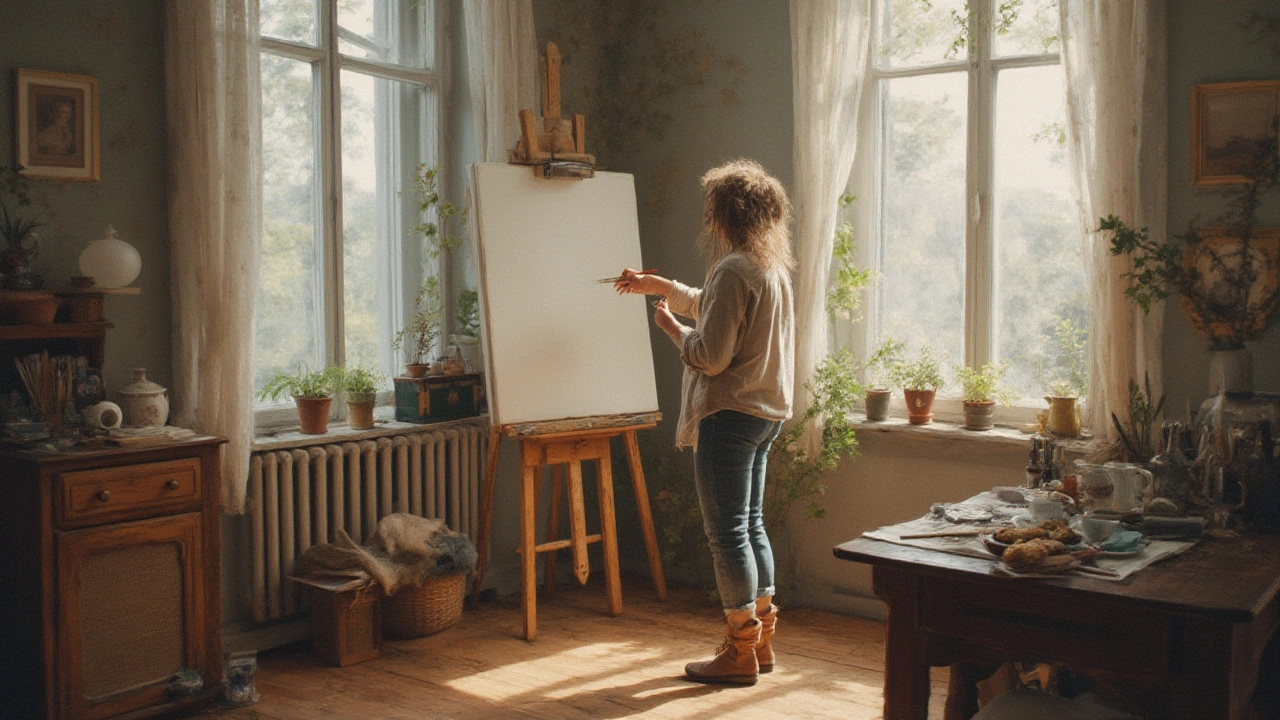
When you pick up oil painting, the art of applying pigment mixed with drying oil to a surface such as canvas or board. Also known as painting with oils, it offers deep color, smooth blending, and a timeless feel.
Getting good results starts with the right oil paints, pigments suspended in linseed, walnut, or poppyseed oil. Quality paints affect drying time and color vibrancy, which in turn shape your color mixing, the process of blending two or more pigments to create new hues. Mastering mixing helps you replicate natural light, achieve atmospheric depth, and avoid muddy tones.
Before a single brushstroke, you need proper canvas preparation, the steps of stretching, priming, and sealing a support so the oil paint adheres evenly. A well‑prepped canvas reduces cracking and ensures the paint dries uniformly. Once the surface is ready, brush techniques, the ways you load, hold, and move the brush to create texture and gesture become your main expressive tools.
These elements are tightly linked: oil painting requires canvas preparation, oil paints influence color mixing, and brush techniques shape the final texture. Think of it as a small ecosystem—choose your paints, ready your canvas, then experiment with brushes, and you’ll see improvement fast.
1. **Gather the basics** – a modest set of artist‑grade oil paints, a few natural‑hair brushes, a pre‑stretched canvas, and a palette. 2. **Prime the surface** – apply a thin coat of acrylic gesso, let it dry, then add a toned ground (often a diluted earth color) to set the mood. 3. **Mix your palette** – start with a limited range: a warm yellow, a cool blue, a flesh tone, and a dark earth. Practice creating secondary colors and learn how the oil medium affects drying. 4. **Sketch the composition** – use a thin wash of liquid medium or a charcoal outline, keeping lines light. 5. **Build from thin to thick** – lay down transparent layers (glazes) before adding impasto for highlights. 6. **Clean responsibly** – use odorless mineral spirits or a dedicated oil‑painting cleaner, then store brushes in a moist cloth.
Historical tips also help. The Goya technique, for example, starts with a dark underpainting (often burnt umber) and adds luminous glazes on top. This method teaches you how contrast and layering work together, giving depth to everyday scenes. Similarly, landscape painters often blend sky and water using soft brushes while preserving crisp edges for foreground elements—an approach you can adapt to any subject.
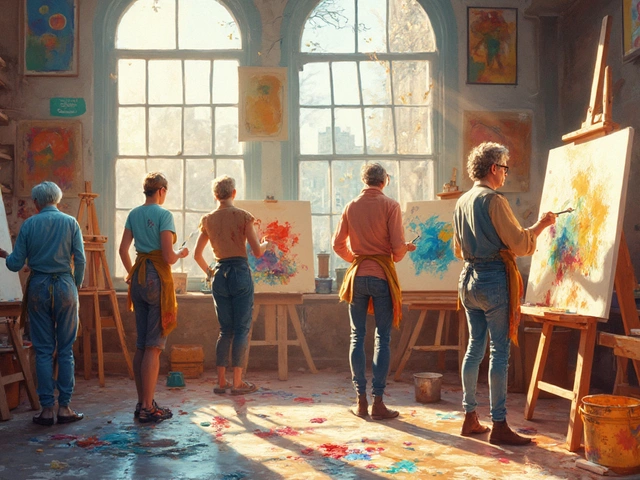
Whether you’re aiming for a realistic portrait, a moody seascape, or an abstract splash of color, the fundamentals stay the same. Start small, experiment often, and let each finished piece guide the next. In the list below you’ll find articles that dive deeper into each of these topics—how to choose the right oil paints, mastering the Goya technique, mixing colors like a pro, and more. Let’s explore the world of oil painting together and turn those blank canvases into vibrant stories.
Curious about starting oil painting? This in-depth guide covers preparing materials, sketching your composition, mixing paints, and essential beginner tips for a confident first step.