Oil Painting Mistake Fixer
Wet / Fresh
Still workable, hasn't dried yet
Tacky / Semi-Dry
Sticky to touch, not fully cured
Dry / Hardened
Fully cured, solid film formed
Recommended Correction Method
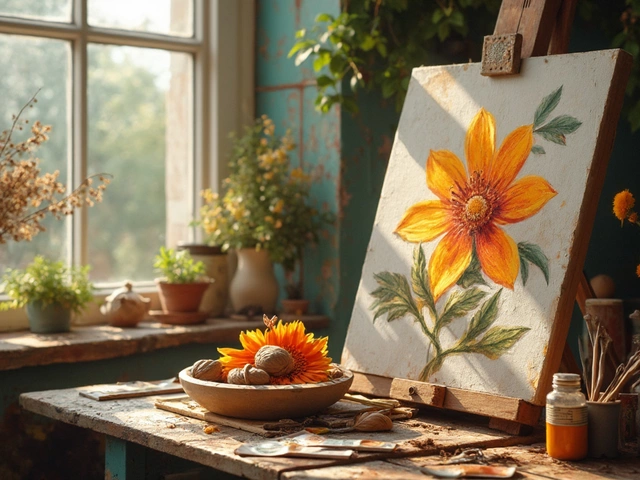
Have you ever stared at a canvas, heart sinking, because that perfect landscape suddenly has a tree growing out of the sky? Or maybe your portrait’s eyes are slightly off-center, ruining the entire expression. It happens to every painter, from beginners to masters. The good news is that oil painting is one of the most forgiving mediums in art history. Unlike acrylics or watercolors, which dry fast and become permanent almost instantly, oils stay workable for days, weeks, or even months depending on the conditions.
You don’t have to throw away a painting just because you made a mistake. In fact, some of the greatest artworks in history contain layers of corrections hidden beneath the surface. Learning how to fix errors isn’t just about damage control; it’s about understanding the material better. Let’s look at exactly how to rescue your work, whether the paint is still wet or completely hardened.
The Golden Rule: Assess Before You Act
Before you grab a palette knife or a rag, take a step back. The first thing you need to determine is the state of the paint. Is it wet, tacky, or dry? This single factor dictates your entire strategy. Trying to scrape wet paint will just smear it around, creating a bigger mess. Conversely, trying to brush over dry paint without proper preparation can lead to cracking later on.
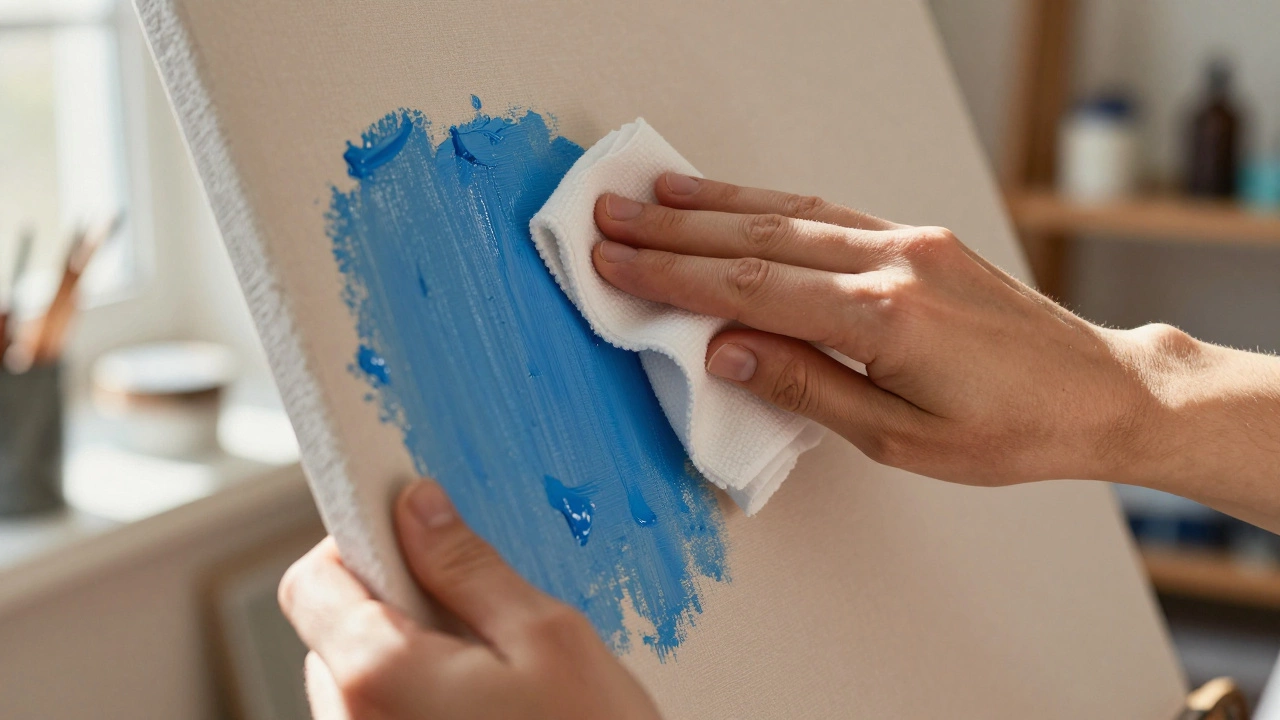
If the paint is still wet, you have the easiest fix available. Simply use a clean, lint-free rag or paper towel to wipe it away. For larger areas, a stiff bristle brush can help lift the pigment off the canvas. If you’re working with thin glazes, a cotton swab dipped in odorless mineral spirits (OMS) works wonders for precise corrections. Remember, OMS evaporates quickly, so act fast but gently.
However, if the paint has dried, things get trickier. Dry oil paint forms a solid film that requires mechanical removal or chemical softening. Never try to force a correction on dry paint by painting thickly over it without addressing the underlying issue first. This often leads to structural problems like flaking or cracking as the layers age at different rates.
Fixing Wet Paint: The Easy Way Out
When the paint is still fresh, you have several options. The simplest is physical removal. Use a palette knife to gently lift the excess paint. This works best for impasto applications where the paint sits high on the canvas. Be careful not to gouge the canvas fibers. Hold the knife at a shallow angle and slide it across the surface.
For smoother surfaces, blending is your friend. If you’ve painted a feature in the wrong place, you can often blend it into the background. Use a clean, dry brush to soften the edges. Add a bit of medium to keep the paint workable. Turpentine or OMS can help break down the paint’s viscosity, allowing you to manipulate it more easily. Just remember to wipe your brush frequently to avoid muddying the colors.
Another technique is the "wet-into-wet" correction. If you’ve made a mistake in a small area, you can paint over it immediately with the correct color. Since both layers are wet, they will fuse together seamlessly. This is particularly useful for adjusting values or hues. For example, if a shadow is too dark, add a lighter tone while the original is still fresh. The two will mix optically, creating a natural transition.
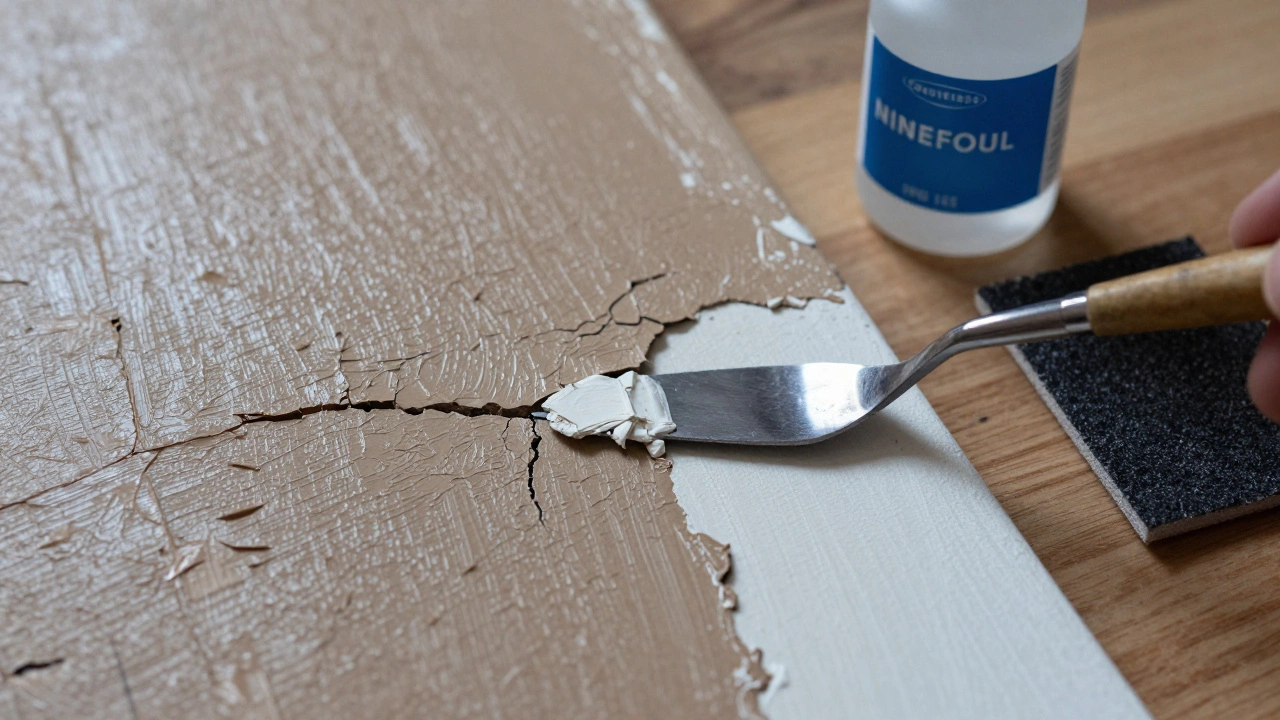
Removing Dry Paint: Scaping and Solvents
Once the paint has cured, you need a more aggressive approach. The most common method is scraping. Use a sharp palette knife or a specialized scraper tool. Start with a gentle touch to test the adhesion. If the paint comes off easily, proceed carefully. If it resists, don’t force it. Instead, consider using a solvent to soften the surface.
Odorless mineral spirits (OMS) or turpentine can be used to dampen a cloth and rub the area lightly. This softens the top layer of paint, making it easier to remove. However, be cautious. Too much solvent can weaken the underlying layers or damage the canvas primer. Always work in a well-ventilated area and wear gloves to protect your skin.
For stubborn spots, you might need to sand the surface lightly. Use fine-grit sandpaper (around 400 grit) to smooth out bumps or remove small imperfections. Sanding should be done sparingly and only after the paint is fully dry. Over-sanding can expose the raw canvas, requiring you to re-prime the area before continuing. This is a last resort, but it can save a painting when other methods fail.
Painting Over Corrections: Layering Strategy
After removing the mistake, you’ll likely need to repaint the area. Here’s where knowledge of layering becomes crucial. The golden rule of oil painting is "fat over lean." This means each subsequent layer should be more flexible than the one below it. Lean layers contain more solvent and less oil, while fat layers contain more oil and less solvent.
If you scraped down to the primer, start with a lean underpainting. Mix your colors with a bit of OMS to ensure quick drying and strong adhesion. Once this layer is dry, you can build up with richer, oilier paints. This prevents cracking as the painting ages. Cracking occurs when a rigid layer sits on top of a flexible one, causing stress fractures over time.
Blending is also key when covering corrections. Use soft brushes and gentle strokes to integrate the new paint with the surrounding area. Avoid heavy pressure, which can push the underlying layers aside. Instead, let the paint sit on the surface and gradually blend the edges. This creates a seamless finish that hides the fact that a correction was made.
| Method | Best For | Risk Level | Dry Time Required |
|---|---|---|---|
| Wiping with Rag | Fresh, wet paint | Low | None |
| Palette Knife Scraping | Thick impasto, semi-dry paint | Medium | Partial |
| Solvent Softening | Sticky, tacky paint | Medium-High | Variable |
| Sanding | Hardened, dry paint | High | Full cure (weeks) |
| Painting Over | Minor color/value errors | Low | Depends on layer thickness |
Preventing Future Mistakes: Smart Habits
While fixing mistakes is part of the process, preventing them saves time and frustration. One effective habit is to sketch your composition lightly before applying any paint. Use charcoal or a diluted wash of burnt umber to map out shapes and proportions. This gives you a roadmap to follow, reducing the likelihood of major errors.
Another tip is to work from dark to light. Starting with the darkest shadows allows you to establish the value structure early. Lighter colors can then be layered on top, making it easier to adjust highlights without disturbing the underlying tones. This approach aligns with the "fat over lean" principle and promotes better adhesion.
Also, consider using slower-drying mediums for large areas. Linseed oil slows down the drying process, giving you more time to blend and correct. However, use it sparingly. Too much oil can cause yellowing over time and may affect the durability of the painting. A balanced mixture of pigment and medium ensures longevity and flexibility.
When to Call It Quits: Knowing Your Limits
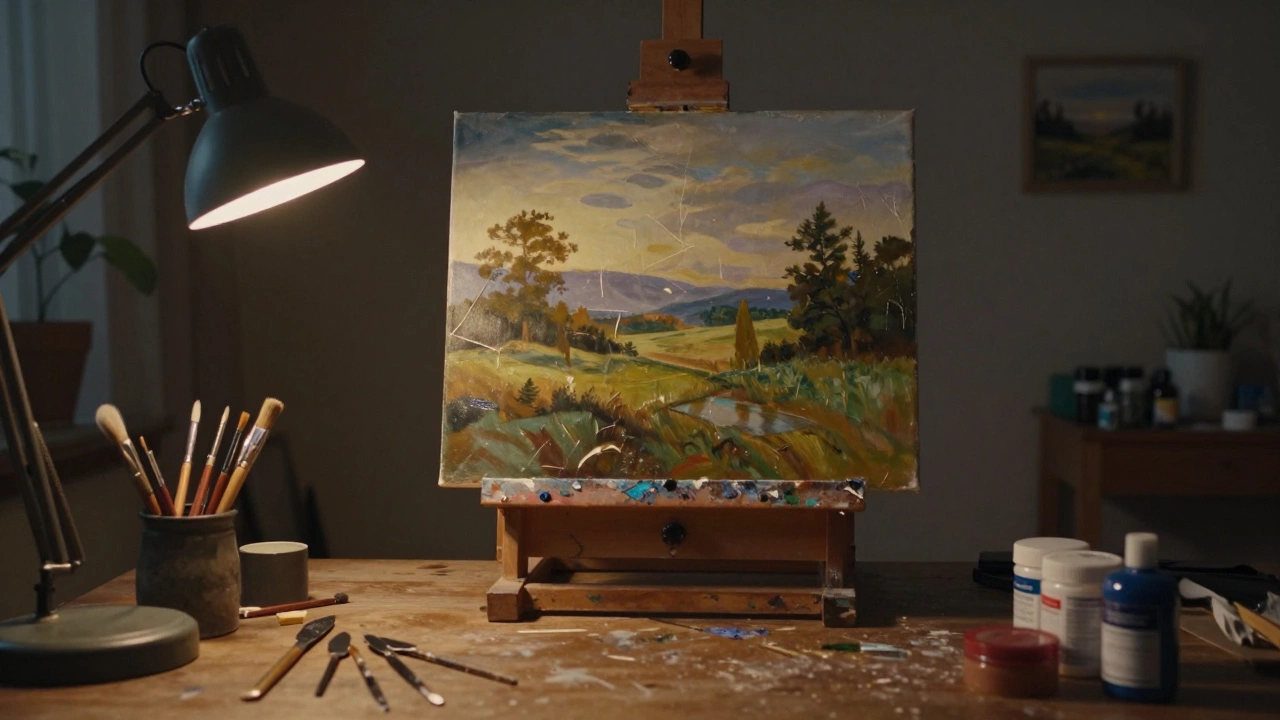
Sometimes, despite your best efforts, a painting cannot be saved. This usually happens when multiple layers have been applied incorrectly, leading to structural instability. If the canvas feels brittle or the paint is lifting in sheets, it might be time to accept the loss. Salvaging such a piece could risk damaging the support entirely.
In these cases, view the experience as a learning opportunity. Analyze what went wrong. Was it an issue with layering? Did you rush the drying times? Understanding the root cause helps you avoid similar pitfalls in future projects. Every failed painting teaches you something valuable about the medium.
Don’t hesitate to start fresh. Canvas is relatively inexpensive compared to the cost of materials and time invested. Sometimes, a blank slate is the best way to move forward. Keep your tools organized, maintain a clean workspace, and trust your instincts. With practice, you’ll find that mistakes become less frequent and easier to manage.
Tools You Need for Corrections
Having the right tools makes fixing mistakes much easier. Essential items include:
- Palette Knives: Various sizes for scraping and lifting paint.
- Clean Rags: Lint-free cloths for wiping wet paint.
- Odorless Mineral Spirits (OMS): For softening and cleaning.
- Soft Brushes: For blending and repainting corrected areas.
- Fine-Grit Sandpaper: For smoothing dry surfaces.
- Gloves: To protect your hands from solvents and pigments.
Final Thoughts on Perfection and Process
Remember, perfection is not the goal. Art is about expression, exploration, and growth. Mistakes are inevitable, but they are also opportunities to innovate. Some of the most striking effects in oil painting come from happy accidents-unintended blends, unexpected textures, or surprising color interactions. Embrace the unpredictability of the medium.
As you gain experience, you’ll develop an intuition for when to correct and when to leave things alone. Trust your eye. If a mistake adds character or interest to the piece, consider keeping it. The beauty of oil painting lies in its depth and complexity, qualities that often emerge from the interplay of planned and unplanned elements.
Can I paint over wet oil paint?
Yes, you can paint over wet oil paint, a technique known as "wet-into-wet." This allows for seamless blending and easy corrections. However, ensure the new layer follows the "fat over lean" rule to prevent cracking. Use similar consistencies for both layers to maintain adhesion.
How long does oil paint take to dry?
Oil paint drying time varies based on thickness, color, and environment. Thin layers may dry to the touch in a few days, while thick impasto can take weeks or months. Darker pigments like ultramarine blue dry slower than lighter ones like titanium white. Proper ventilation speeds up the process.
What is the safest solvent for removing oil paint?
Odorless mineral spirits (OMS) are generally considered the safest solvent for artists. They have low toxicity and minimal odor compared to traditional turpentine. Always use OMS in a well-ventilated area and dispose of rags properly to prevent fire hazards. Never use harsh chemicals like acetone unless necessary for specific tasks.
Should I sand my oil painting before varnishing?
Light sanding can be beneficial before varnishing to smooth out minor imperfections and brush marks. Use very fine grit sandpaper (600+ grit) and sand gently. Ensure the painting is completely dry before sanding. Afterward, dust off the surface thoroughly to avoid trapping particles under the varnish.
How do I prevent cracking in oil paintings?
Prevent cracking by following the "fat over lean" principle. Each successive layer should contain more oil than the previous one. Allow adequate drying time between layers. Avoid applying thick layers over thin, inflexible ones. Additionally, ensure the canvas is properly primed and stretched to accommodate movement.