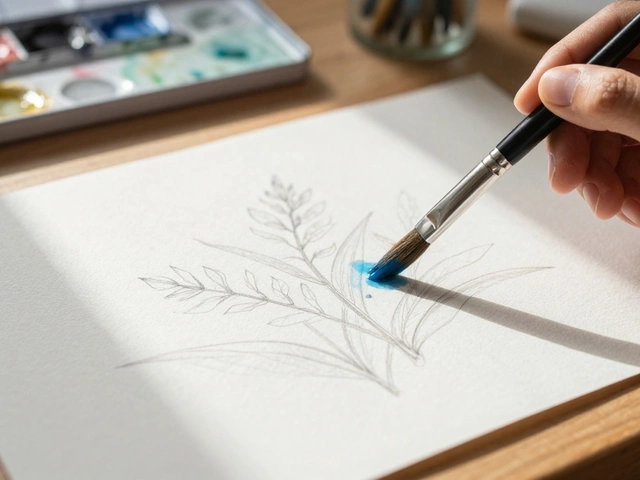
Digital art is essentially the process of using digital tools to create art, replacing traditional brushes and canvases with styluses and pixels. While it feels different, the core principles of art remain the same. Whether you are drawing a character for a game or a landscape for a social media post, you're still dealing with light, shadow, and composition.
The Gear: What You Actually Need
Stop looking at the top-tier professional setups for a moment. You don't need the most expensive equipment to make great art. Most beginners fall into the trap of thinking a better tablet makes them a better artist. It doesn't. Your hand and your eye do the work; the tablet just records it.
There are three main paths you can take depending on your budget and the hardware you already own:
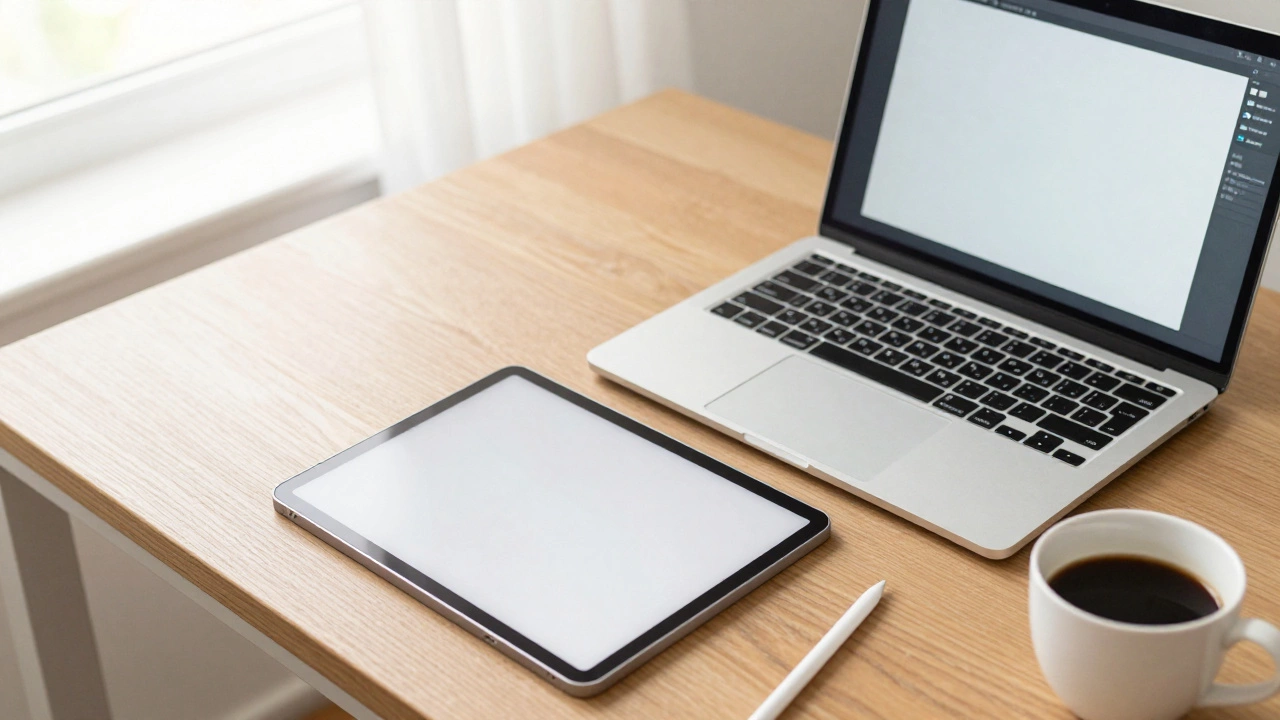
- The Tablet-Only Route: If you have an iPad is a line of tablets designed by Apple that has become a gold standard for portable digital art, you're already halfway there. Pair it with an Apple Pencil, and you have a complete studio in your backpack. This is the most intuitive path because you're drawing directly on the screen.
- The Pen Tablet (Non-Screen): These are the slabs that plug into your computer. You draw on the tablet while looking at your monitor. It feels weird at first-like trying to write with your hand in one place and watching the paper in another-but it's the most affordable way to get a professional feel. Brands like Wacom is a leading manufacturer of graphics tablets and peripherals used by professionals globally are the industry standard here.
- The Pen Display: This is a hybrid. It's a monitor you can draw on. It's more expensive but removes the hand-eye coordination gap found in non-screen tablets.
| Setup Type | Learning Curve | Price Range | Best For |
|---|---|---|---|
| iPad + Pencil | Very Low | Moderate to High | Portability & Intuition |
| USB Pen Tablet | Medium | Low | Ergonomics & Budget |
| Pen Display | Low | High | Professional Workflow |
Choosing Your Software
Software is where the magic happens. You'll see a lot of debate about which program is "the best," but the reality is that most of them do the same thing: they provide a way to lay down color and manipulate pixels. You just need to find the one that fits your workflow.
If you're on an iPad, Procreate is a raster graphics app designed specifically for creative professionals and hobbyists on iPadOS is almost a requirement. It's a one-time purchase and incredibly streamlined. It doesn't hide its tools in deep menus, which is great when you're just starting.
For those on a PC or Mac, Adobe Photoshop is the industry-standard raster graphics editor used for photo editing and digital painting is the big name. However, it's a subscription model, which can be a drag for beginners. A fantastic alternative is Krita is a free and open-source professional raster graphics editor intended for digital painting. It's completely free and built by artists, for artists. If you want to do clean, scalable art (like logos), look into Adobe Illustrator is a vector graphics software used for creating scalable illustrations and layouts, which uses mathematical paths instead of pixels.
Mastering the Digital Canvas
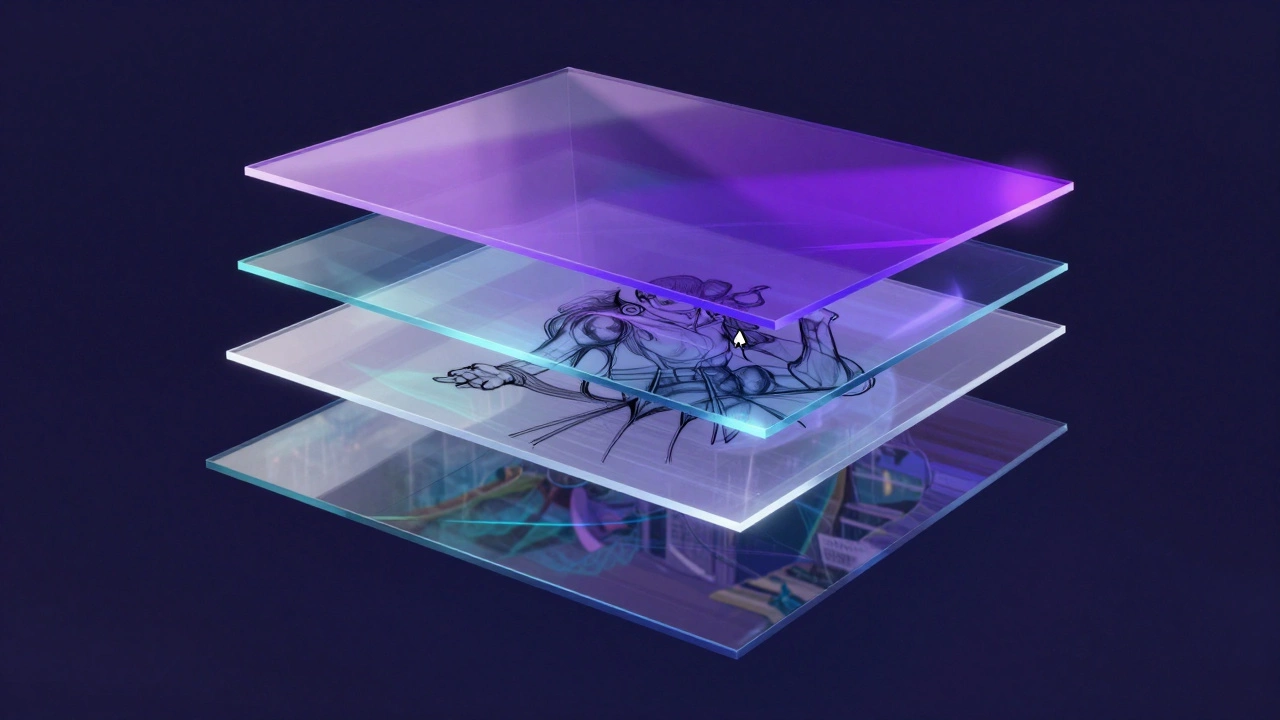
Once you have your gear and software, don't just start scribbling. There are a few digital-specific concepts that will save you hours of frustration if you learn them early. The biggest one is Layers. Imagine painting on a stack of clear glass sheets. You can paint the background on the bottom sheet, the character on the middle sheet, and the lighting effects on the top sheet. If you mess up the lighting, you can just wipe that sheet clean without ruining your character.
Then there's Opacity and Blending Modes. Opacity lets you decide how see-through a layer or brush is. Blending modes, like 'Multiply' or 'Overlay,' change how the colors on one layer interact with the layer below. For example, using 'Multiply' is the fastest way to add realistic shadows because it darkens the colors underneath without making them look muddy.
Finally, get used to the Undo command (usually Ctrl+Z or Cmd+Z). This is the single greatest advantage of digital art over traditional art. You can take risks, make a bold stroke, and if it looks terrible, you're only one click away from trying again. This removes the fear of failure, which is where real growth happens.
Learning the Fundamentals
Here is the hard truth: a fancy brush won't fix a bad drawing. You can have the most expensive software in the world, but if you don't understand how light works, your art will look flat. You need to focus on the fundamentals, even in a digital environment.
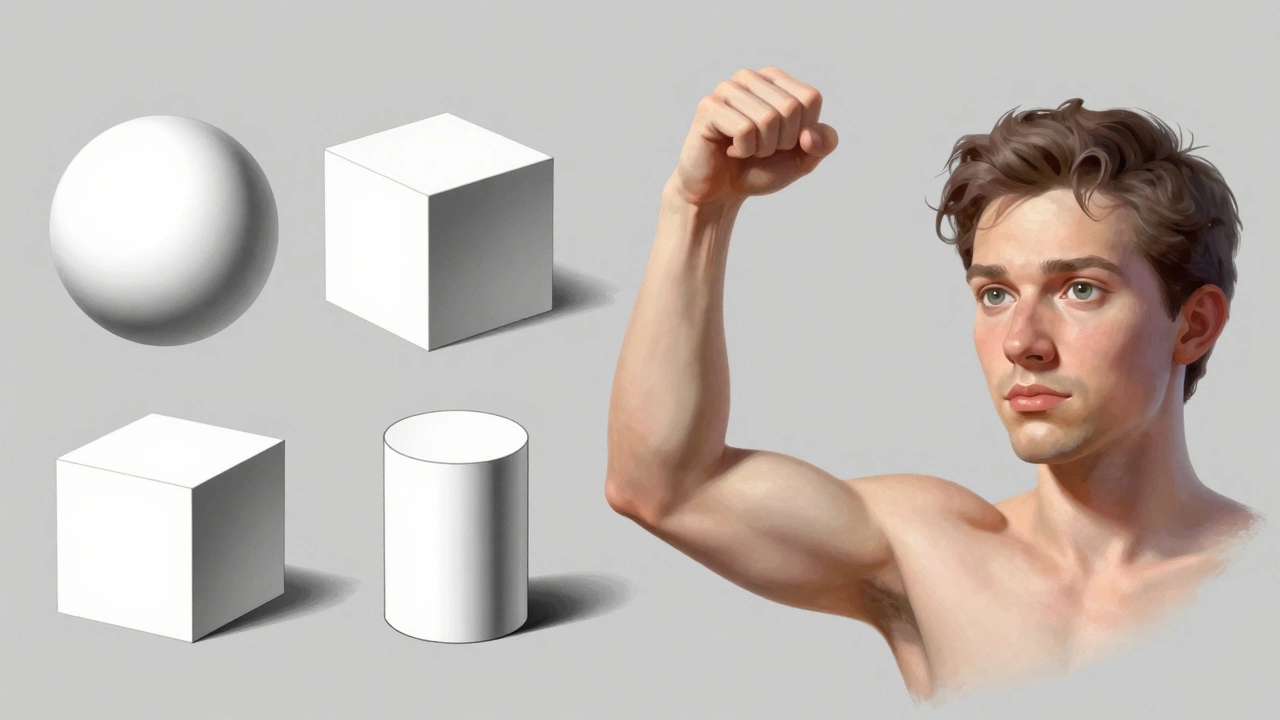
Start with Form and Volume. Practice drawing simple shapes-cubes, spheres, and cylinders-and then try to turn them into complex objects. If you can draw a cylinder, you can draw an arm. If you can draw a sphere, you can draw a head. This is called construction, and it's the foundation of everything from 2D illustration to 3D modeling.
Next, tackle Value. Value is simply how light or dark a color is. Many beginners make the mistake of using too many colors and not enough contrast. Try doing a piece in grayscale first. If it looks good in black and white, it will look great in color. This teaches you how to create depth and dimension without relying on the "crutch" of hue.
Finally, study Anatomy and Perspective. You don't need to be a medical doctor, but knowing where the shoulder connects to the neck prevents your characters from looking like they're made of rubber. For perspective, learn the "vanishing point" concept. This is what allows you to draw a street that actually looks like it's receding into the distance rather than just tilting upward.
Common Pitfalls and How to Avoid Them
It's easy to get lost in the "brush hunt." You'll spend three hours downloading 500 free brush packs from the internet and zero hours actually drawing. Most of the default brushes in any program are all you'll ever need. Stick to a hard round brush and a soft airbrush until you actually feel a limitation in your work.
Another trap is the Zoom Obsession. Digital artists often zoom in to 400% and spend an hour detailing a tiny highlight on a character's eye that no one will ever see. This is a waste of time and often ruins the overall balance of the piece. Every 15 minutes, zoom out to 100% and look at the whole image. If it doesn't look right from a distance, the tiny details don't matter.
Lastly, don't compare your "Day 1" to someone else's "Year 10." Social media is a highlight reel. You see the finished masterpiece, not the 20 failed sketches and the three mental breakdowns that went into it. Focus on your own progress. Save your work from today, and look back at it in a month. That's the only comparison that actually helps you grow.
Building a Sustainable Habit
The hardest part of starting digital art isn't the software; it's the consistency. It's easy to be excited for a week and then stop when you realize your hands don't do what your brain wants yet. The key is to lower the barrier to entry. Keep your tablet plugged in and your software open. If you have to spend ten minutes setting up your gear, you're less likely to practice.
Try the 30-day sketch challenge. Don't aim for a masterpiece every day. Aim for 15 minutes of focused drawing. Some days you'll draw a hand that looks like a bunch of sausages; some days you'll actually nail a fold of fabric. Both are wins because you showed up.
Do I need a drawing tablet to start digital art?
Technically, no, you can use a mouse, but it's incredibly difficult and unnatural. A tablet allows for pressure sensitivity, meaning the harder you press, the thicker the line. This is essential for achieving a natural, hand-drawn look. For absolute beginners, a basic pen tablet is the most cost-effective entry point.
Which is better: Procreate or Photoshop?
It depends on your device and goals. Procreate is better for portability, a simpler interface, and hobbyists using an iPad. Photoshop is better for high-end professional work, complex photo manipulation, and those who prefer working on a large desktop monitor with a full keyboard.
How do I stop my digital art from looking "plastic"?
This usually happens because of over-using the soft airbrush and lacking contrast. To fix this, use harder edges for shadows and avoid blending everything into a blur. Incorporating a bit of texture (like a canvas or grain overlay) and using a wider range of values (darker darks and brighter lights) helps the art feel more organic.
Can I learn digital art if I can't draw on paper?
Yes, but remember that digital tools are just a medium. They don't teach you how to see. You can learn the software and the art fundamentals simultaneously. In fact, some find it easier to learn on digital because the "Undo" button makes the experimentation phase much less stressful.
What are the best free resources for beginners?
Look for fundamental courses on YouTube that focus on form, lighting, and anatomy rather than just software tutorials. Sites like Ctrl+Paint offer a structured path for beginners to learn digital painting from the ground up for free. Additionally, practicing with free software like Krita allows you to learn professional tools without financial risk.