Beginner Sculpture Project Finder
Select a project below to see detailed instructions, materials, and tips tailored for your skill level.
Air-Dry Clay Animals
No kiln needed. Great for quick results.
Wire Armatures
Learn balance and structure with movement.
Polymer Clay Food
Bake at home. Perfect for miniatures.
Soap Carving
Subtractive technique. No mess, no drying.
Found Object Assemblage
Combine everyday items into art.
Materials Needed
- Air-dry clay (white or terracotta)
- Water bowl
- Plastic wrap
- Acrylic paints & brushes
Time Commitment
Drying Time: 24–48 hours
Step-by-Step Guide
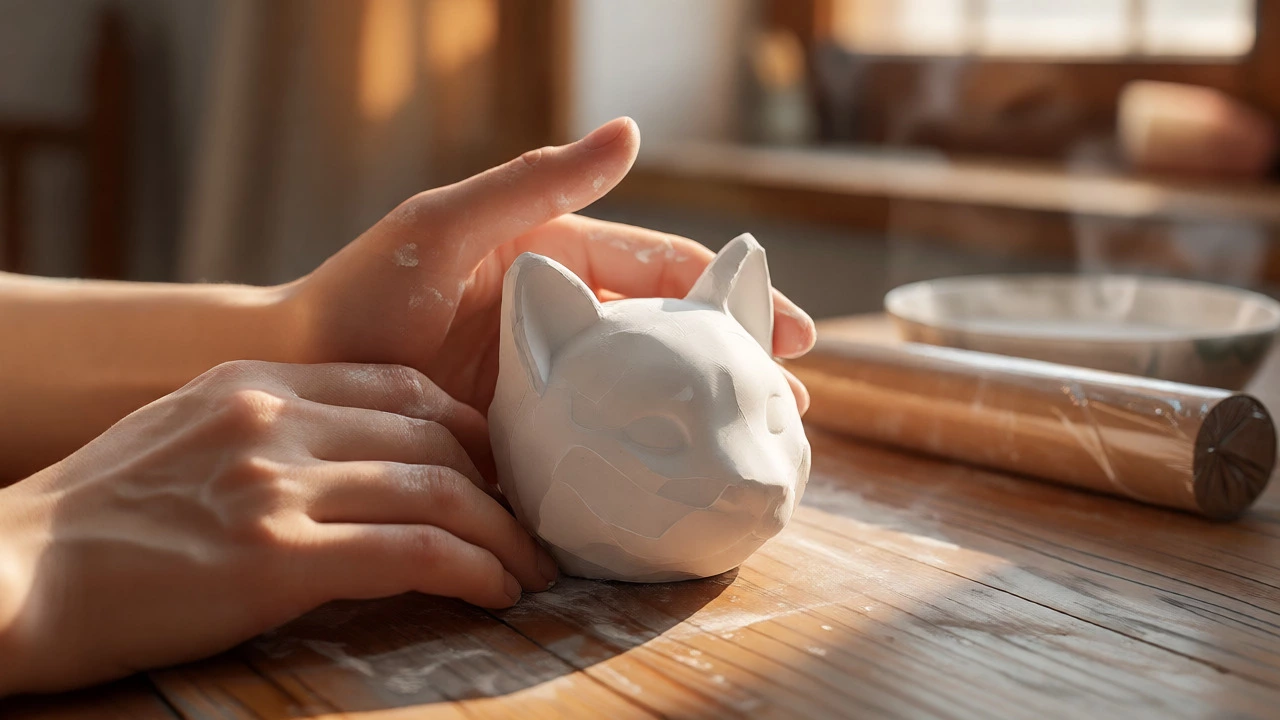
- Roll a large ball for the head and a smaller cone for the snout.
- Attach two small balls for eyes and flatten them slightly.
- Add two triangular cones for ears. Don't worry if they are lopsided!
- Smooth surfaces with wet fingertips. Keep unused clay wrapped in plastic.
- Let dry completely (24-48 hrs), then paint with acrylics.
Materials Needed
- Aluminum craft wire (thick & thin)
- Cardboard base
- Tape
- Epoxy putty or lightweight modeling compound
Why It Works
Teaches balance and center of gravity. A wide stance keeps figures stable, while narrow ones tip over. This is physics disguised as art.
Step-by-Step Guide
- Bend thick aluminum wire into a rough human or animal skeleton shape.
- Tape the ends securely to a cardboard base so it stands up.
- Wrap thin floral wire around joints for extra stability if needed.
- Cover the wire frame with epoxy putty or modeling compound.
- Sculpt muscles/forms over the armature before it cures.
Materials Needed
- Polymer clay (Fimo, Cernit, etc.)
- Home oven
- Blade/cutter
Key Advantage
Stays malleable until baked. You can stop halfway through, go to bed, and pick up exactly where you left off.
Step-by-Step Guide
- Knead different colors separately (bun brown, patty brown, lettuce green, cheese yellow).
- Roll out slabs for each layer.
- Stack the layers: Bun bottom, Patty, Cheese, Lettuce, Bun top.
- Trim the edges neatly with a blade.
- Bake according to package instructions (usually ~110°C).
Materials Needed
- White bar of soap
- Butter knife or toothpicks
- Dental picks (for fine detail)
- Damp cloth
Technique Focus
Subtractive Sculpture. Unlike clay where you add material, here you remove it. If you cut too deep, you can't fix it—mimicking real stone carving risks.
Step-by-Step Guide
- Sketch your design lightly on the soap surface.
- Use a butter knife to shave away large unwanted areas.
- Switch to dental picks for fine lines and details.
- Rub the carved surface with a damp cloth to polish it naturally.
Materials Needed
- Bottle caps, buttons, old keys
- Hot glue gun or Epoxy
- Base (wood, cardboard, cork)
Philosophy
Curating, not creating. Look for visual associations: a spoon handle looks like a neck, a jar lid looks like a shield. Embrace imperfection (Wabi-sabi).
Step-by-Step Guide
- Raid your kitchen drawer for interesting shapes.
- Arrange objects loosely to test composition.
- Glue parts together using hot glue for speed or epoxy for strength.
- Don't worry about symmetry. A crooked robot has more personality.
You bought a block of clay or some wire, stared at it for an hour, and then put it back in the closet. Sound familiar? Most people think sculpture is reserved for Michelangelo-types who can carve marble with their eyes closed. But here’s the truth: modern beginner-friendly materials are forgiving, cheap, and surprisingly fun. You don’t need a studio. You don’t need a degree. You just need something simple to make so your hands learn what they’re doing.
The biggest mistake new sculptors make is picking a project that’s too ambitious. They try to sculpt a realistic human face or a complex animal before they understand how material behaves. Then they get frustrated because the clay cracks, the wire bends wrong, or the proportions look off. The solution isn’t more practice-it’s better starting points. Below are five specific things you should sculpt right now, depending on what you have lying around the house.
Start with Air-Dry Clay Animals
If you’ve never touched clay before, start with air-dry clay. It doesn’t require a kiln, which removes the biggest barrier to entry. Unlike polymer clay (like Sculpey), air-dry clay shrinks slightly as it dries, so you need to account for that. But its texture is soft, pliable, and easy to smooth with water.
Project Idea: A stylized cat or dog head.
Why this works: Animal heads are forgiving. If the ears are lopsided, it looks charming, not broken. If the nose is a bit flat, it reads as “cartoonish.” Realism is hard; style is easy. Focus on basic shapes-spheres for the head, cones for the snout, small balls for eyes. Don’t worry about fur texture yet. Just get the form right.
- Time commitment: 1-2 hours active work, plus 24-48 hours drying time.
- Materials needed: Air-dry clay (white or terracotta color), water bowl, plastic wrap.
- Pro tip: Keep unused clay wrapped tightly in plastic. Exposed air turns it into rock within minutes.
Once it’s dry, paint it. Acrylics stick well to air-dry clay. This teaches you how surface finishing changes perception. A plain gray lump becomes a sleek panther when you add black paint and white highlights.
Try Wire Armatures for Movement
Clay is heavy. If you try to build a tall figure without support, it collapses under its own weight. That’s where wire armatures come in. Think of them as the skeleton of your sculpture. Aluminum craft wire is perfect for beginners because it’s flexible but holds its shape once bent.
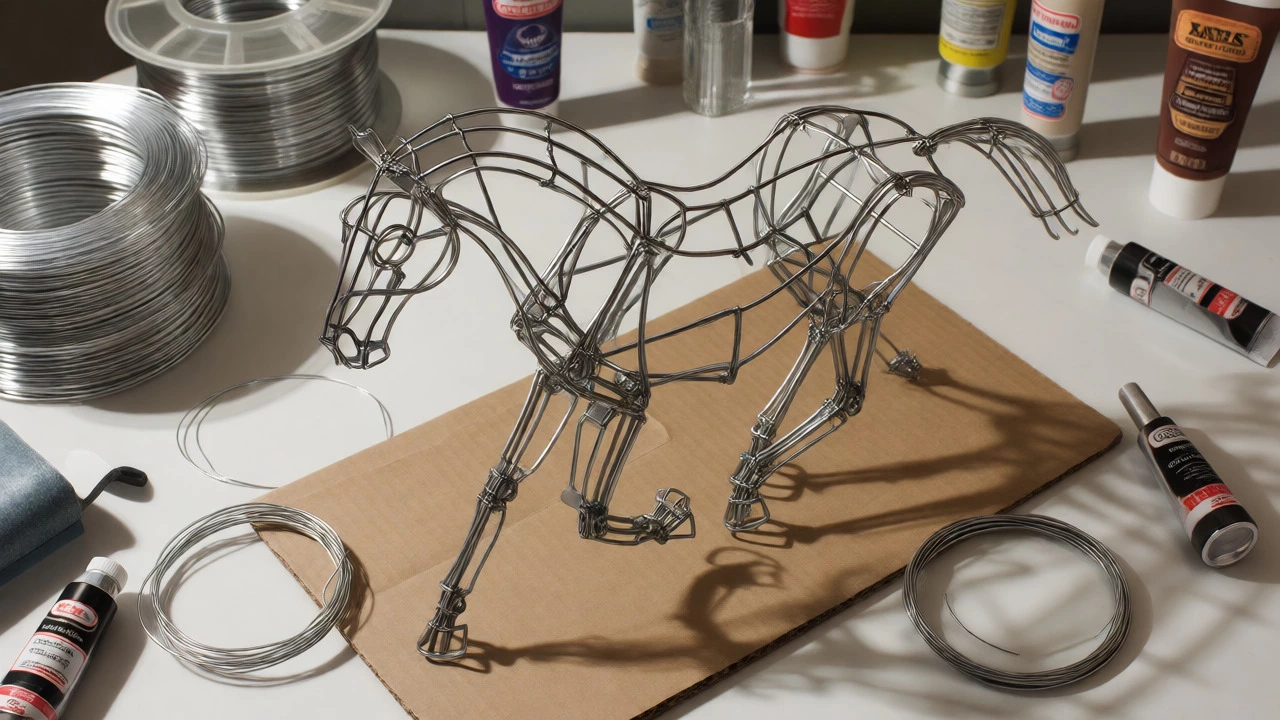
Project Idea: A dancing figure or a running horse.
Why this works: Wire forces you to think about balance and center of gravity. You’ll quickly learn why a wide stance keeps a figure stable while a narrow one tips over. This is foundational physics disguised as art.
- Bend a thick piece of aluminum wire into a rough human or animal shape.
- Tape the ends to a cardboard base so it stands up.
- Wrap thin floral wire around the joints if you want extra stability.
- Add lightweight modeling compound (like epoxy putty) over the wire.
This approach bridges the gap between drawing and 3D thinking. You’re essentially sketching in space. Many professional animators use wire maquettes to plan character movement. You’re doing the same thing, just smaller.
Sculpt Food Items from Polymer Clay
Polymer clay, such as Fimo or Cernit, is different from air-dry clay. It stays malleable until baked in a home oven. This means you can take your time. You can stop halfway through, go to bed, and pick up exactly where you left off.
Project Idea: A miniature burger, sushi roll, or slice of pizza.
Why this works: Food objects have clear, recognizable layers. A burger has buns, patty, lettuce, cheese. Each layer is a separate slab of colored clay. You cut rectangles, stack them, and trim the edges. It’s assembly, not carving. Plus, food is colorful, so mistakes hide easily.
| Feature | Air-Dry Clay | Polymer Clay | Oil-Based Clay |
|---|---|---|---|
| Drying Method | Air evaporation | Oven baking (110°C) | Never dries fully |
| Best For | Quick sketches, kids | Jewelry, miniatures | Practice, study models |
| Cost | Low ($5-$10) | Medium ($10-$20) | High ($20+) |
| Reusability | No (once dry) | No (once baked) | Yes (indefinitely) |
Polymer clay also allows blending colors directly in your hands. Want a gradient sky? Knead blue and white together. This tactile feedback helps train your eye for color mixing, a skill that translates to painting too.
Carve Soft Soap Blocks
If you’re intimidated by messy clay, grab a bar of white soap. Yes, soap. It’s dense, uniform, and carves cleanly with basic tools like butter knives or toothpicks. There’s no drying time, no baking, and no mess beyond shavings.
Project Idea: A geometric star or a simple mask.
Why this works: Soap teaches subtraction. In additive sculpture (like clay), you add material. In subtractive sculpture (like stone or wood), you remove it. Soap lets you practice subtractive techniques without buying expensive stone. If you slip and cut too deep, you can’t fix it. That pressure mimics real carving risks but with zero cost.
- Tool hack: Use dental picks for fine details. They’re sharp enough to carve lines but small enough to control.
- Finish: Rub the carved surface with a damp cloth to polish it. Soap shines naturally.
This exercise builds confidence in tool handling. Once you’re comfortable shaving away soap, moving to wood or soft stone feels less daunting.
Build Found Object Assemblages
Sculpture isn’t always about shaping raw material. Sometimes it’s about combining existing things. Assemblage is a technique popularized by artists like Joseph Cornell and Robert Rauschenberg. You glue, tie, or bolt everyday objects together to create something new.
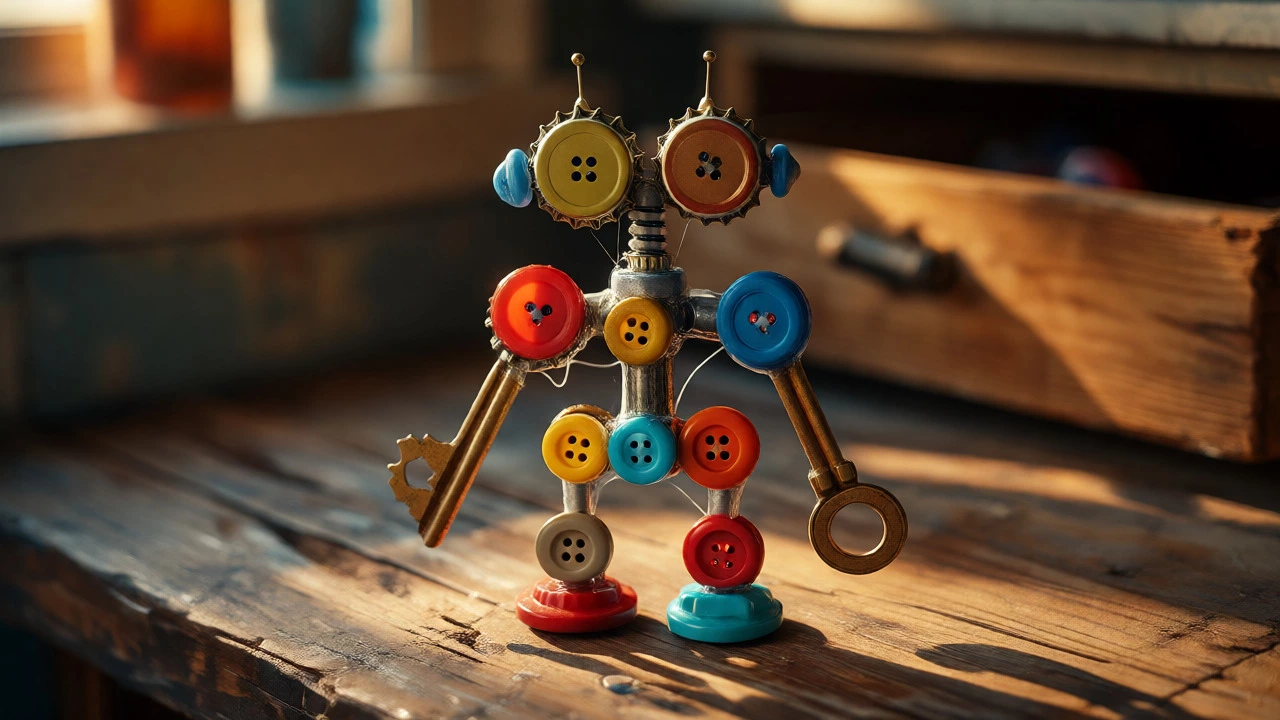
Project Idea: A robot made from bottle caps, buttons, and old keys.
Why this works: It removes the fear of “starting from scratch.” You’re curating, not creating. Look around your kitchen drawer. What shapes do you see? A spoon handle looks like a neck. A jar lid looks like a shield. This trains visual association-the core skill of artistic thinking.
Use hot glue guns for quick bonds. Epoxy for stronger ones. Don’t worry about perfection. Wabi-sabi (the Japanese concept of beauty in imperfection) applies perfectly here. A crooked robot has more personality than a symmetrical one.
Common Pitfalls to Avoid
New sculptors often quit because they hit invisible walls. Here’s how to dodge them:
- Ignoring structural integrity: If you attach a heavy head to a thin neck, it will snap. Always thicken connection points.
- Overworking wet clay: Pressing too hard creates fingerprints and weak spots. Smooth gently with fingertips dipped in water.
- Fearing negative space: The empty areas around your sculpture matter as much as the solid parts. Step back frequently to check the silhouette.
Another trap is comparing your work to museum pieces. Remember, those sculptures were created by masters after decades of practice. Your first cat head might look like a potato. That’s okay. Potatoes are sturdy. Next time, it’ll look like a better potato. Progress is incremental.
Tools You Actually Need
You don’t need a $200 toolkit. Start with these basics:
- Modeling tools: A wooden set costs under $10. They help define edges and creases.
- Cutting tool: A plastic blade (often included with clay packs) prevents sticking.
- Base: Cardboard, foam board, or even a wine cork. Give your piece a foundation.
- Reference photos: Print out images of what you’re sculpting. Don’t rely on memory.
As you grow, invest in calipers for measuring proportions. But for now, eyeballing is fine. Art isn’t engineering. It’s expression.
Do I need special clay for beginners?
No. Air-dry clay is the most accessible option because it requires no kiln or oven. It’s affordable, widely available at craft stores, and easy to clean up. Polymer clay is also great if you prefer working slowly since it doesn’t dry out until baked.
How long does a beginner sculpture take?
Simple projects like soap carvings or clay animals can be completed in 1-2 hours. More complex pieces involving armatures or multiple components may take several days due to drying or curing times. Plan for breaks rather than marathon sessions to avoid fatigue-induced mistakes.
Can I paint my sculpture?
Yes. Acrylic paints work best on air-dry and polymer clay because they adhere well and dry quickly. Seal your finished piece with a clear varnish or mod podge to protect the paint and give it a professional finish. Oil-based paints can take weeks to dry on porous surfaces.
What if my clay cracks?
Cracking usually happens when clay dries too fast or unevenly. To prevent it, keep the piece covered loosely with plastic during drying. If cracks appear, fill them with a slurry of water and clay paste, then smooth it out once dry. Prevention is easier than repair.
Is sculpture hard to learn?
It depends on your goals. Replicating photorealistic portraits takes years. Creating expressive, stylized forms can be learned in weeks. Focus on process over product. Enjoy the tactile sensation of shaping material. Skill comes from repetition, not innate talent.