Oil Painting Color Mixer
Mix Your Apple Colors
Use these 3 basic pigments to create realistic apple colors as described in the article:
Result Preview
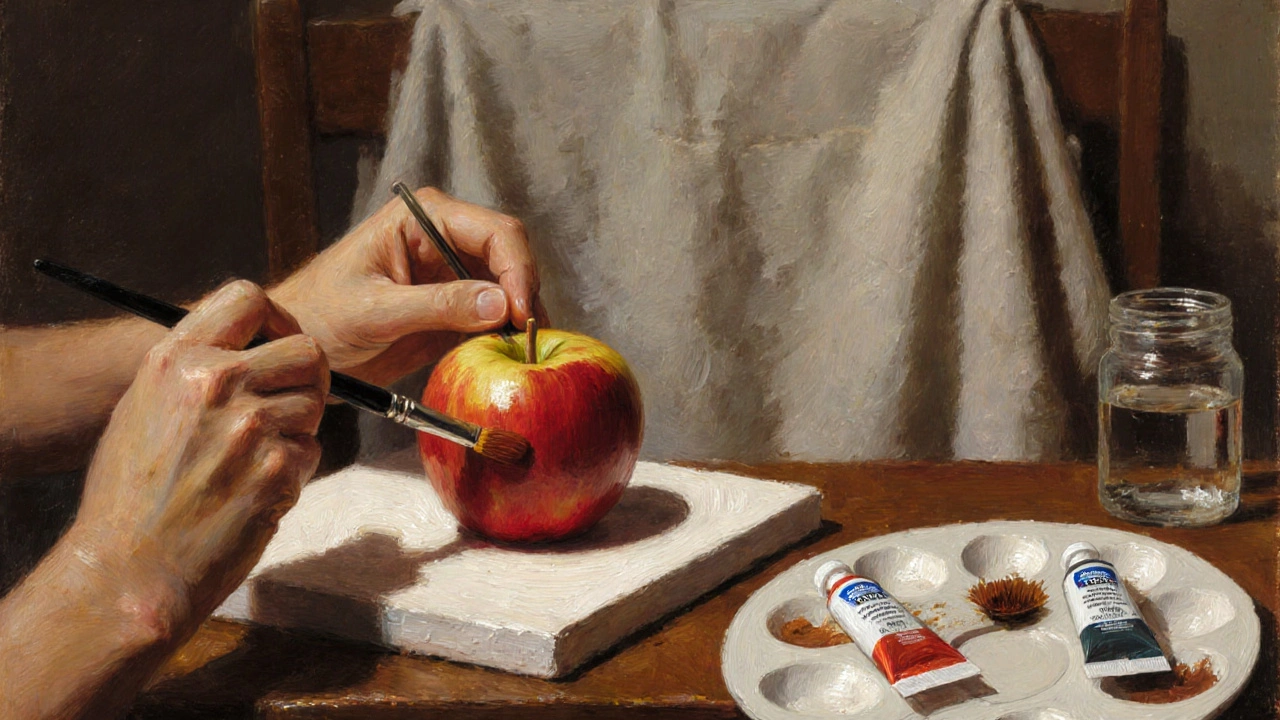
Starting with oil paint can feel overwhelming. The smell, the drying time, the brushes that never seem to behave - it’s enough to make anyone want to stick to watercolors. But here’s the truth: oil painting doesn’t need to be complicated. Some subjects are naturally forgiving, even for someone holding a brush for the first time. If you’re wondering what the easiest thing to paint in oil painting is, the answer isn’t a famous masterpiece. It’s something you can find right in your kitchen: a single apple.
Why a Single Apple Works So Well
A single apple is the perfect starter subject because it’s small, simple, and full of subtle color shifts. You don’t need to capture a whole still life setup. Just place one apple on a plain surface - a white plate, a dark towel, or even a piece of cardboard. The light hits it, casts a soft shadow, and reflects a little color from the surface beneath. That’s it.
Unlike a portrait, you don’t have to worry about eyes looking wrong or hands that look like claws. Unlike a landscape, you don’t need to blend skies or make trees look realistic from a distance. An apple has one main shape, a few highlights, and a shadow. That’s three things to focus on. Nothing more.
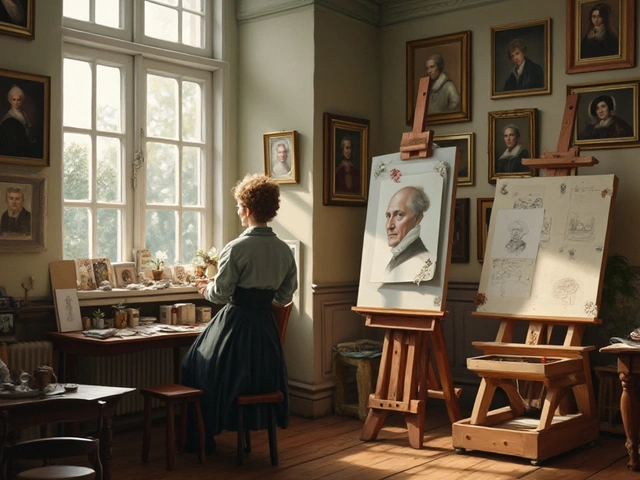
Real artists like Paul Cézanne painted dozens of apples. Not because they were boring, but because they were complex in their simplicity. The red isn’t just red. It’s warm orange near the highlight, cool purple where the shadow deepens, and maybe a touch of yellow where the light catches the stem. You learn to see color, not just label it.
Why Not Flowers or Clouds?
You might think flowers are easy. They’re colorful, right? But petals curve, overlap, and change shape in ways that are hard to predict. A single rose can have twenty layers of petals, each catching light differently. If you’re new to oil, you’ll end up mixing too many colors, overworking the paint, and ending up with a muddy mess.
Clouds? Same problem. They don’t have edges. You can’t just paint a white shape and call it a cloud. You need to blend, feather, and suggest form without hard lines. That takes practice. And oil paint dries slowly - which means you have time to fix mistakes, but also time to ruin a soft transition by over-blending.
Even a simple bowl of fruit is too much at first. Too many shapes. Too many shadows. Too many colors competing. Start with one thing. One object. One light source. One shadow.
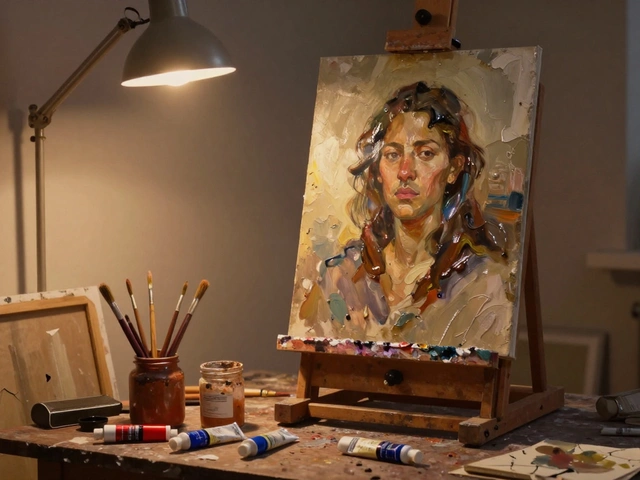
What You’ll Need (And What You Don’t)
You don’t need a full studio. You don’t need 20 brushes. You don’t even need a fancy easel. Here’s what you actually need for your first apple:
- One small canvas - 8x10 inches or even 6x8 inches. Smaller means less paint, less mess, less pressure.
- Three brushes - a medium flat (for broad strokes), a small round (for details), and a fan brush (optional, for soft edges).
- Three colors - titanium white, cadmium red medium, and burnt umber. That’s it. You can mix every shade you need from these.
- One medium - odorless mineral spirits or linseed oil. Just enough to thin paint slightly.
- A palette - a paper plate works fine.
- A cloth - for wiping brushes. Don’t use paper towels; they fray and leave lint.
Forget the 48-color sets. You don’t need them. In fact, they make it harder. Limiting your palette forces you to mix, and mixing is how you learn color.
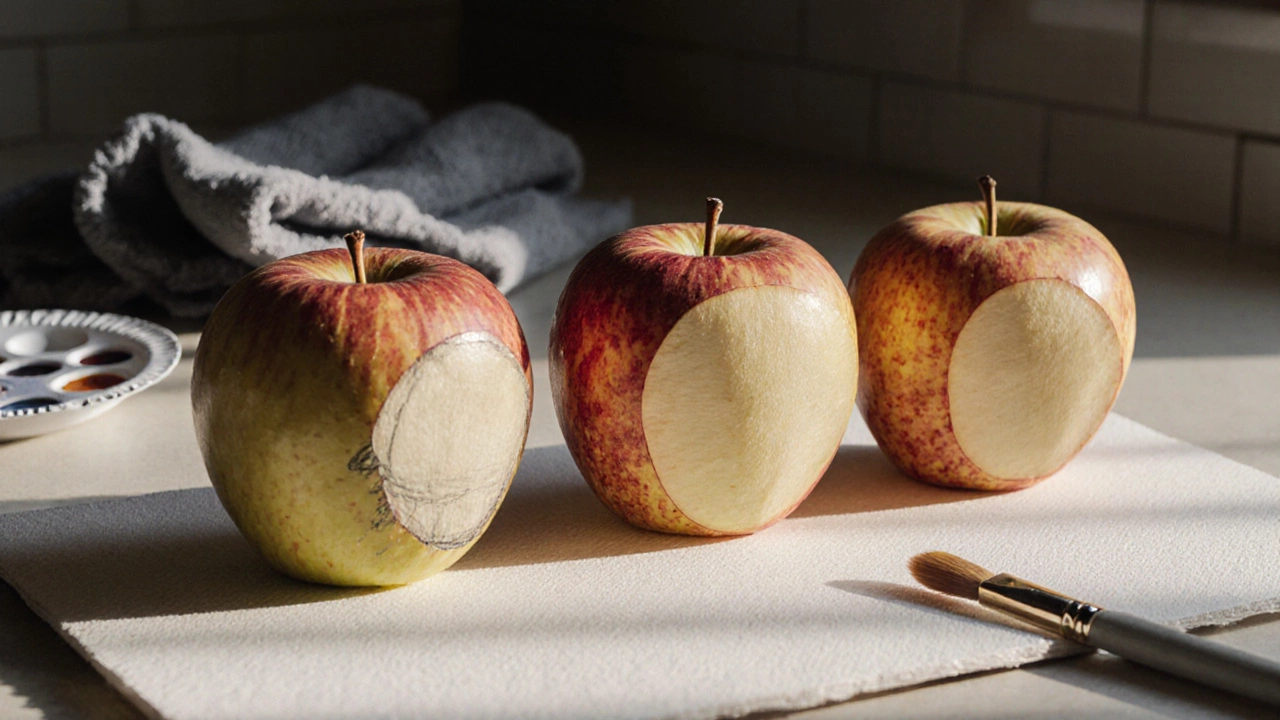
Step-by-Step: Paint Your First Apple
Here’s how to do it without overthinking:
- Sketch lightly - Use a pencil or a thin brush with burnt umber to draw the shape. Don’t worry about perfection. Just the outline.
- Block in the shadow side - Mix burnt umber with a little cadmium red. Paint the darker half of the apple. Leave the light side bare for now.
- Paint the light side - Mix cadmium red with a touch of white. Apply it to the lighter half. Don’t blend yet.
- Let it dry for 10 minutes - Oil paint doesn’t dry fast, but the surface will skin over enough to let you add more.
- Add the highlight - Put a tiny dot of pure white where the light hits hardest. Don’t smear it. Let it sit like a bead.
- Paint the shadow on the surface - Mix burnt umber with a little water and a drop of red. Paint the shadow the apple casts. Keep it soft.
- Finish the stem - Use a mix of burnt umber and a touch of yellow ochre. A thin line, slightly curved.
That’s it. You’ve painted an apple in oil. No fancy techniques. No glazing. No layering. Just three colors, one shape, and patience.
Why This Builds Real Skills
Painting a single apple teaches you more than you think. You learn how light changes color. You learn how to mix a red that doesn’t look like crayon. You learn how to let the brush do the work instead of forcing it. You learn that oil paint doesn’t need to be perfect to look real.
After you paint one apple, paint another. Change the light. Move the apple. Use a different background. Do five apples. Each one will teach you something new. By the sixth, you’ll notice how the shadow under the apple has a hint of blue from the sky outside your window. That’s when you know you’re seeing like a painter.
What Comes Next
Once you’re comfortable with one apple, try two. Then a pear. Then a ceramic mug. Each object has its own way of holding light. A mug has a handle - that’s a new shape. A pear is more oval - that changes how the light flows. You’re not learning subjects. You’re learning how to observe.
Don’t rush to landscapes or portraits. Those are harder. Stick with simple, solid objects. A lemon. A potato. A wooden spoon. All of them have surfaces, shadows, and reflections. All of them are forgiving if you make a mistake. Oil paint lets you scrape it off, paint over it, and try again.
Common Mistakes to Avoid
Here’s what beginners usually do wrong - and how to fix it:
- Mixing too many colors at once - You end up with brown sludge. Stick to two or three pigments. Mix on the palette, not on the canvas.
- Painting too thick - Thick paint takes days to dry and can crack. Use thin layers. Let each one dry before adding more.
- Ignoring the background - The space around the apple matters. Paint it a neutral gray or soft blue. It makes the apple pop.
- Trying to make it look like a photo - Oil paint isn’t photography. It’s about suggestion. A few well-placed strokes are better than a hundred blended ones.
Remember: oil painting isn’t about being accurate. It’s about being honest. If your apple looks like an apple, that’s enough.
Real Results, Real Fast
I’ve seen students paint their first apple in under two hours. By the end of the week, they were painting apples with confidence. By the end of the month, they were painting bowls of fruit, then vases, then their own hands. None of them started with anything more complex than a single piece of fruit.
You don’t need talent. You need time. And the easiest thing to paint in oil painting? It’s the thing that’s right in front of you. Not because it’s easy to get right - but because it’s easy to start.
Is oil painting hard for beginners?
Oil painting isn’t hard if you start small. The challenge isn’t the paint - it’s the expectation. Most beginners think they need to paint like the masters right away. But oil paint is forgiving. You can paint over mistakes, scrape off layers, and try again. Start with one object, one light source, and three colors. That’s all you need.
What colors should I use as a beginner?
Stick to just three: titanium white, cadmium red medium, and burnt umber. These let you mix a full range of warm tones - reds, oranges, browns, and muted purples. You don’t need green, blue, or yellow yet. Mixing your own colors teaches you more than buying them.
How long does it take for an oil painting to dry?
Thin layers dry to the touch in 24 to 48 hours. Thicker areas can take a week or more. That’s why it’s best to work in layers. Don’t try to finish everything in one sitting. Let each layer dry before adding the next. Patience is part of the process.
Can I paint oil on paper?
You can, but only if the paper is properly primed. Regular printer paper will warp and rot from the oil. Use oil painting paper, canvas panels, or even wood panels sealed with gesso. These are designed to handle the medium without buckling or staining.
Do I need to varnish my oil painting?
Varnish protects the surface and evens out the sheen, but you don’t need it right away. Wait at least six months - oil paint takes that long to fully cure. Varnishing too early can trap solvents and cause yellowing. Once it’s dry, a removable varnish like dammar or acrylic polymer is safe and easy to apply.